Are you bored with how your Kodi media center looks? Want to upgrade your streaming experience with a fresh and unique look? You’re in the right place. This guide will show you how to use Kodi Confluence skin, and turn your media center into a personalized entertainment hub.
Confluence has a stylish design and customizable features, making it easy to navigate and find your favorite movies, TV shows, and music. It’s time to move on from the default Kodi skin and enjoy a new level of style and functionality.
Whether you’re new to Kodi or a seasoned user, our step-by-step guide will help you install Confluence and make the most of its settings and options. We’ll show you how to change backgrounds and icons and organize your media library.
Explore the world of Confluence and take control of your Kodi experience like never before. Get ready to transform your media center into something truly special.
Understanding the Confluence Kodi skin
The Kodi Confluence skin is a favorite among Kodi users because of its sleek design and easy-to-use interface. It makes browsing and accessing your favorite movies, TV shows, and music simple and enjoyable. Unlike the default Kodi skin, Confluence adds a touch of style and improved functionality to your media center.
One great feature of Confluence is how it organizes your media library in a visually appealing way. You can customize the layout to make finding and accessing your content easier, whether you prefer a grid view or a list view.
Confluence also lets you use custom backgrounds and icons. You can personalize your Kodi experience by selecting from various background images and icon sets, giving your media center a unique look that matches your style.
Additionally, Confluence offers advanced customization options like changing font sizes, colors, and layouts. This means you can tweak the skin to fit your preferences, whether you want a simple design or a more vibrant and colorful interface. Confluence gives you the tools to make your Kodi experience truly your own.
Installing the Confluence Kodi skin
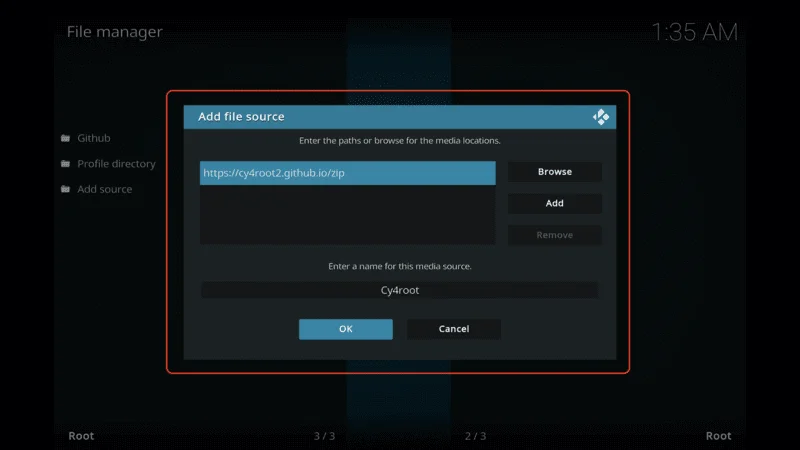
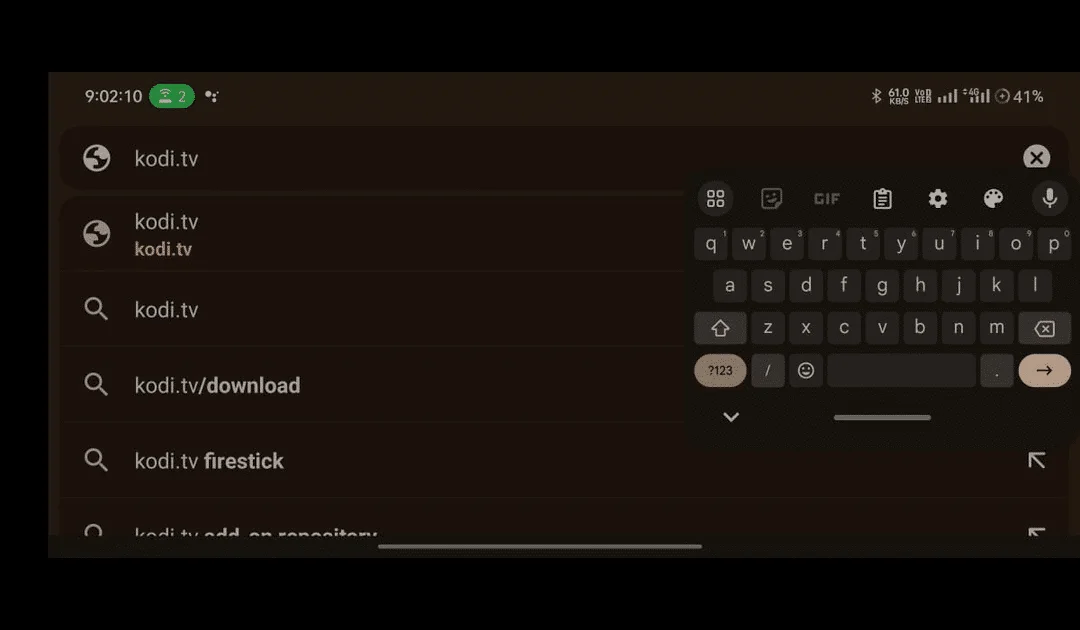
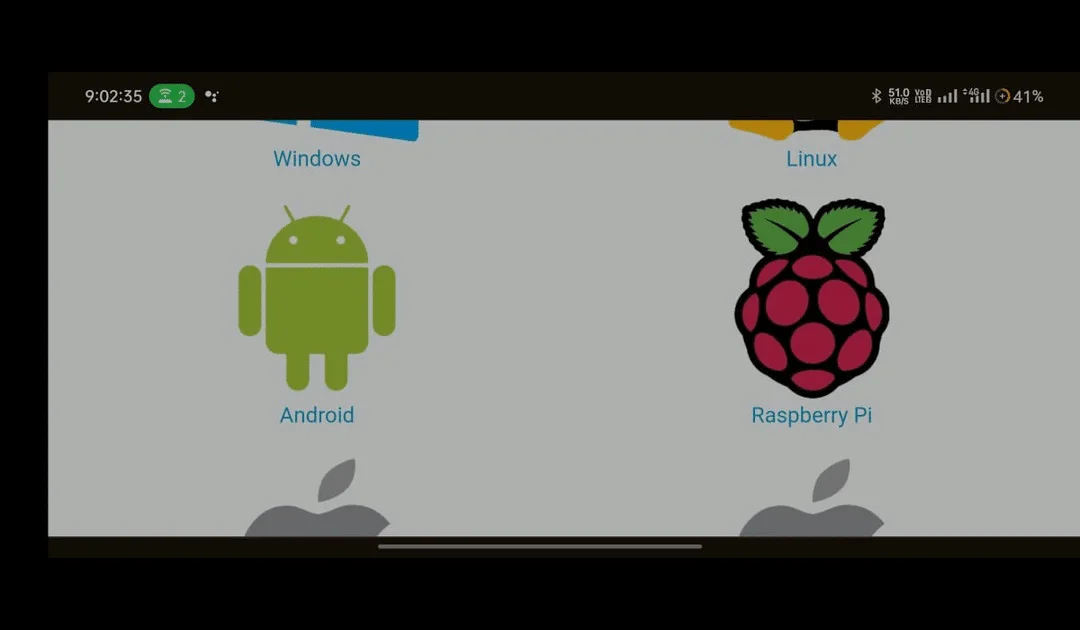
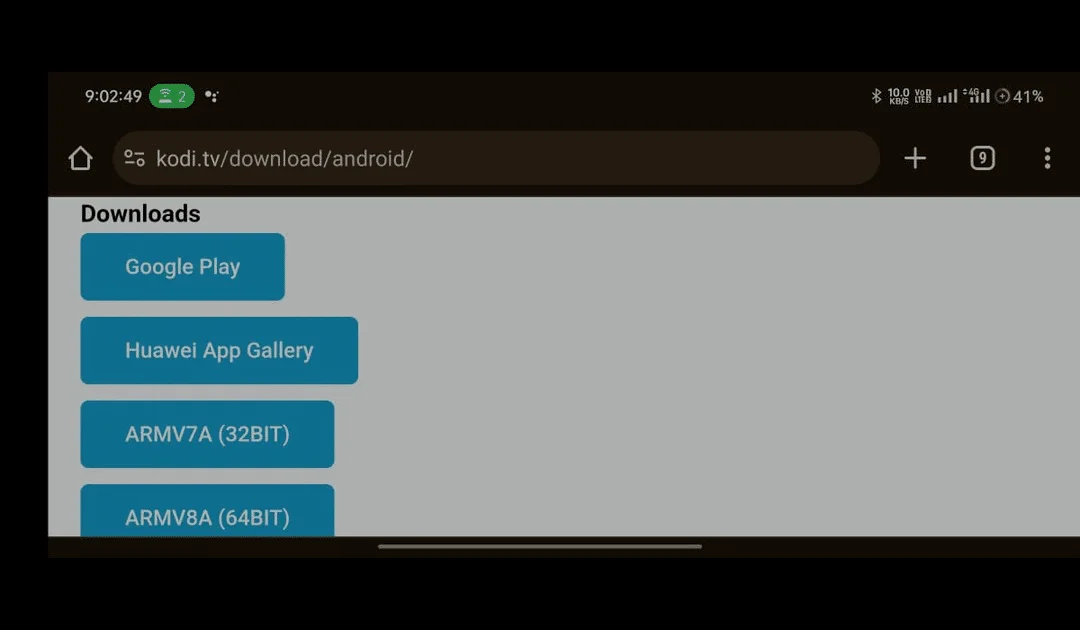
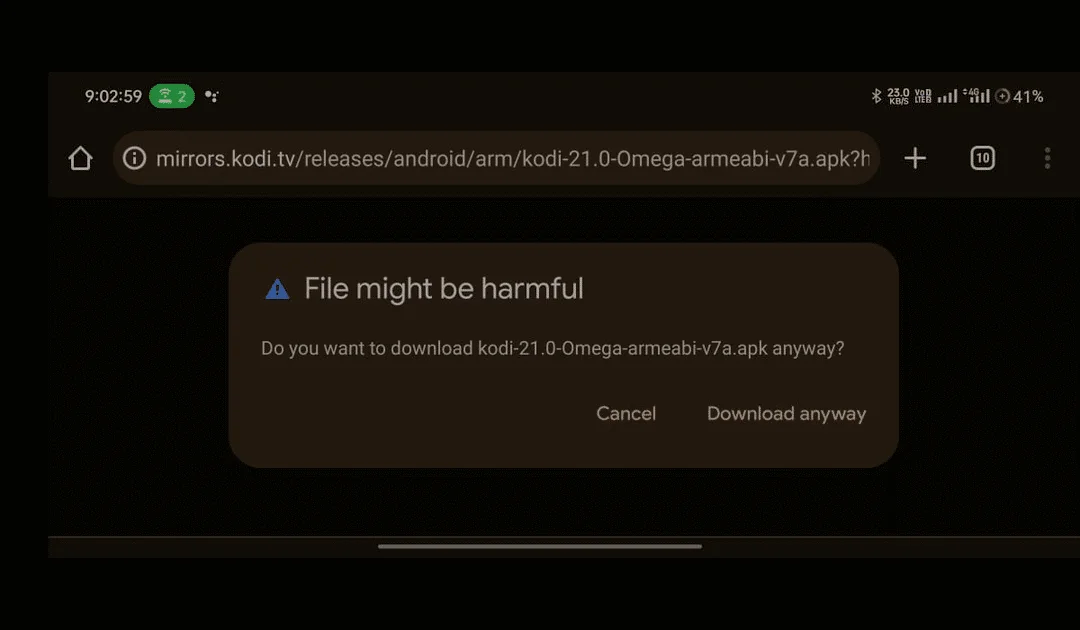
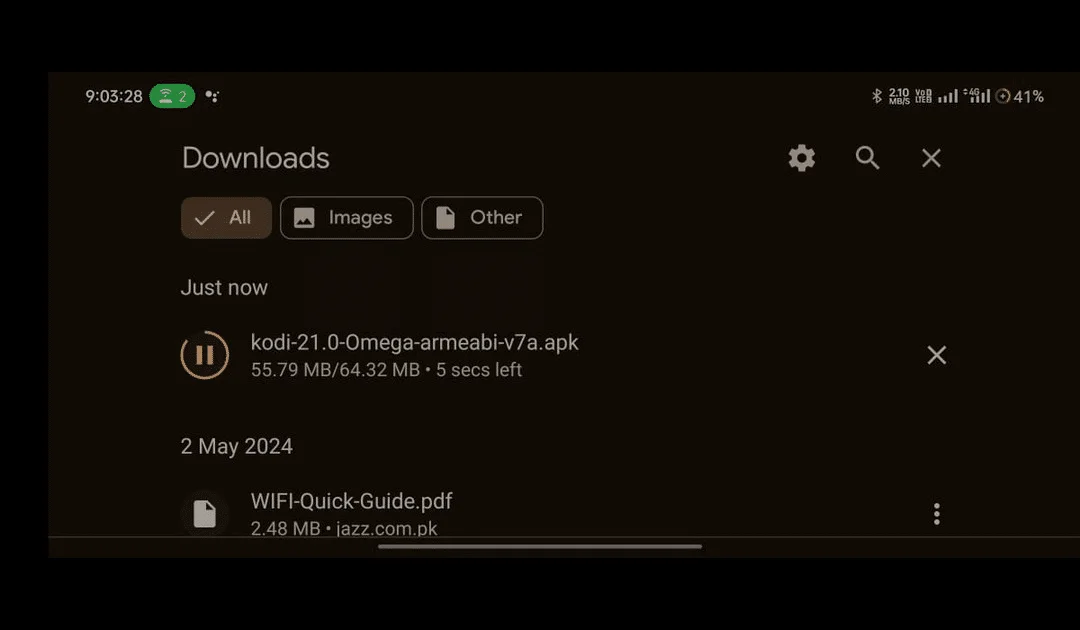
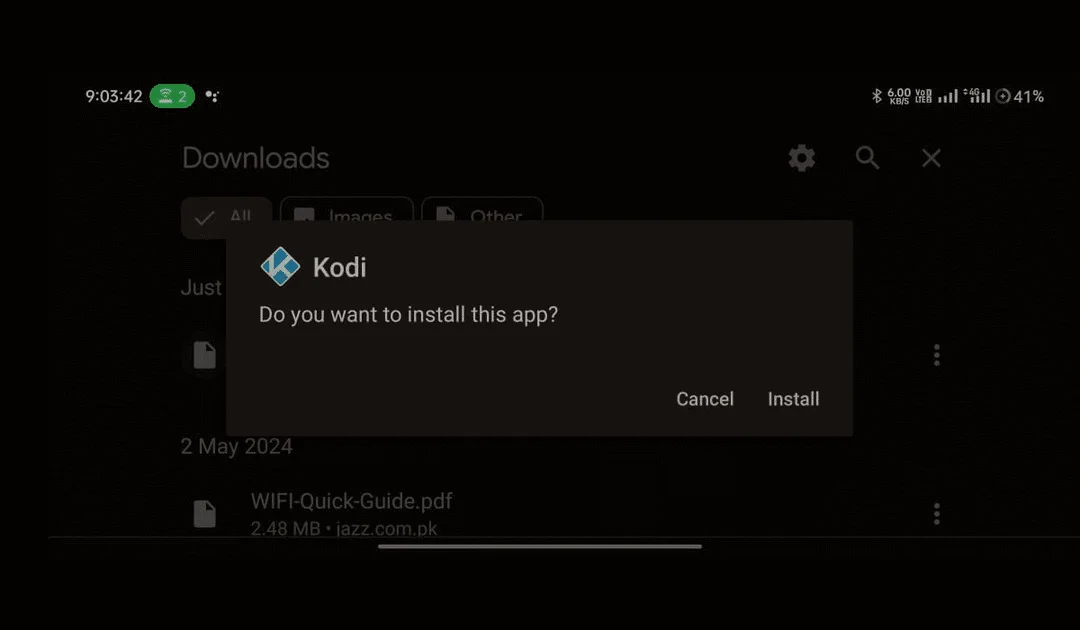
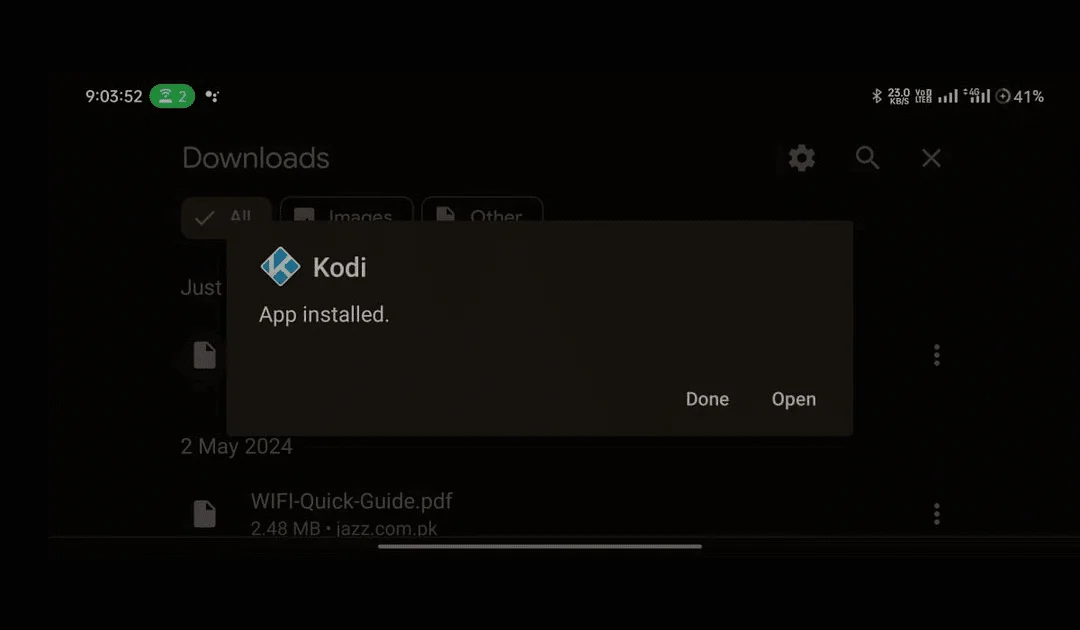
Installing the Kodi Confluence skin is easy and can be done in a few simple steps. Make sure you have Kodi installed on your device first. Once you’re ready, follow these steps to install Confluence:
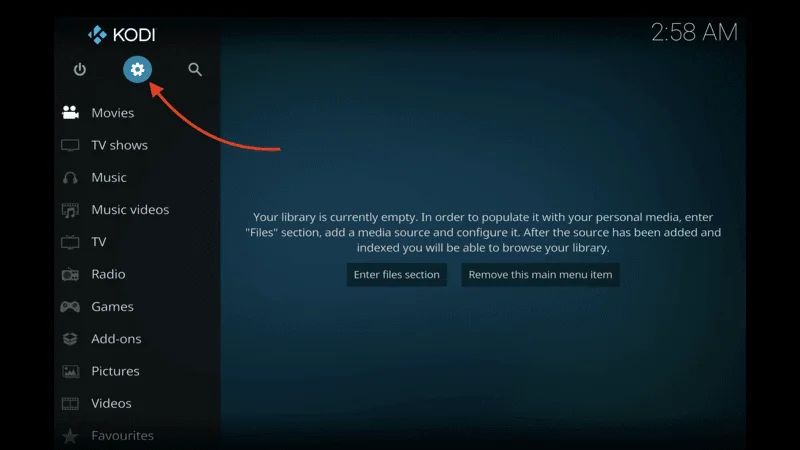
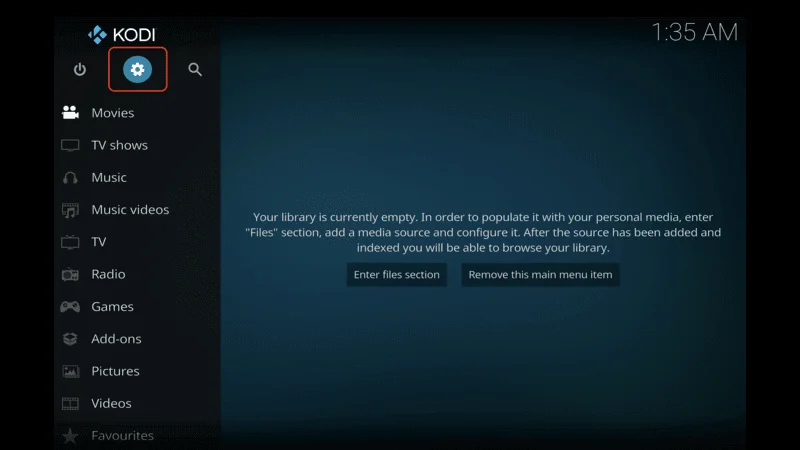
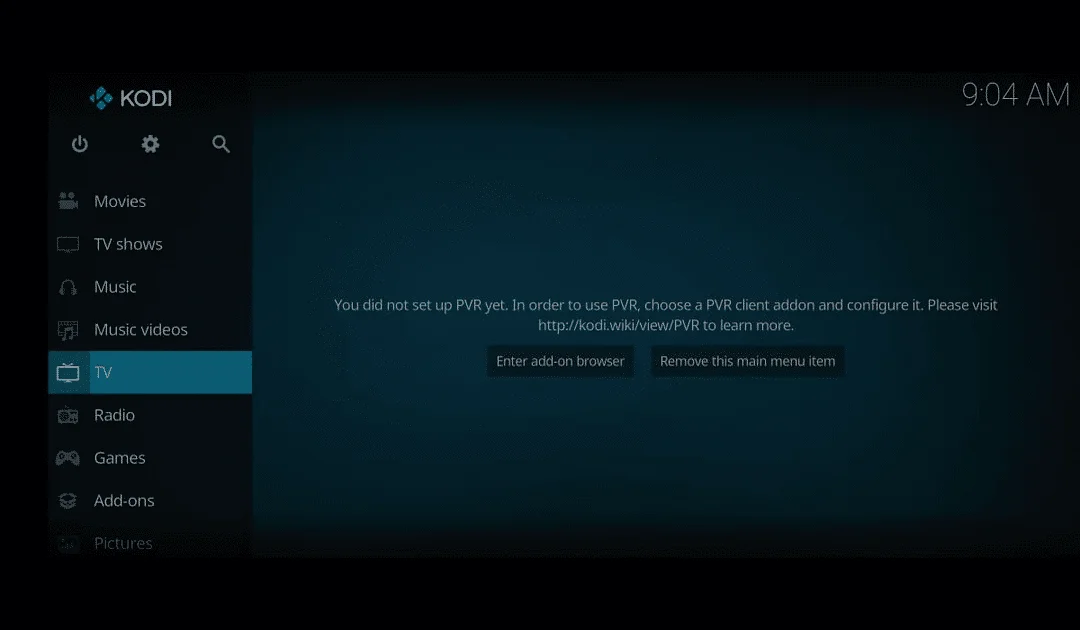
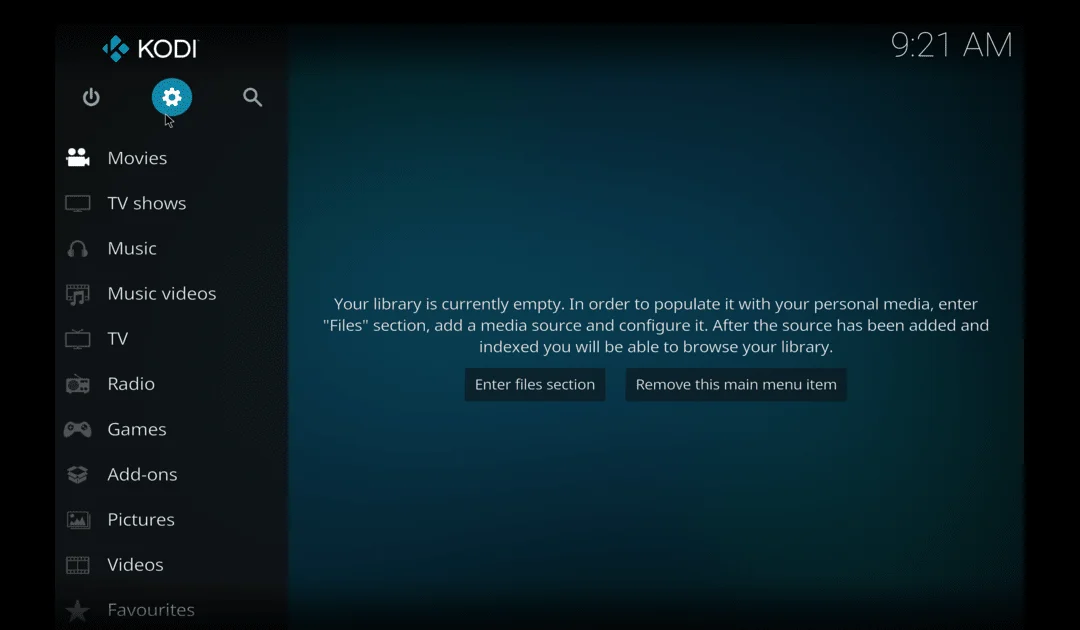
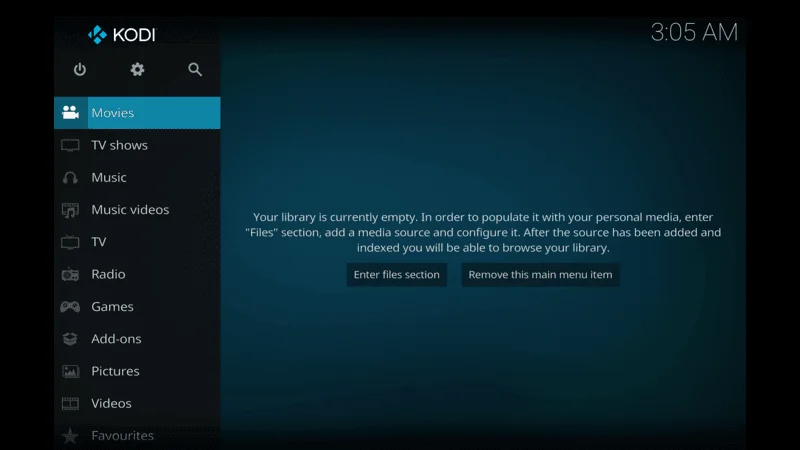
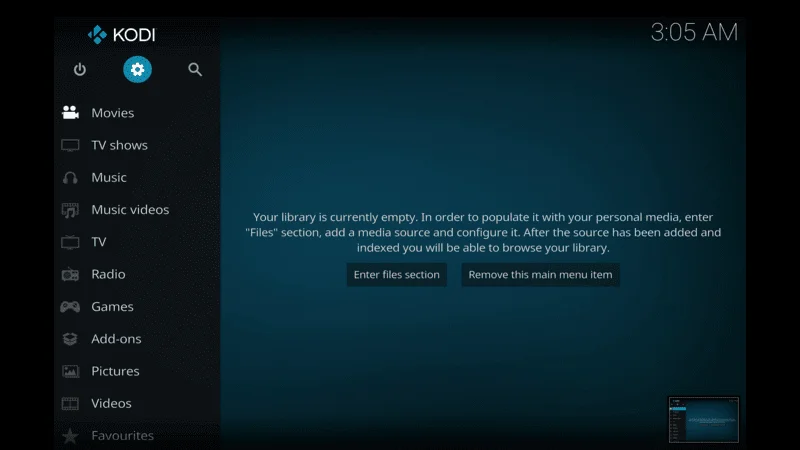
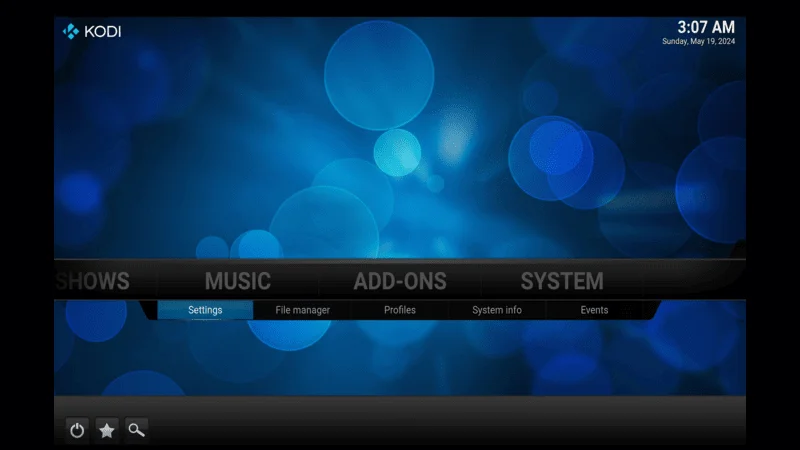
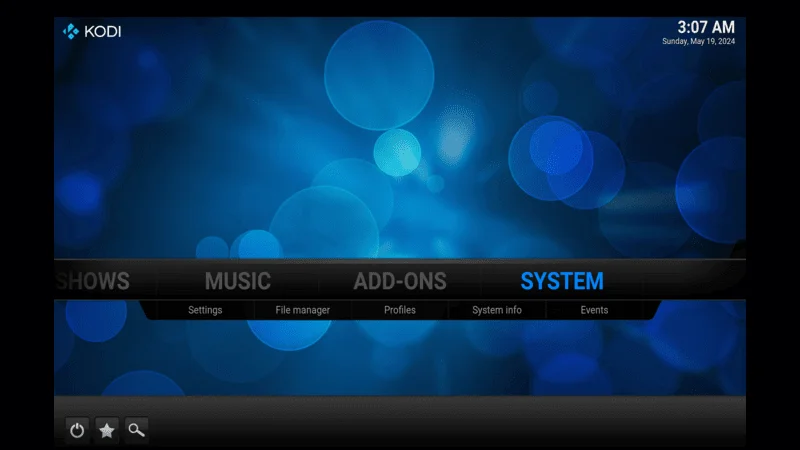
Launch Kodi on your device and go to the home screen.
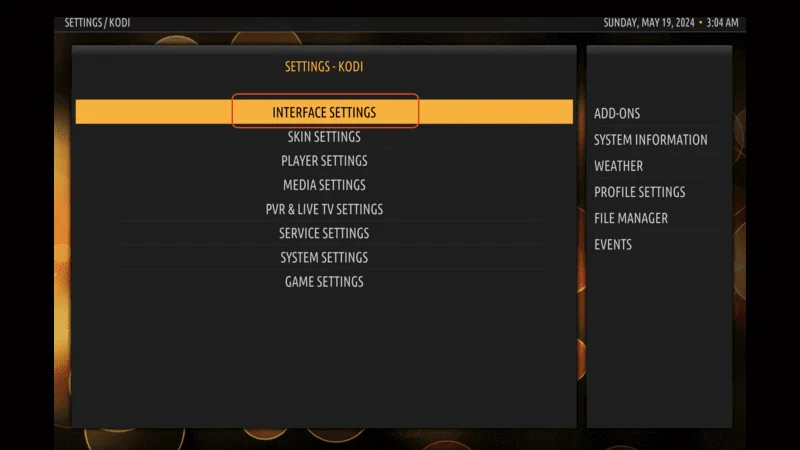
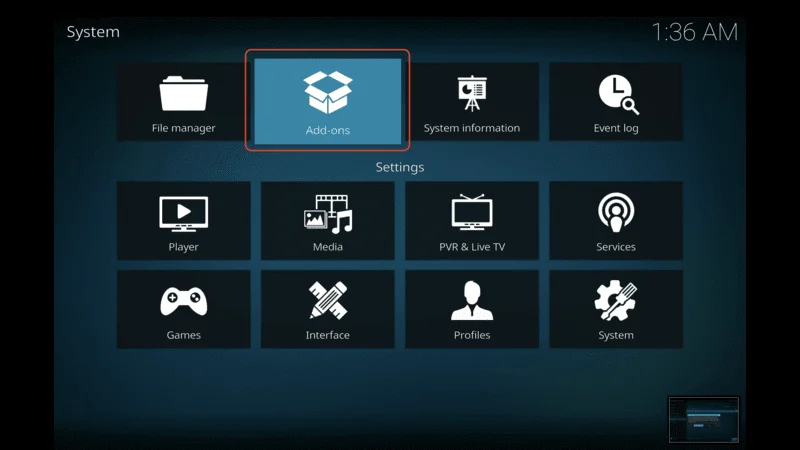
Click the gear icon at the top-left corner to open the settings menu.
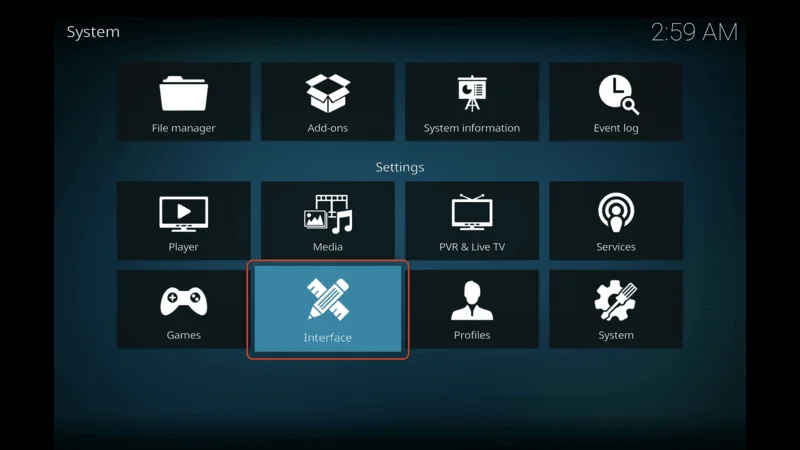
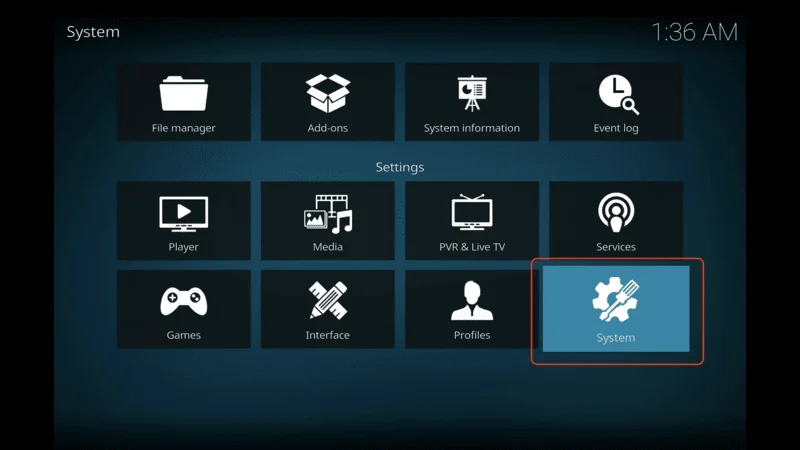
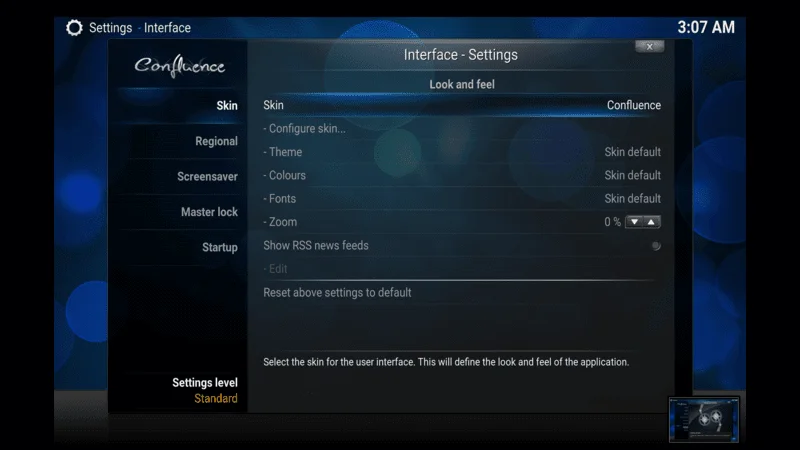
In the settings menu, select Interface settings.

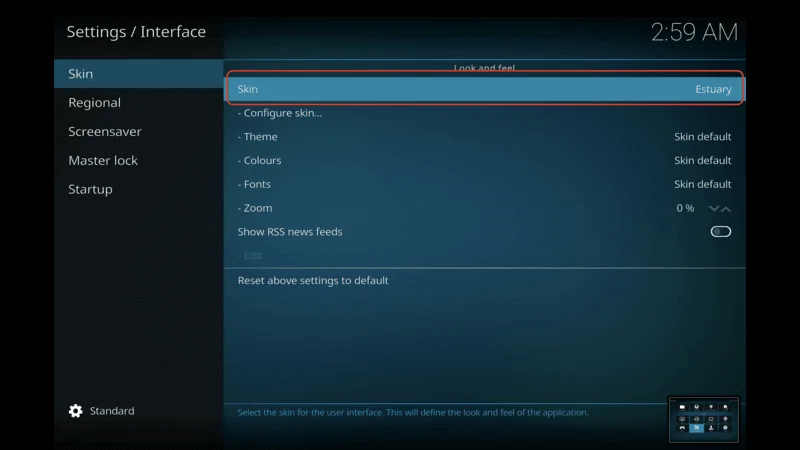
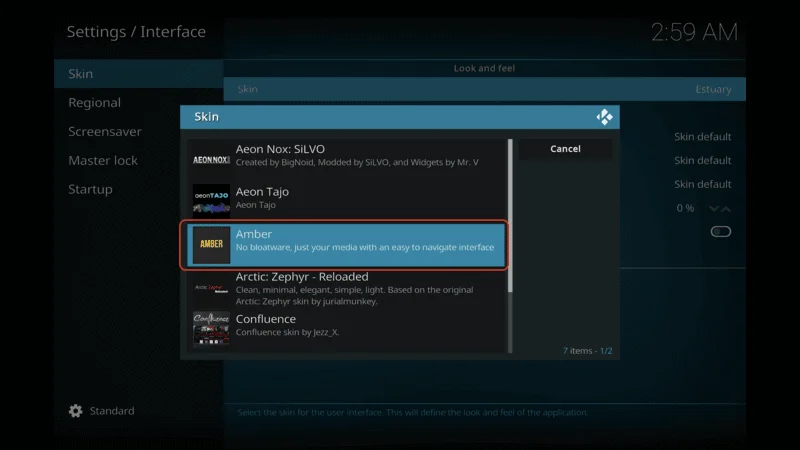
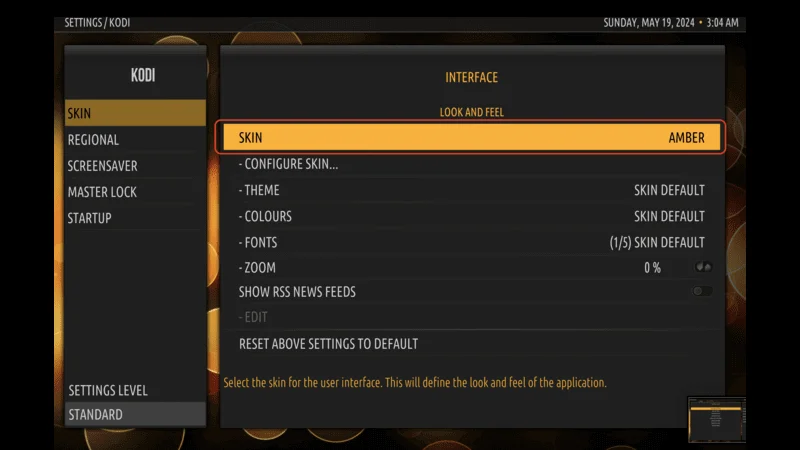
In the interface settings, click on Skin to see the skin options.
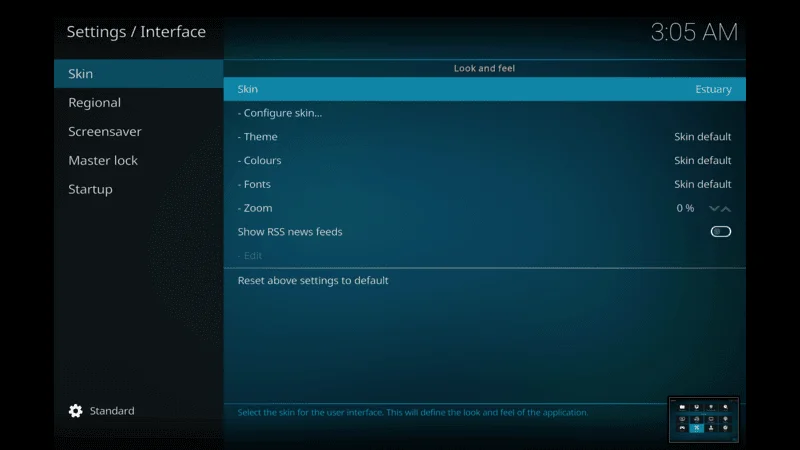
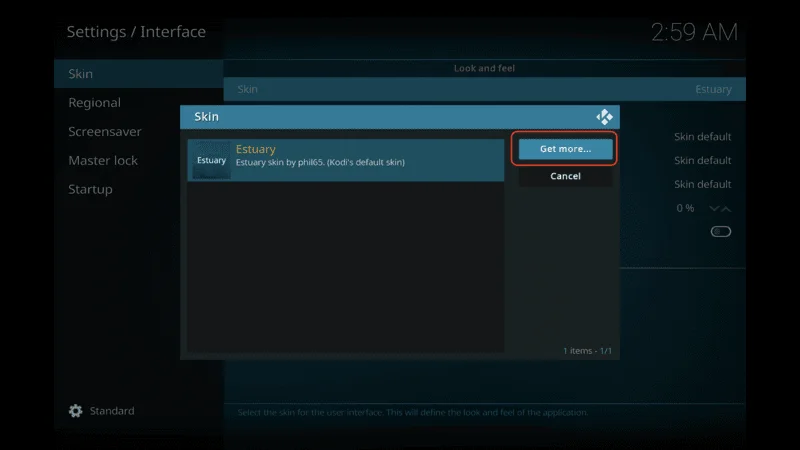
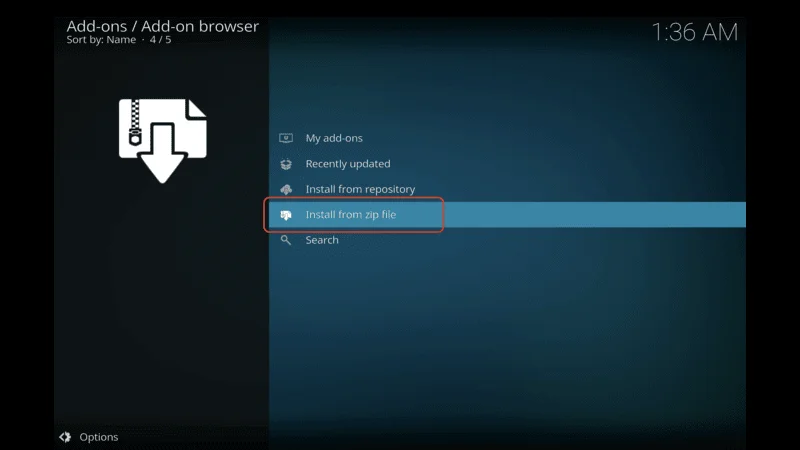
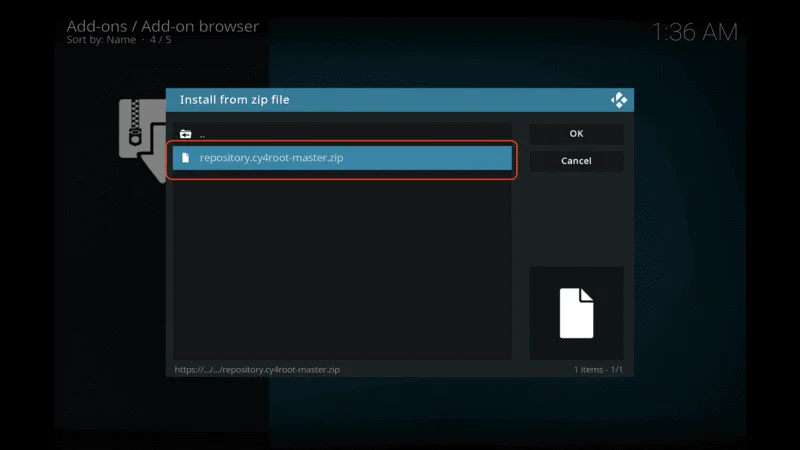
Click on Skin form the left side menu, then click on Get More
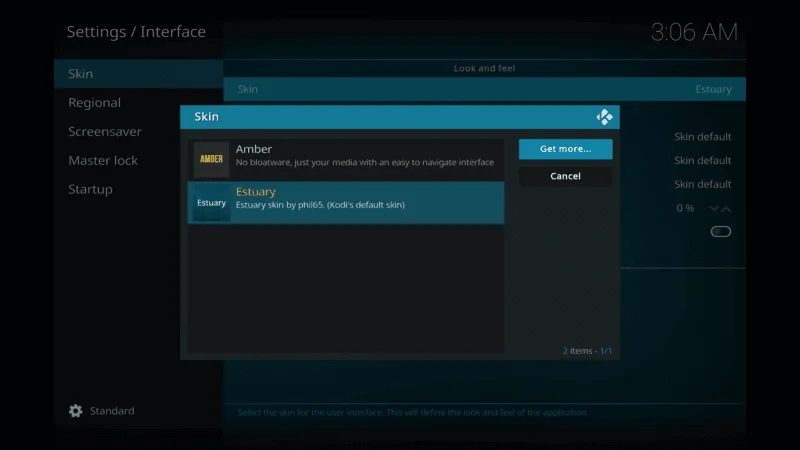
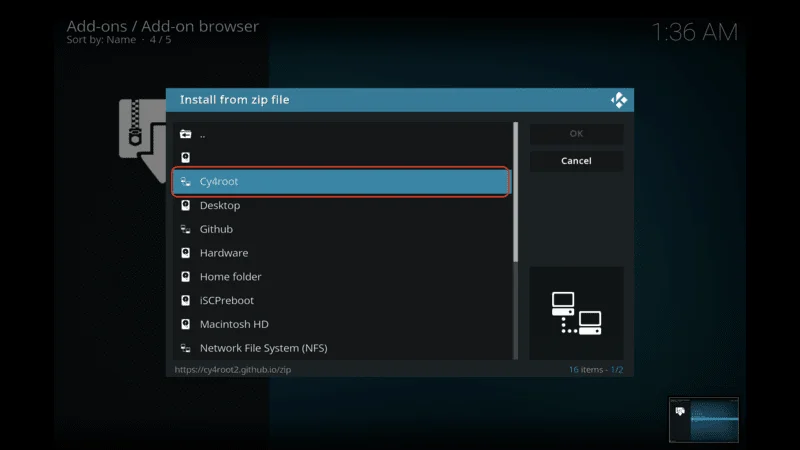
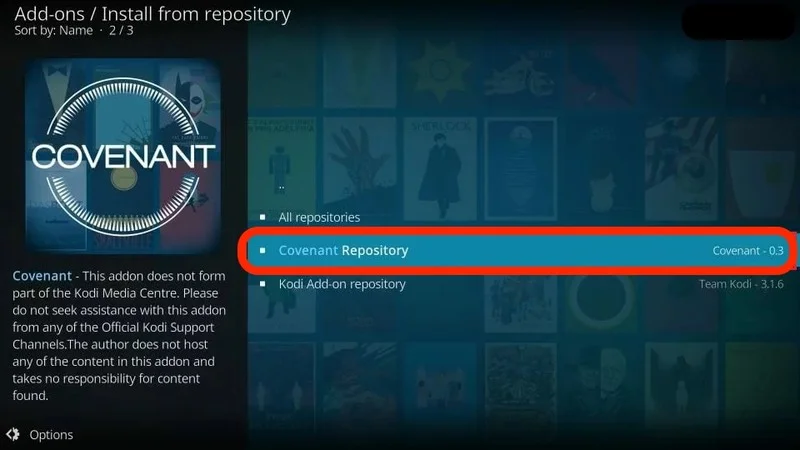
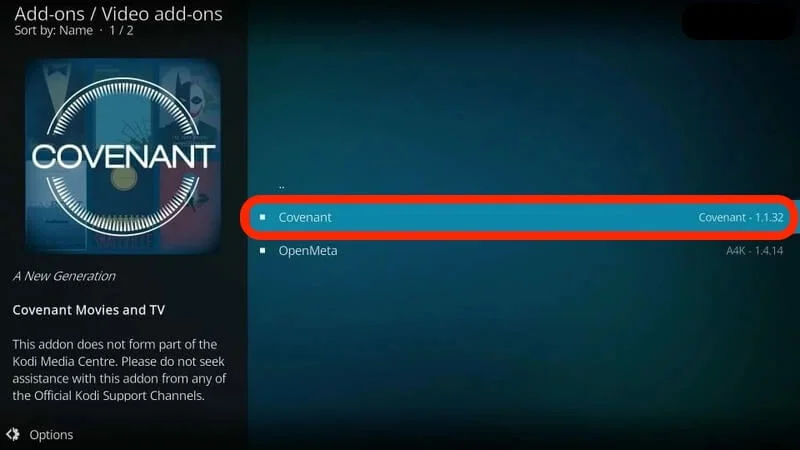
From here select Confluence Skin then click on It

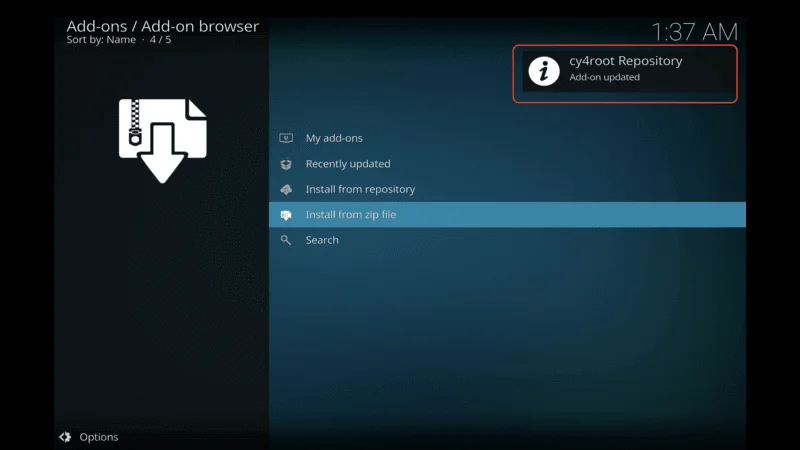
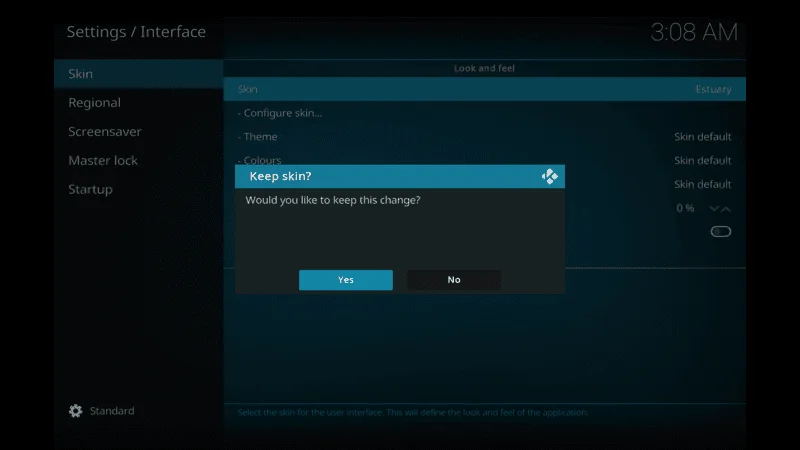
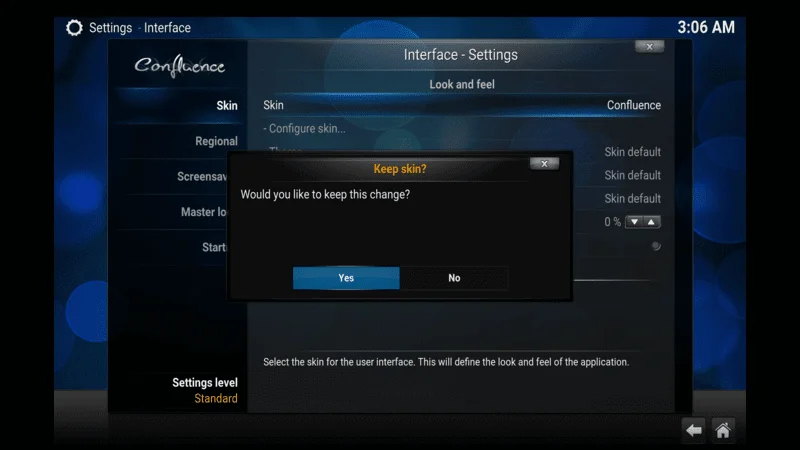
Wait until the skin downloaded, once the installations complete click Yes.
Once Kodi restarts, you’ll see the new Confluence skin. Take some time to explore the features and customization options to enhance your Kodi experience.
Key features of the Confluence Kodi skin
Confluence offers many features that make it a top choice for Kodi users. Here are some key features that set Confluence apart from other skins:
- Sleek and User-Friendly Interface: Confluence has a clean, easy-to-navigate interface. Its well-organized menus and simple layout make it easy for beginners to find and access their favorite content.
- Customizable Layouts: You can choose from different layouts for your media library, such as grid view, list view, and thumbnail view. You can also adjust the number of columns and rows to fit your preferences.
- Custom Backgrounds and Icons: Personalize your media center by selecting custom backgrounds and icon sets. Confluence offers a variety of options to help you create a unique look that matches your style.
- Advanced Customization Options: Confluence allows you to change font sizes, colors, and layouts. This means you can tailor the skin to your specific preferences, making your Kodi experience more personal.
- Easy Access to Media Content: With its intuitive navigation system, Confluence makes it simple to browse through your movies, TV shows, and music. Finding and playing your favorite content is quick and easy.
How to Uninstall Kodi Confluence Skin
Now that you’ve installed the Kodi Confluence skin, you might want to switch back to the default Kodi interface, which is the Estuary skin, or delete the Confluence skin altogether. Here’s how you can change the skin or remove Confluence.
Go Confluence Skin settings menu.
Select Interface settings from the settings menu.

In the interface settings, click on Skin to open the skin options.
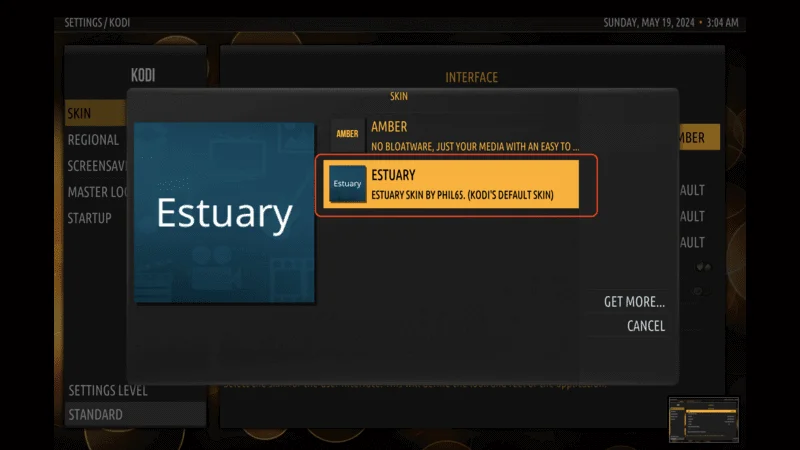
Click on Skin again, and you’ll see a list of available skins. Select Estuary from the list, click “Yes” to proceed.
Troubleshooting common issues with the Confluence Kodi skin
While the Kodi Confluence skin is usually stable and easy to use, you might run into some common issues. Here are a few troubleshooting steps to help resolve them:
- Blank Screen After Installation: If you see a blank screen after installing Confluence, try restarting Kodi. If that doesn’t work, reinstall the skin or switch to a different skin temporarily.
- Missing or Distorted Icons: If icons are missing or look distorted, reset the skin to its default settings. This often fixes icon-related problems.
- Slow Performance: If Confluence is running slowly or lagging, try clearing the Kodi cache or optimizing your device’s performance. Disabling unnecessary add-ons or background processes can also help.
- Incompatibility with Kodi Version: Some versions of Confluence may not be compatible with your version of Kodi. If you have compatibility issues, update Kodi to the latest version or use an older version of Confluence.
If these steps don’t resolve your issues, consider seeking help from the Kodi community forums or online support groups. The Kodi community is large and knowledgeable, with many users and developers ready to offer guidance and solutions.
Exploring other popular Kodi skins
Apart from Confluence, Estuary, Aeon Nox, Titan, and Amber, there are several other popular Kodi skins worth exploring. Here are a few additional options to consider:
Arctic Zephyr: Arctic Zephyr has a clean, modern interface focused on simplicity and ease of use. It offers many customization options and is known for its great performance and visual appeal. Here is you can install It
Aeon Nox: Aeon Nox is known for its high level of customization. It allows extensive personalization with options for backgrounds, widgets, and layouts. It’s a favorite among Kodi enthusiasts who enjoy creating their own unique interface. Click here to get the Skin
Amber: Amber is a lightweight and minimalist skin that emphasizes simplicity and ease of use. Its clean and intuitive interface makes it perfect for users who prefer a streamlined media center experience. Get the Skin
Nebula: Nebula features a unique, futuristic interface with plenty of customization options. You can use animated backgrounds and icon sets to create an immersive media center experience. How to install
These are just a few examples of the many Kodi skins available. Each skin has its unique features and design elements, so take some time to explore different options and find the one that best suits your preferences and enhances your Kodi experience.
Conclusion
The Confluence Kodi skin is a powerful tool that lets you turn your media center into a personalized entertainment hub. With its sleek design, customizable features, and seamless navigation, Kodi Confluence skin offers a unique and enhanced streaming experience.
Whether you’re new to Kodi or an experienced user, this guide has given you the steps and knowledge to install and customize the Confluence skin. From changing backgrounds and icons to organizing your media library, you now have the tools to take control of your Kodi experience like never before.
Explore the various customization options and features available in Confluence to make your media center truly your own. If Confluence doesn’t quite meet your needs, there are plenty of other Kodi skins to try.
So, what are you waiting for? Dive into the world of Confluence and unleash the power of this ultimate Kodi skin. Transform your media center into something truly extraordinary and elevate your streaming experience to new heights.