
Kodi enables users to play music, watch movies, view photos, and even record live TV, all within a single, cohesive interface. the primary goal of this article is to assist Kodi users in discovering the Best Kodi Addons available.
With the sheer number of addons out there, it can be overwhelming to find those that are reliable, legal, and suit your particular needs. We aim to provide a curated list of top addons that have been tested and proven to enhance the Kodi experience.
What is Kodi Addons
Kodi addons are small software modules that extend the functionality of the Kodi media player, enabling users to significantly expand its capabilities beyond the core features. These addons act as versatile tools, granting access to a diverse array of content and features not initially integrated into the base installation.
Users can leverage addons to stream a wide range of media, including movies, TV shows, live sports events, music, radio stations, and more. Additionally, addons enhance Kodi’s utility by providing functionalities such as weather forecasts, maintenance tools for system optimization, backup solutions, and various other enhancements.
This broad spectrum of capabilities transforms Kodi into a highly adaptable and customizable entertainment hub, catering to a multitude of user preferences and needs.
Types of Content Available
Top Kodi Addons for 2024
Kodi addons are essential tools that expand the functionality of the Kodi media player, offering users access to a diverse array of content and features beyond its core capabilities. Whether you’re looking to stream movies, TV shows, live sports, listen to music, or access live TV channels, these addons cater to various entertainment needs and preferences. Here’s a curated list of some of the best Kodi addons for 2024 across different categories:
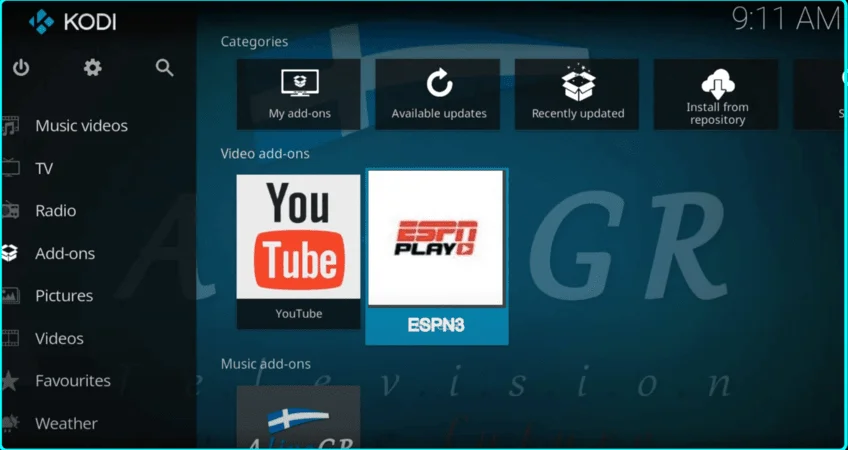
A. Video Addons
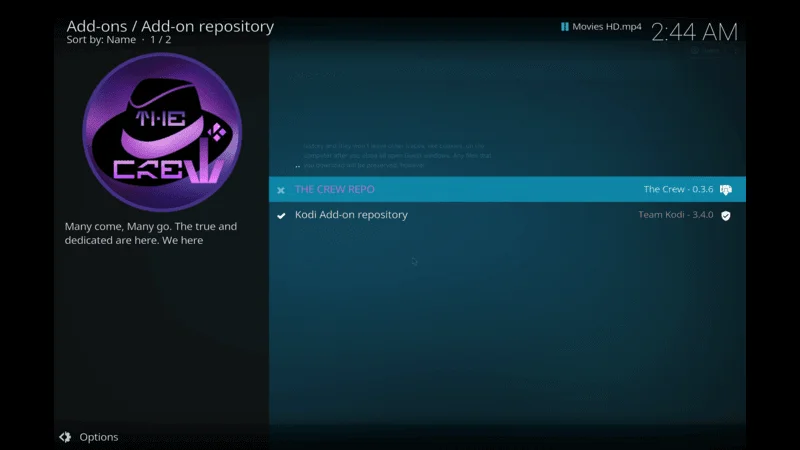
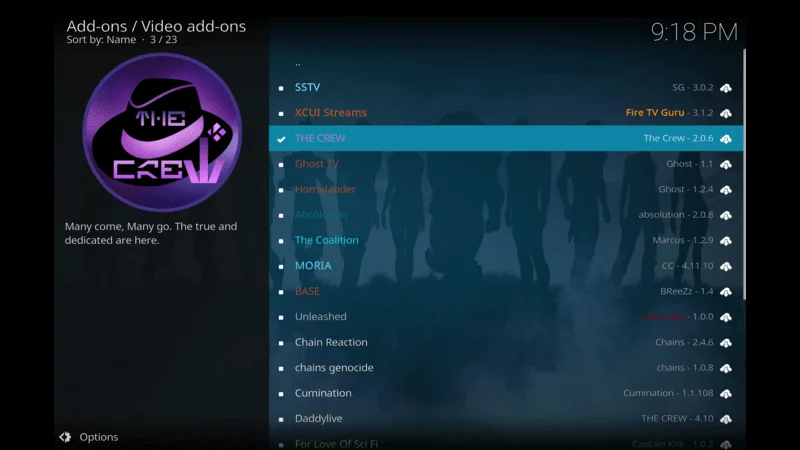
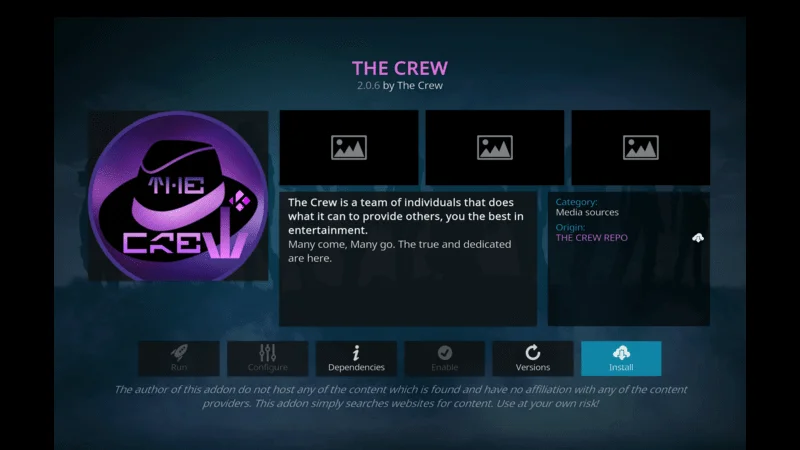
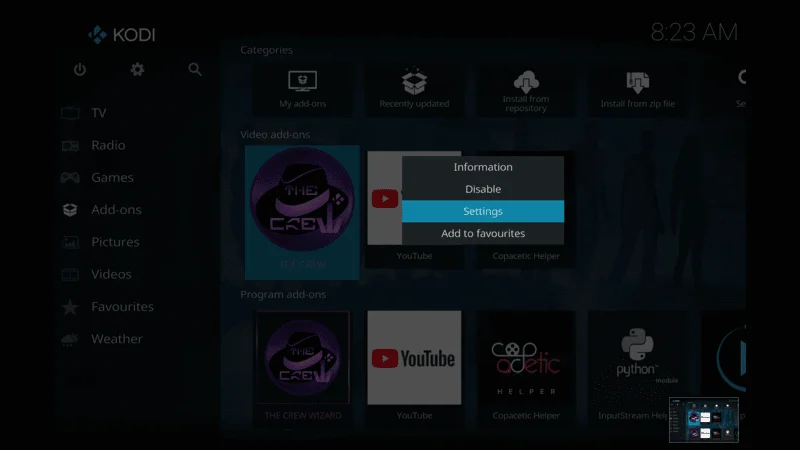
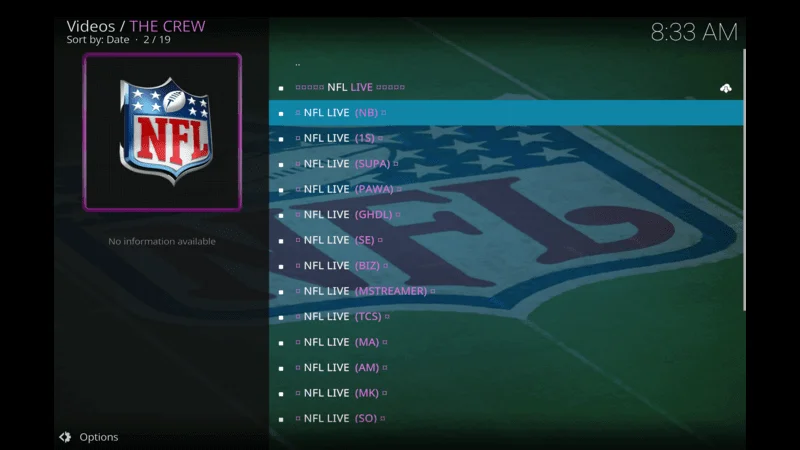
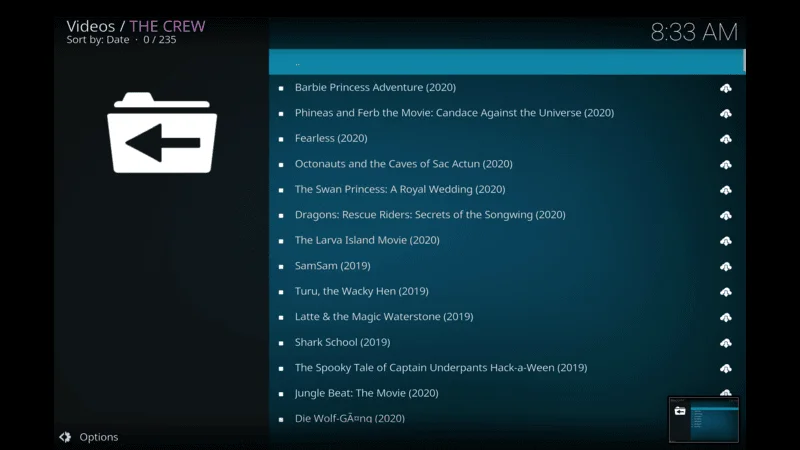
The Crew
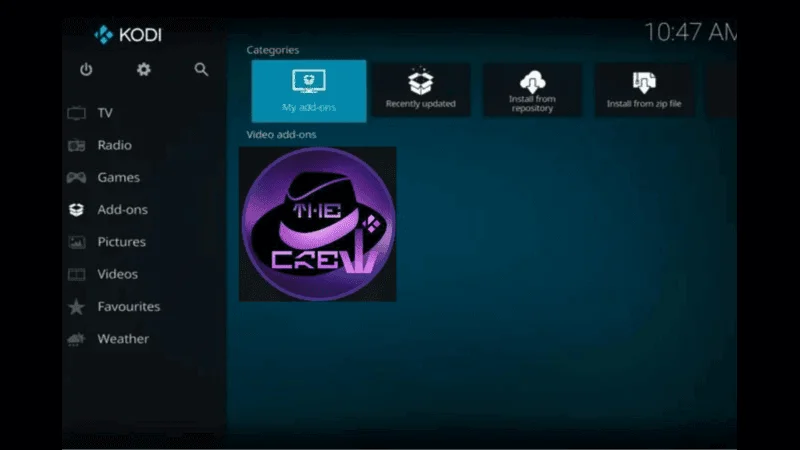
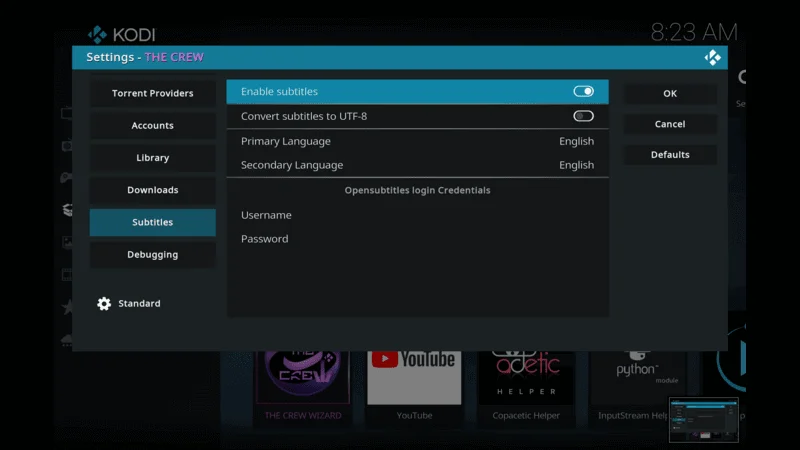
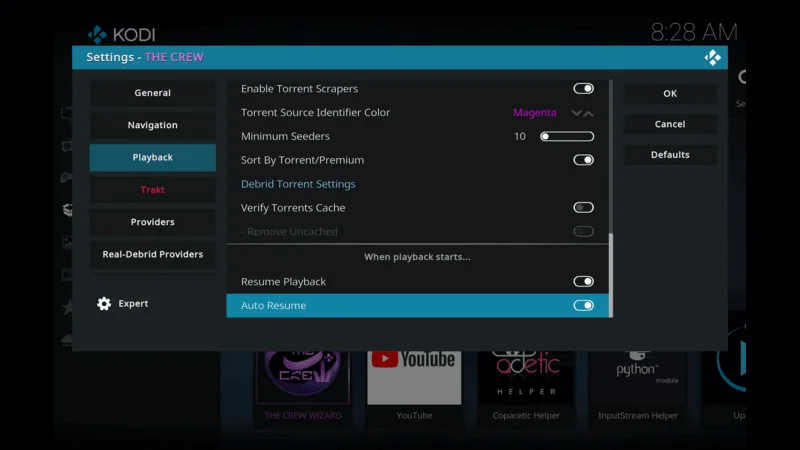
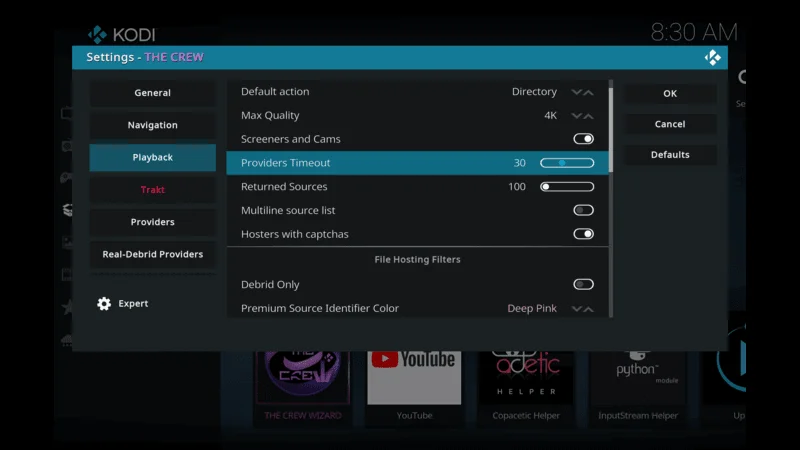
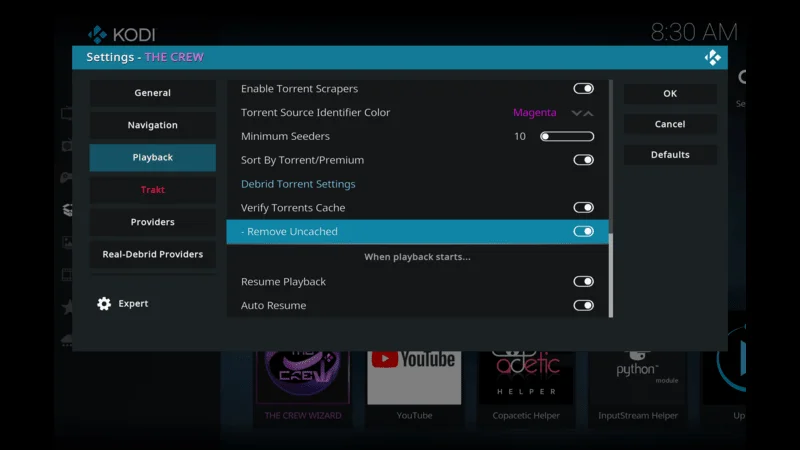
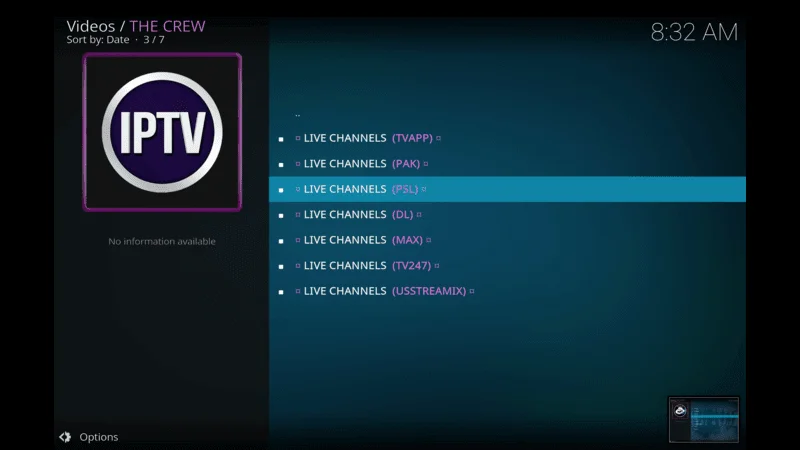
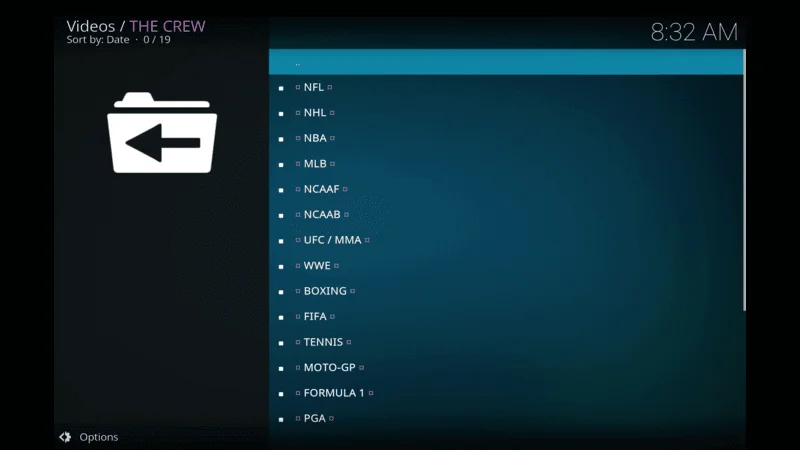
Features: The Crew addon provides a vast library of movies, TV shows, live sports, and IPTV streaming. It supports Real-Debrid and Trakt integration for enhanced functionality, ensuring users can enjoy high-quality streams with minimal buffering. The addon’s user-friendly interface allows for easy navigation through its extensive content catalog, which is regularly updated to include the latest releases and trending media. Moreover, The Crew offers customization options, allowing users to personalize their viewing experience by creating playlists and marking favorite content. Click Here to Read Installations Steps
- Pros: Offers a user-friendly interface, frequent updates, and reliable streaming links.
- Cons: Can be overwhelming for new users due to its extensive content options.
Source URL: https://team-crew.github.io
Exodus Redux
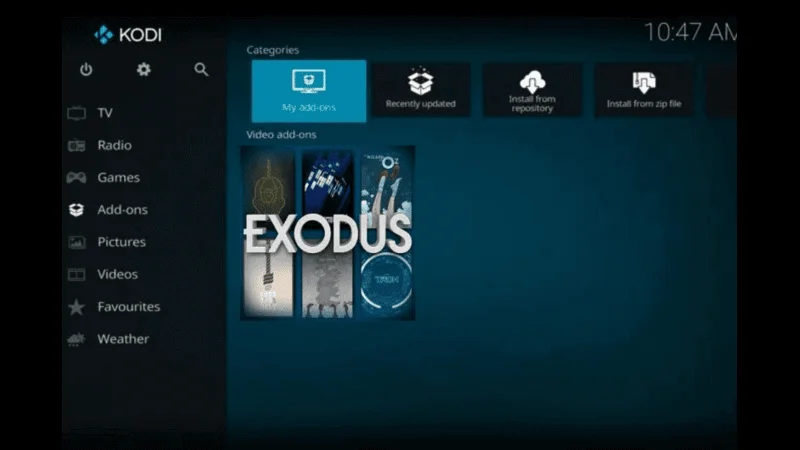
Features: Exodus Redux is renowned for its extensive content library, offering movies, TV shows, documentaries, and more. It supports Trakt integration for personalized content recommendations, ensuring users can discover new shows based on their viewing habits. The addon’s simple navigation system allows for quick access to a wide range of genres and categories, making it easy to find specific titles or explore curated playlists. Additionally, Exodus Redux provides high-quality streaming links sourced from reliable sources, enhancing the overall viewing experience. How to install
- Pros: Simple navigation, high-quality streaming links, and consistent updates.
- Cons: Requires setting up a Real-Debrid account for optimal performance.
Source URL: https://i-a-c.github.io/.Click “OK
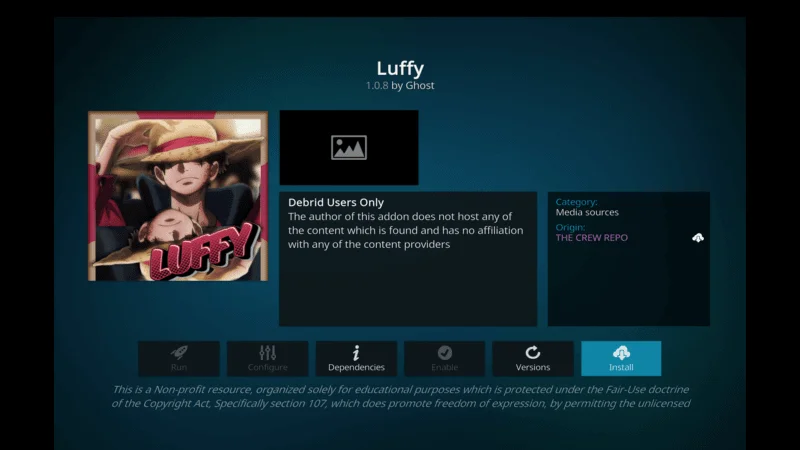
Seren
Features: Seren is known for its premium streaming experience, focusing on high-definition content and integration with Real-Debrid and Trakt. The addon offers smooth playback and automatic caching, ensuring minimal buffering during streaming sessions. Seren’s elegant interface enhances usability, providing intuitive controls for browsing and selecting content. Users can benefit from Seren’s advanced settings, including playback adjustments and subtitle support, to customize their viewing experience further. How to Install
- Pros: Elegant interface, fast loading times, and excellent support for premium services.
- Cons: Limited free content compared to other addons.
Source URL: https://nixgates.github.io/packages
Venom
Features: Venom addon offers a wide range of movies and TV shows with high-quality streaming links. It supports Trakt integration and allows users to search for content across multiple sources. Venom’s comprehensive library includes a diverse selection of genres and categories, catering to varying viewer preferences. The addon prioritizes user experience with its customizable settings, enabling users to manage their watchlist and track watched episodes seamlessly. Installations steps
- Pros: Comprehensive library, reliable playback, and integration with Real-Debrid for enhanced streaming options.
- Cons: Requires occasional manual updates to maintain optimal performance.
Source URL: https://123venom.github.io/.
Fen

Features: Fen addon provides a comprehensive collection of movies, TV shows, and documentaries with support for Real-Debrid and Trakt. It offers reliable sources and HD streaming options, ensuring users can enjoy content in high-definition without interruptions. Fen’s intuitive interface facilitates easy navigation through its extensive content library, allowing users to discover new releases and popular titles effortlessly. The addon’s integration with Trakt enhances personalized recommendations, tailoring content suggestions based on individual viewing history. How to install
- Pros: Intuitive interface, quick access to content categories, and frequent updates.
- Cons: May require additional setup for optimal performance.
B. Music Addons
MP3 Streams
Features: MP3 Streams allows users to stream music tracks and albums directly within Kodi. It offers a vast collection of songs across various genres, ensuring music enthusiasts can discover new artists and genres effortlessly. The addon’s simple interface facilitates quick access to playlists and albums, making it convenient for users to create personalized music libraries within Kodi. MP3 Streams regularly updates its music database to include the latest releases and popular tracks, ensuring users have access to a diverse selection of music content. How to Get
- Pros: Simple interface, quick access to music, and regular updates.
- Cons: Limited in features compared to dedicated music streaming services.
Source URL: https://team-crew.github.io
Spotify
Features: The Spotify addon integrates with Kodi, providing access to Spotify’s extensive music library. Users can browse playlists, albums, and artists seamlessly, enjoying personalized music recommendations based on their listening habits. Spotify addon supports Spotify Premium features, including offline listening and ad-free playback, enhancing the overall music streaming experience within Kodi. The addon’s integration with Kodi’s media library allows for seamless synchronization of playlists and favorites, ensuring users can access their music collection across multiple devices. How to Get
- Pros: Access to Spotify Premium features, personalized recommendations, and playlist synchronization.
- Cons: Requires a Spotify Premium subscription for full functionality.
SoundCloud

Features: SoundCloud addon enables users to discover and stream music tracks from independent artists and labels. It offers a platform for discovering new music across various genres, including electronic, hip-hop, and alternative. SoundCloud’s extensive music library includes tracks uploaded by emerging artists and established musicians, ensuring users can explore diverse music genres within Kodi. The addon’s user-friendly interface facilitates easy navigation through playlists and trending tracks, making it convenient for music enthusiasts to discover new favorites. How to install
- Pros: Free to use with access to a diverse range of music, easy navigation, and integration with Kodi’s media library.
- Cons: Limited official support and occasional playback issues with some tracks.
C. Live TV Addons
Pluto TV
Features: Pluto TV offers over 250 live channels across various genres, including news, sports, entertainment, and more. It’s free to use and supported by advertisements, providing users with access to live TV streaming without requiring a subscription. Pluto TV’s user-friendly interface categorizes channels based on genres and popularity, making it easy for users to navigate and explore content. The addon includes on-demand content options, allowing users to catch up on missed programs and watch popular shows at their convenience. How to install Pluto TV on Kodi
- Pros: Wide selection of channels, user-friendly interface, and on-demand content.
- Cons: Ad-supported model may interrupt viewing experience.
Live NetTV
Features: Live NetTV provides access to live TV channels from around the world, including sports, news, movies, and more. It offers multiple streaming links for each channel, ensuring users can find reliable sources for uninterrupted viewing. Live NetTV’s extensive channel lineup covers a diverse range of genres and languages, catering to international viewers and expatriates. The addon’s simple navigation system allows for quick browsing and selection of channels, enhancing the user experience. How to install Live NetTV on Kodi
- Pros: Extensive channel lineup, regularly updated links, and simple navigation.
- Cons: Some channels may experience intermittent streaming issues.
USTVNow
Features: USTVNow addon offers access to major U.S. television networks, including ABC, CBS, NBC, and more. It’s designed for U.S. military personnel and American citizens living abroad, providing legal streaming of U.S. channels. USTVNow’s HD quality streams ensure users can enjoy high-definition content without interruptions, enhancing the viewing experience. The addon’s user-friendly interface categorizes channels based on genres and networks, making it easy for users to find their favorite shows and programs. How to install USTV Now on Kodi
- Pros: Legal and reliable streaming of U.S. channels, user-friendly interface, and HD quality streams.
- Cons: Limited channel selection compared to other live TV addons.
TVTap
Features: TVTap addon provides live TV streaming from various countries and regions, offering channels in categories such as sports, news, entertainment, and more. The addon’s extensive channel list covers a wide range of languages and genres, ensuring users have access to diverse content options. TVTap’s simple interface categorizes channels based on popularity and genres, facilitating easy navigation and channel selection. The addon’s regular updates ensure users can enjoy reliable streaming links and access to new channels. how to install TVTAP on kodi
- Pros: Simple interface, extensive channel list, and support for multiple languages.
- Cons: May require updates to maintain channel availability and performance.
D. Utility Addons
Trakt
Features: Trakt addon syncs your watched history, ratings, and lists across multiple platforms, ensuring seamless integration with Kodi addons and platforms. The addon enhances personalized content recommendations by analyzing user preferences and viewing habits, suggesting relevant movies and TV shows. Trakt’s user-friendly interface allows for easy management of watchlists and collections within Kodi, ensuring users can organize and track their favorite content effortlessly. How to Use Trakt on Kodi
- Pros: Seamless integration with various addons and platforms, detailed activity tracking, and user-friendly interface.
- Cons: Requires account setup and login for full functionality.
Real-Debrid
Features: Real-Debrid enhances streaming quality by providing premium links from various file hosters, ensuring users can enjoy high-definition streams with minimal buffering. The addon’s compatibility with Kodi addons expands content access, offering reliable sources for movies, TV shows, and live sports. Real-Debrid’s user-friendly interface allows for easy management of premium links and settings within Kodi, enhancing the streaming experience. The addon’s subscription-based model provides users with access to exclusive features and improved streaming capabilities. How to install Real-Debrid on kodi
- Pros: Access to high-quality streams, compatibility with many addons, and unrestricted access to content.
- Cons: Paid subscription required for premium services.
OpenSubtitles
Features: OpenSubtitles addon offers a vast database of subtitles for movies and TV shows in multiple languages, ensuring users can enjoy content with accurate subtitle translations. The addon’s automatic subtitle search feature simplifies the process of finding subtitles within Kodi, allowing users to browse and download subtitles effortlessly. OpenSubtitles’ user-friendly interface categorizes subtitles based on popularity and languages, ensuring users can find relevant subtitles for their favorite movies and TV shows. How to get Open Subtitles on Kodi
- Pros: Free to use, extensive subtitle library, and automatic subtitle synchronization.
- Cons: Requires occasional updates for compatibility with Kodi versions.
This expanded selection of best Kodi addons for 2024 provides users with a comprehensive toolkit for enhancing their Kodi experience across entertainment, music streaming, live TV, and utility functionalities. Each addon offers unique features and benefits, ensuring Kodi remains a versatile platform tailored to diverse user preferences.
Whether you’re streaming movies, discovering new music, or watching live TV, these addons cater to every entertainment need within Kodi, making it a preferred choice for media enthusiasts worldwide.
How to Install Kodi Addons
Kodi addons are essential for expanding the capabilities of your Kodi media player, allowing you to access a wide range of best Kodi addons. Here’s a step-by-step guide on how to install Kodi addons, along with tips to ensure a safe installation process.
A. Step-by-Step Installation Guide
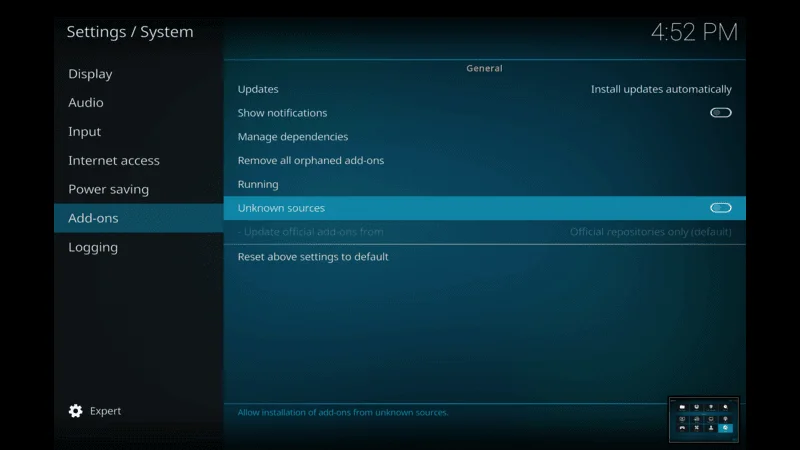
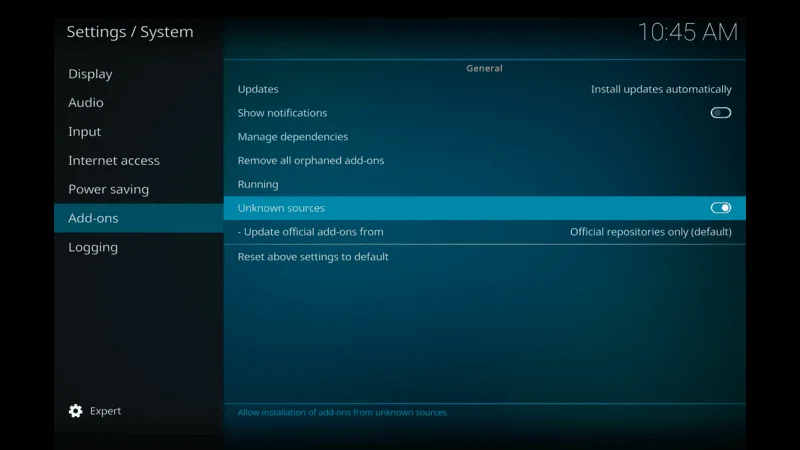
Before installing from third-party repositories, you need to enable Unknown Sources in Kodi’s settings:
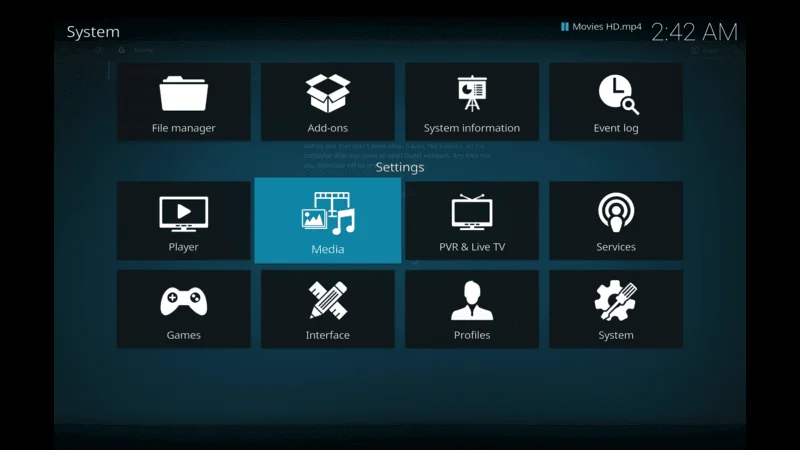
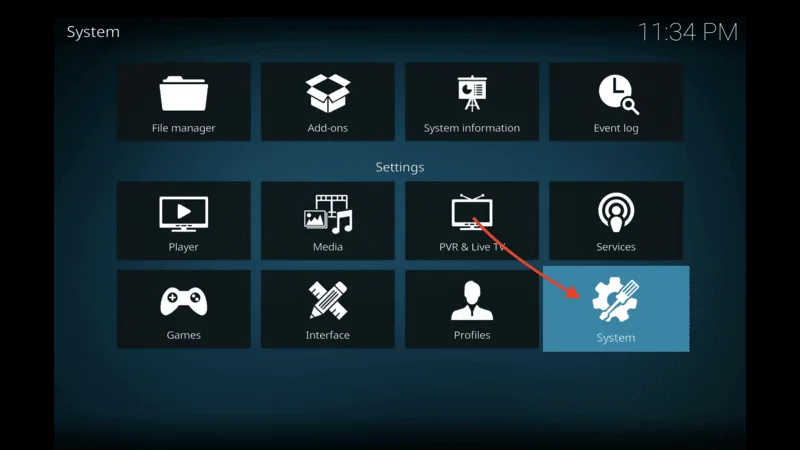
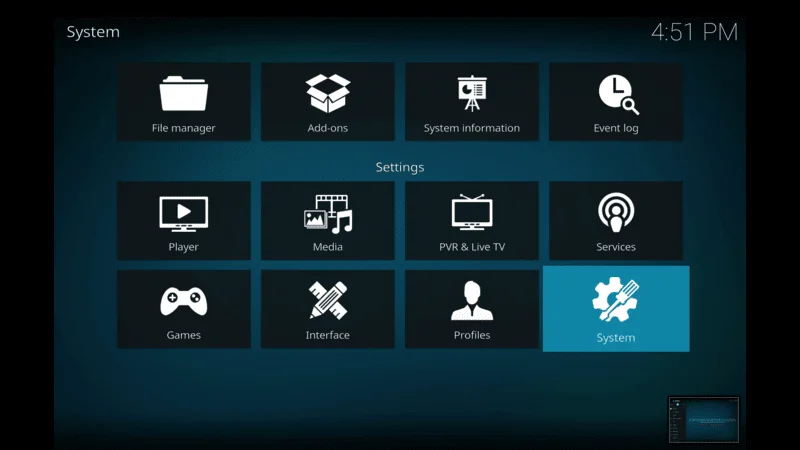
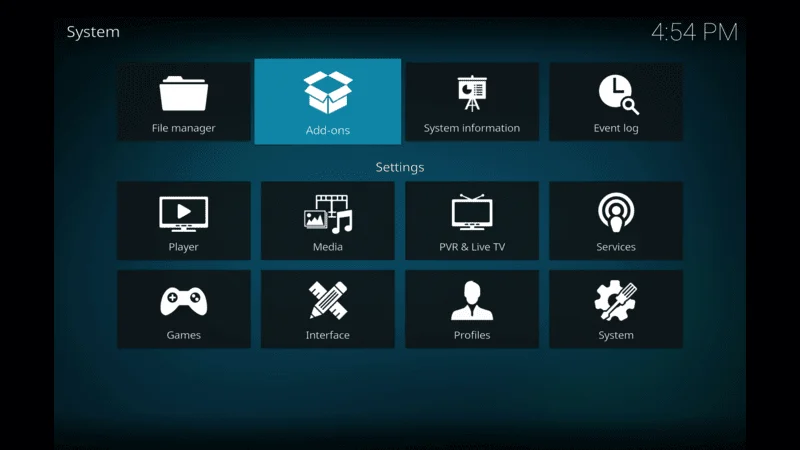
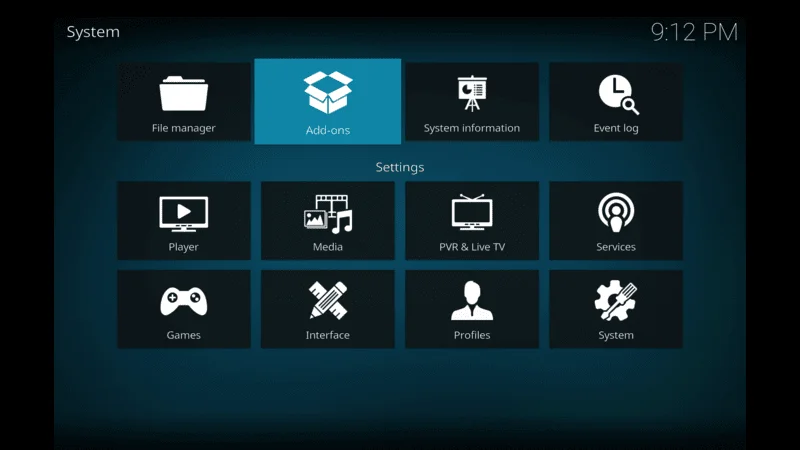
Go to Settings > System > Add-ons.

Toggle Unknown Sources to enable installation from unknown sources. Accept the warning message that appears.
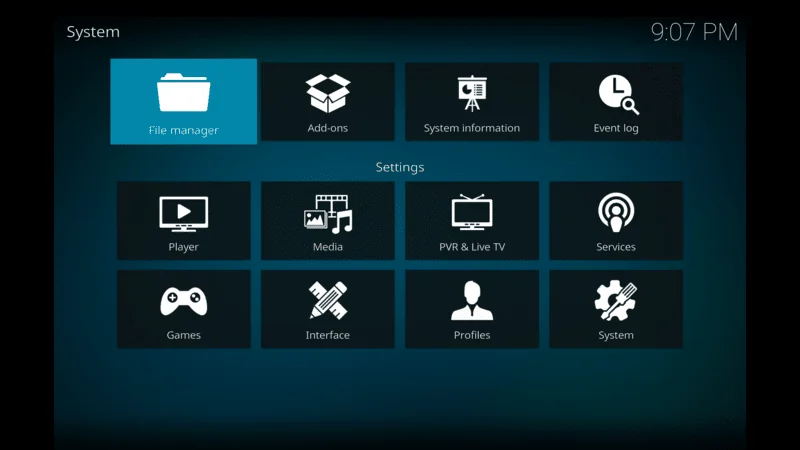
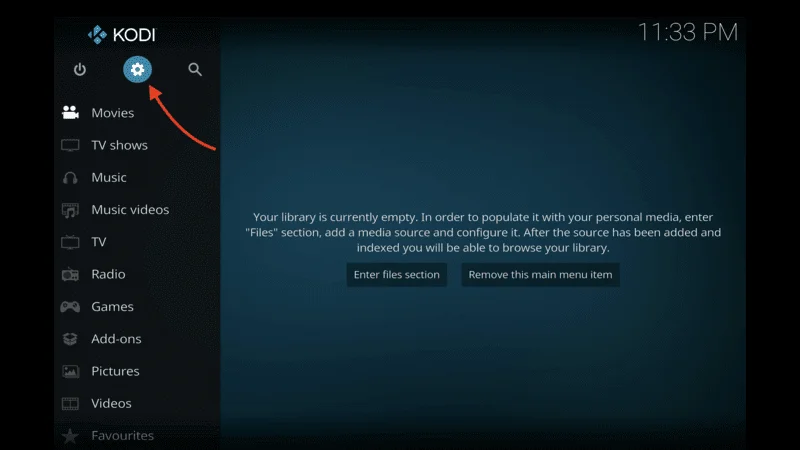
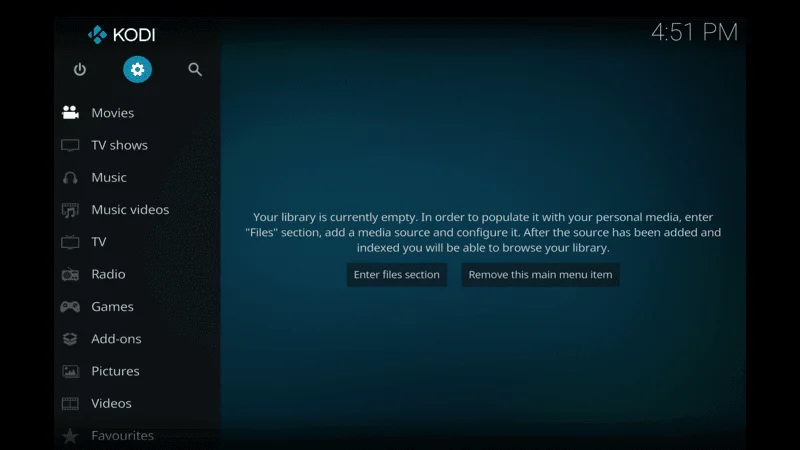
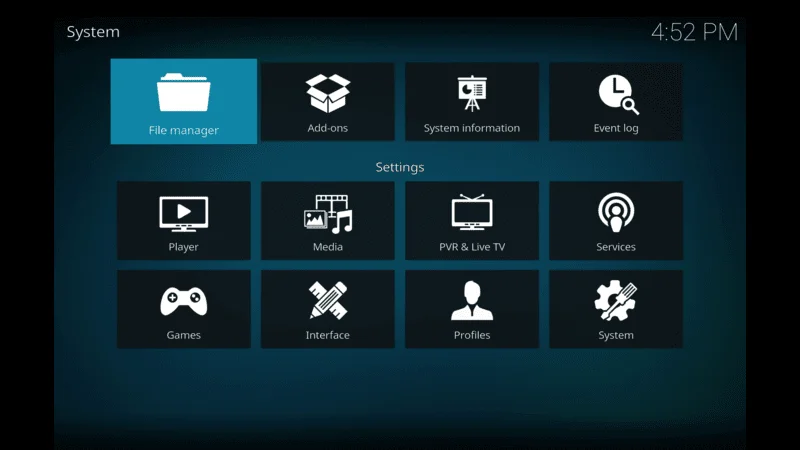
Once enabled, return to the Kodi home screen and click on Settings (the gear icon).

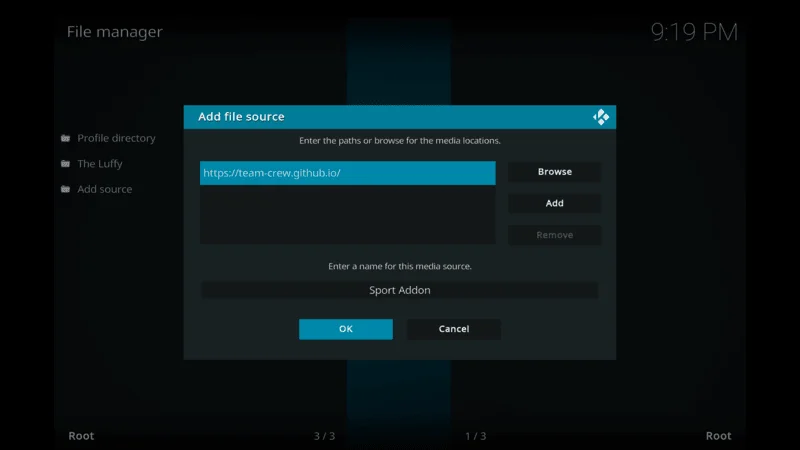
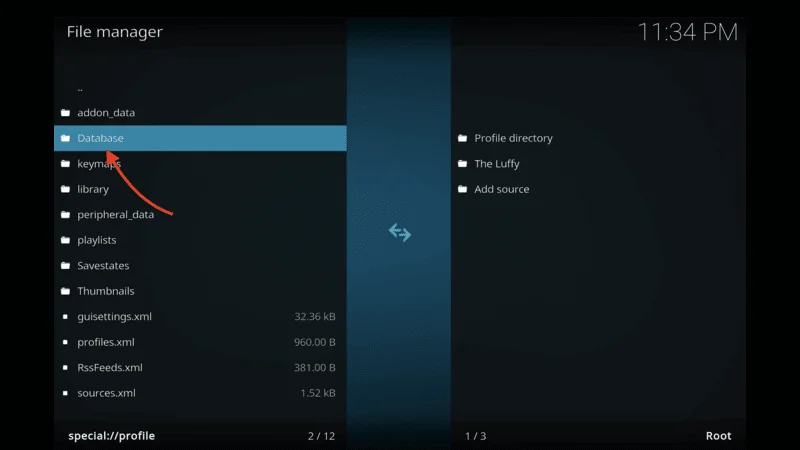
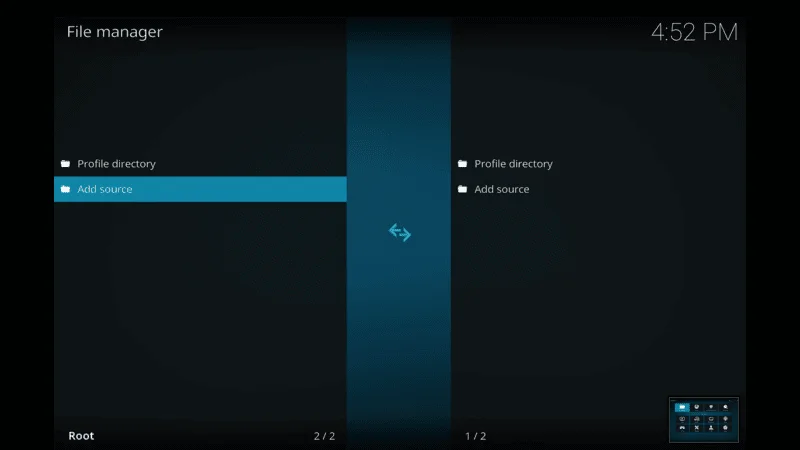
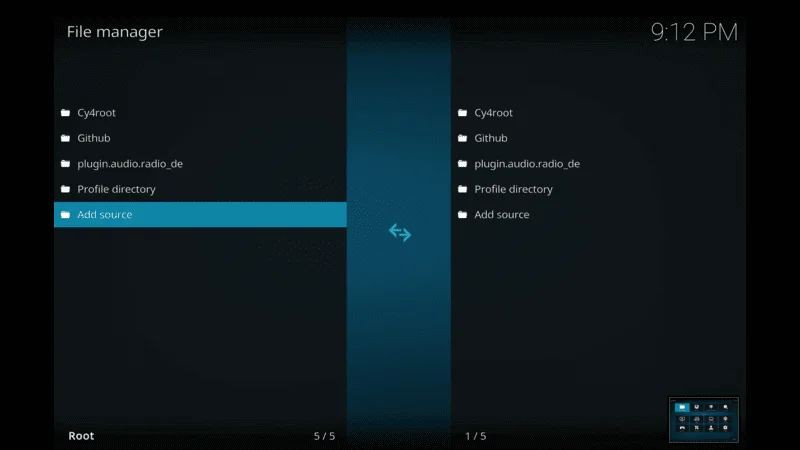
Select File Manager, then click on Add Source.
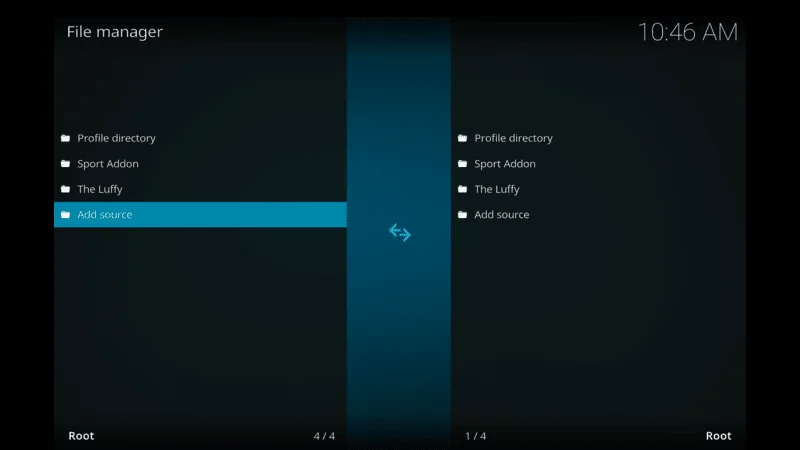
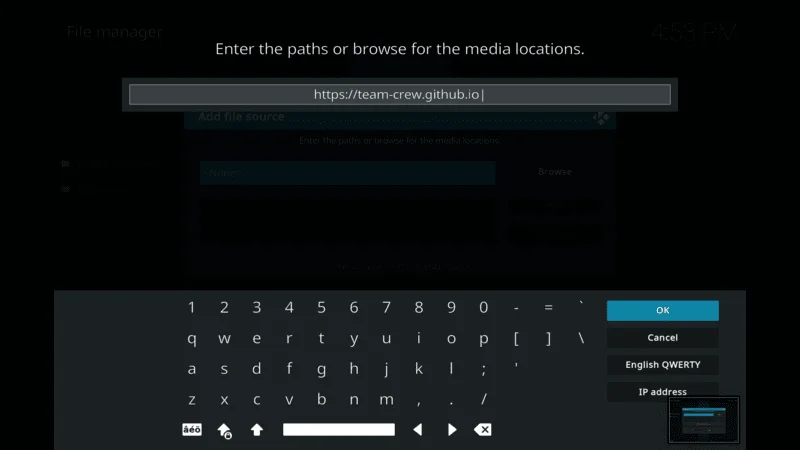
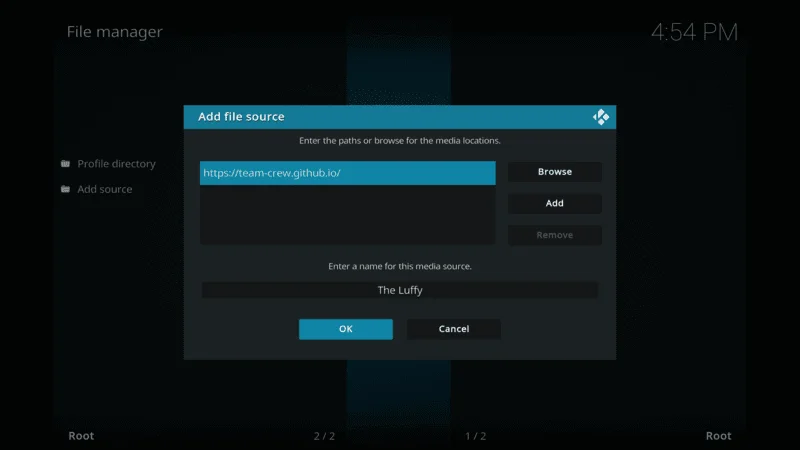
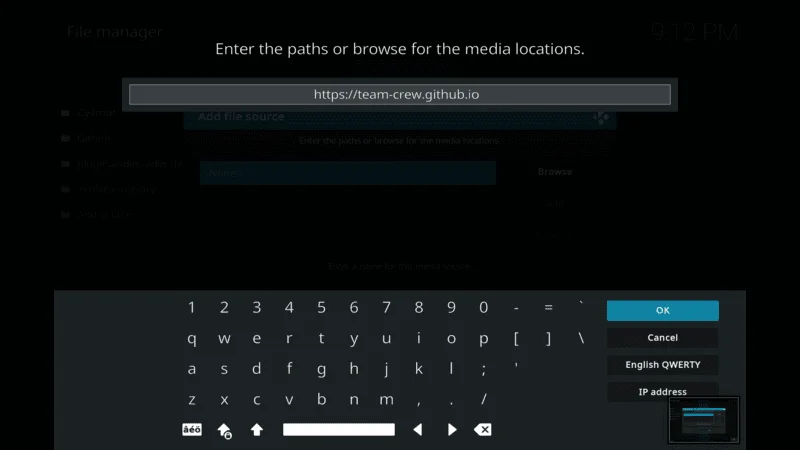
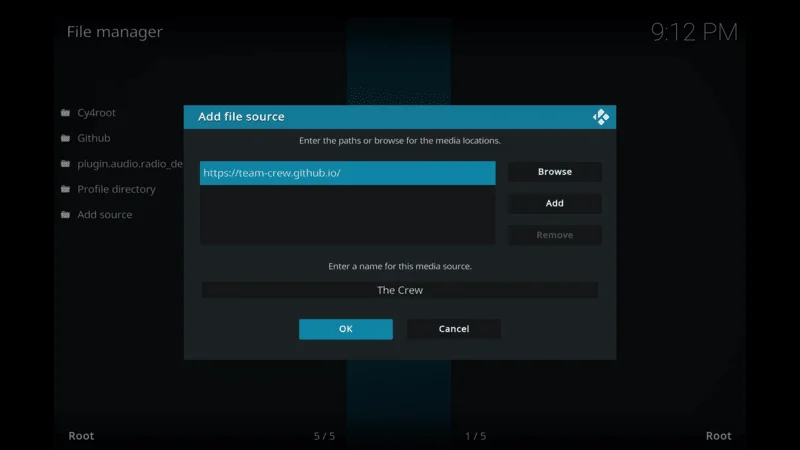
Enter the URL of the third-party repository in the Enter the paths or browse for the media locations field.
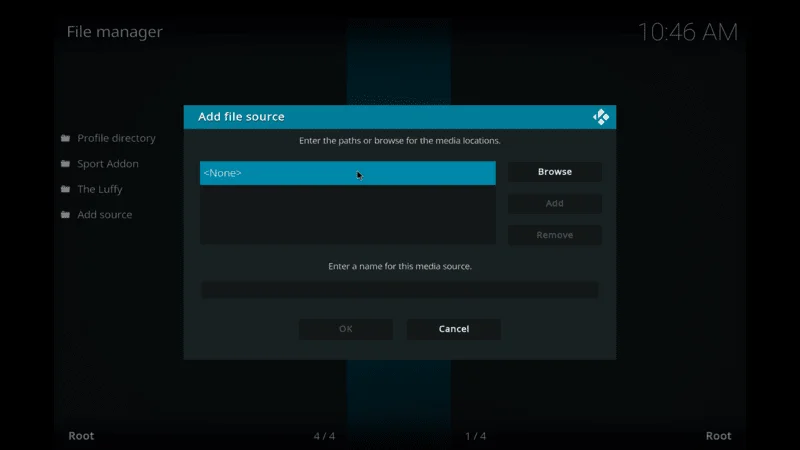
Name the repository in the Enter a name for this media source field (https://nixgates.github.io/packages) and click OK.

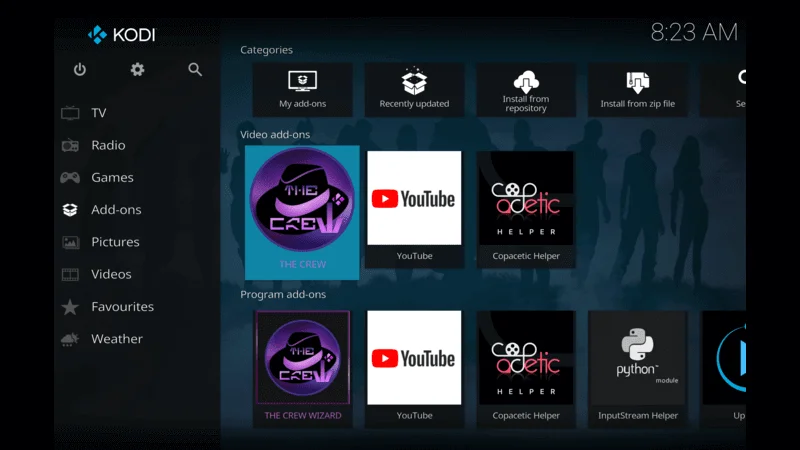
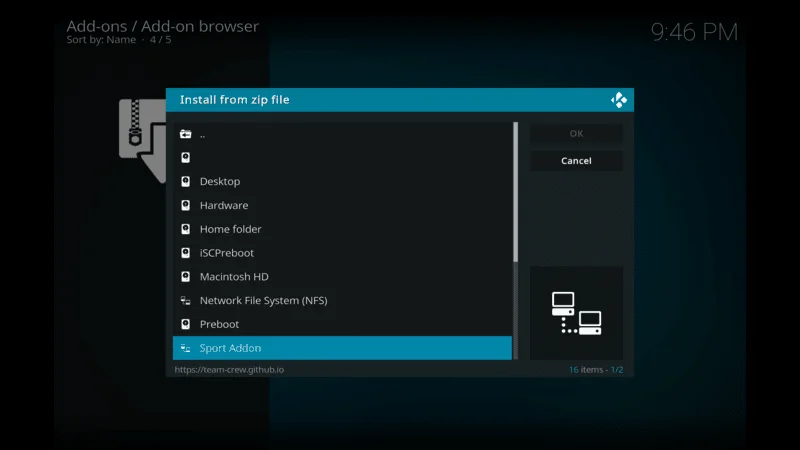
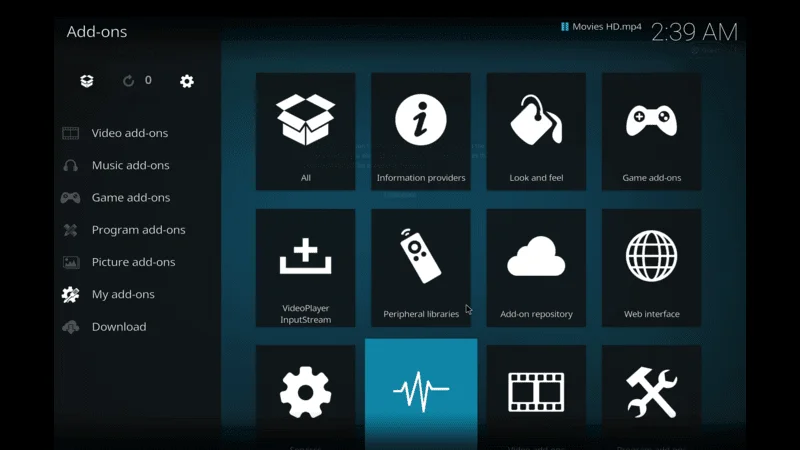
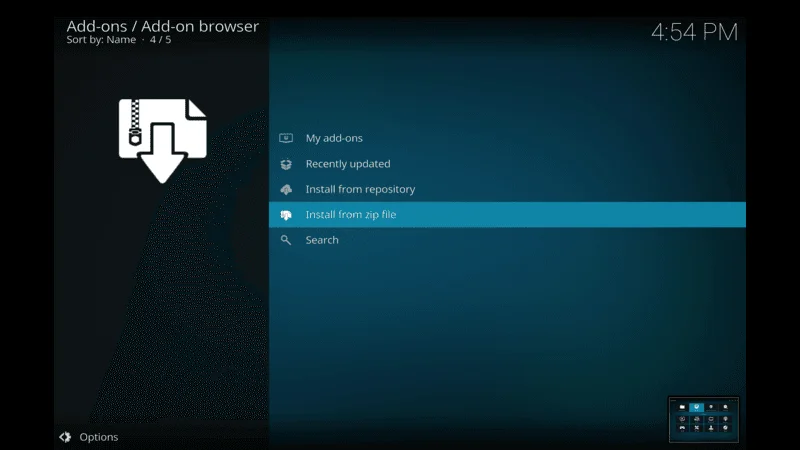
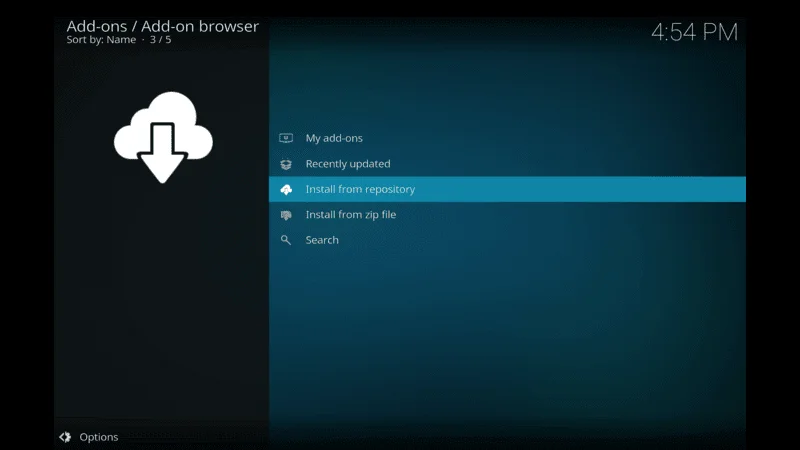
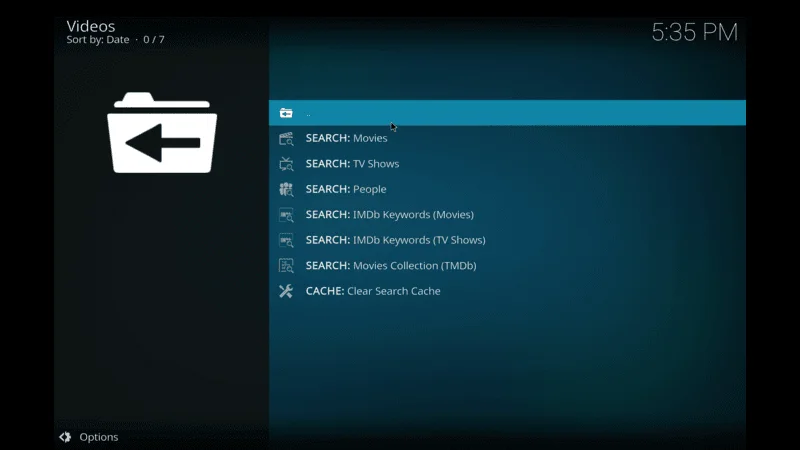
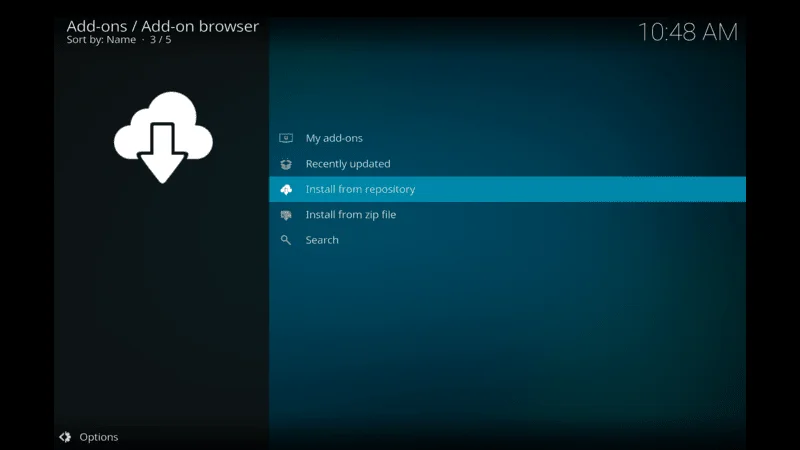
Go back to the home screen, navigate to Add-ons, and click on the Open box icon at the top left.
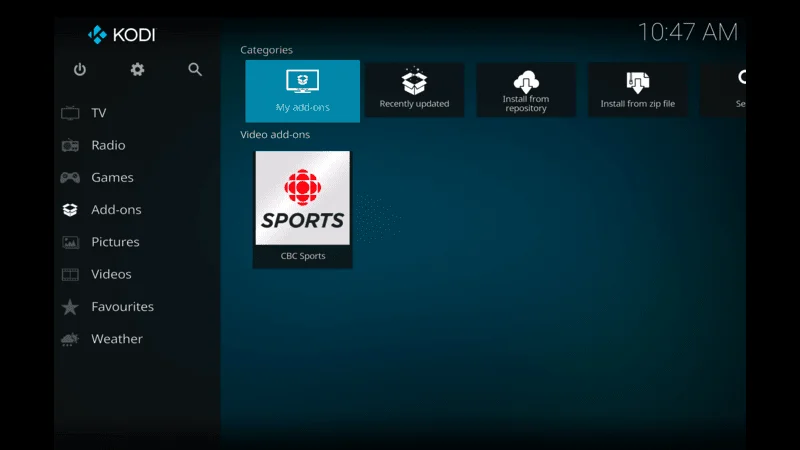
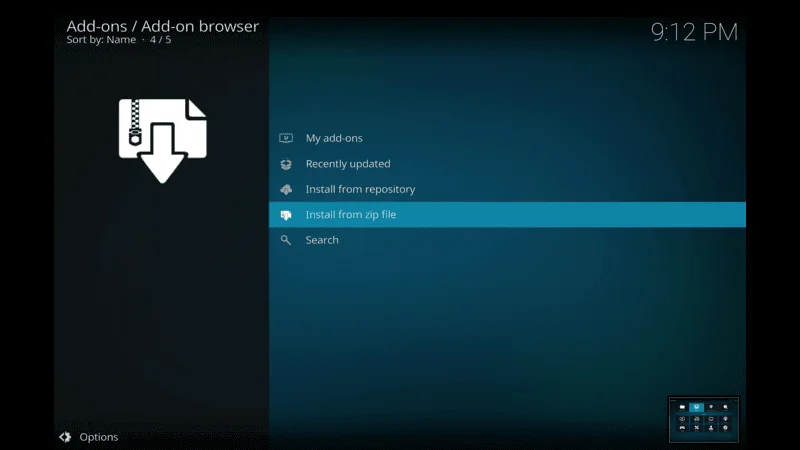
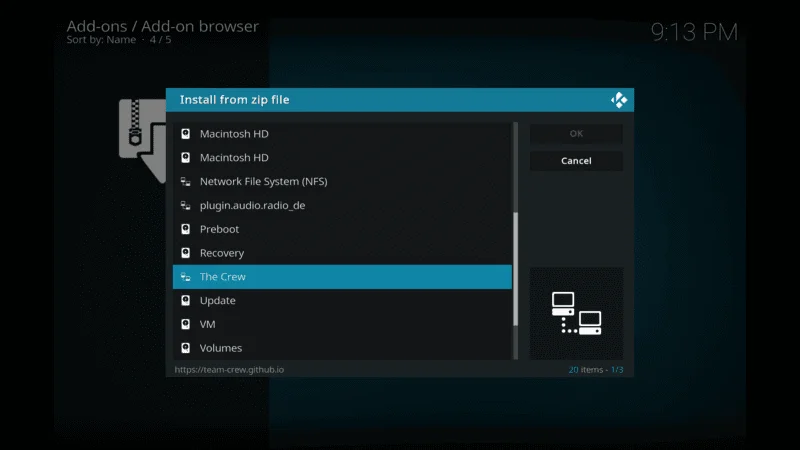
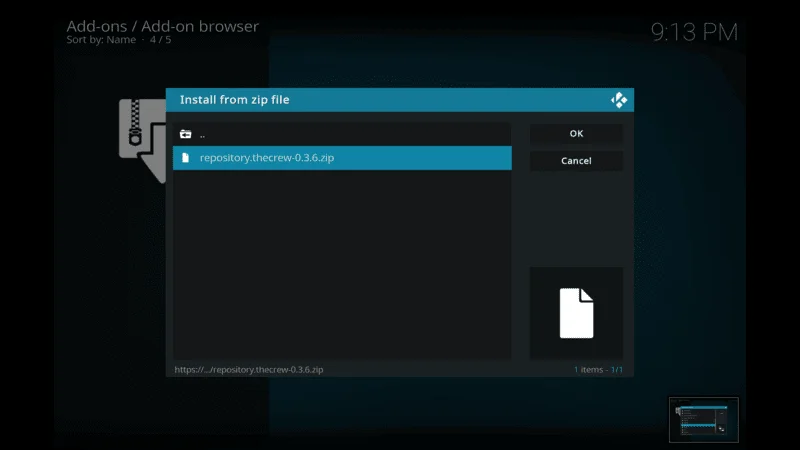
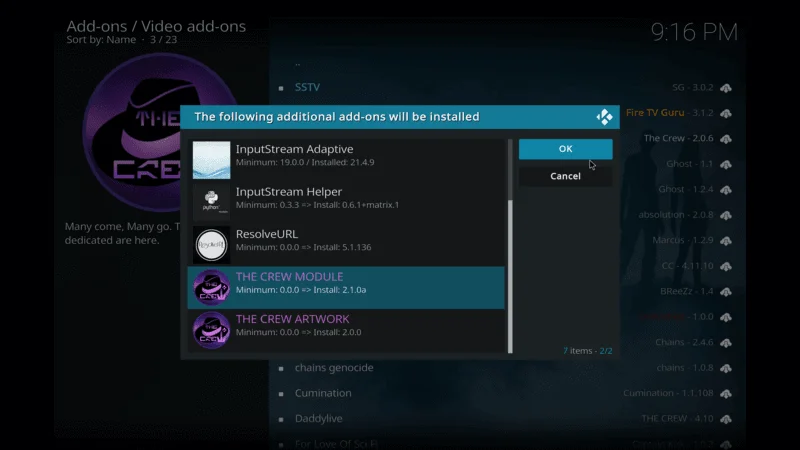
Select Install from zip file, then choose the repository you added ” Package” ,click on the repository zip file to install it. Once installed, you’ll receive a notification.
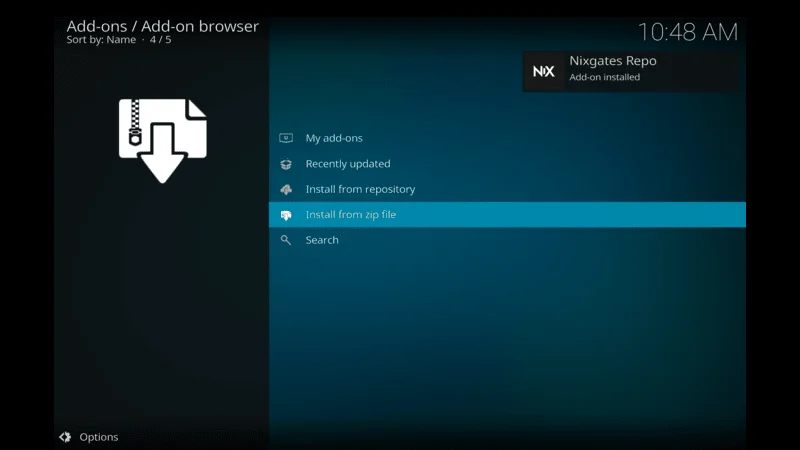
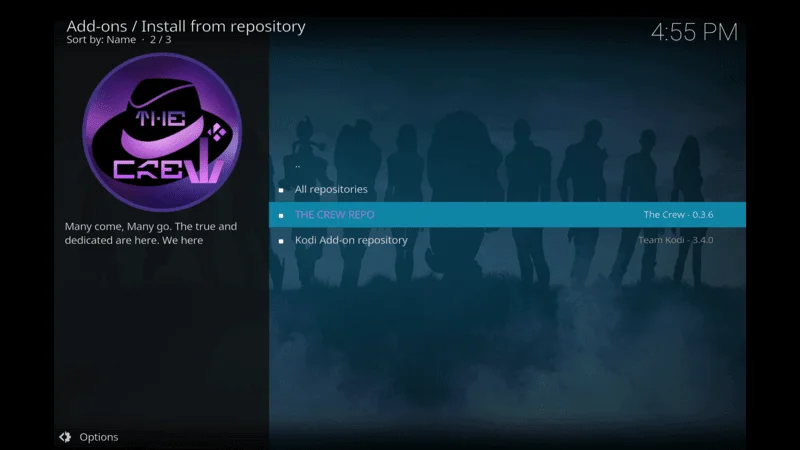
Now, go to Install from repository and select your installed repository to browse and install addons from it.
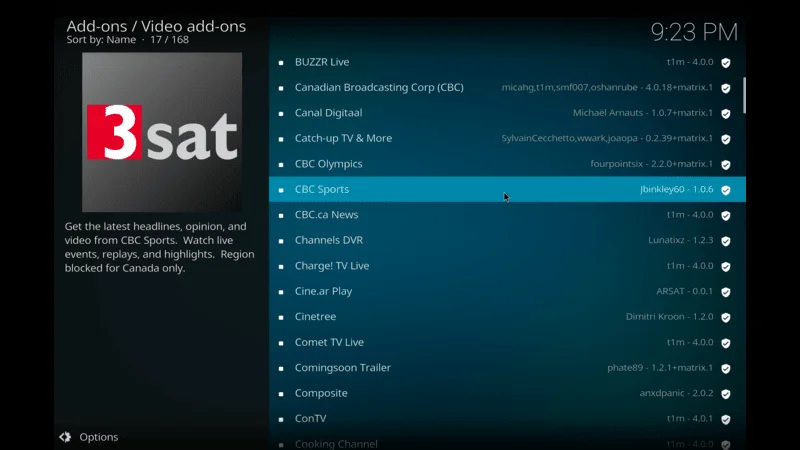
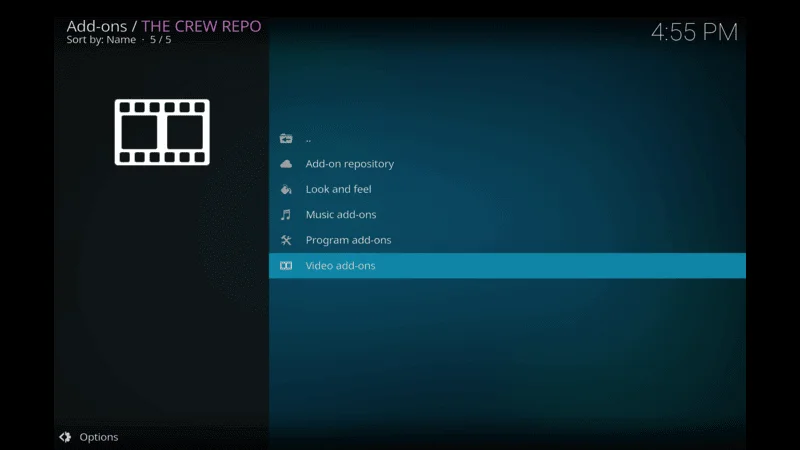
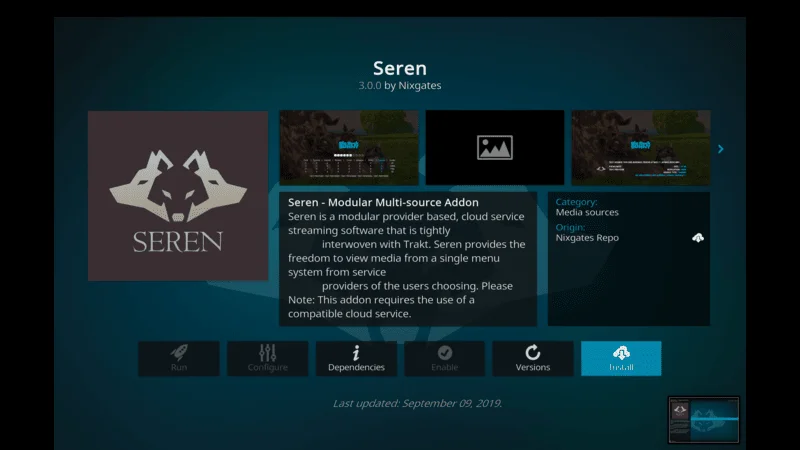
Next select add-on that you have installed

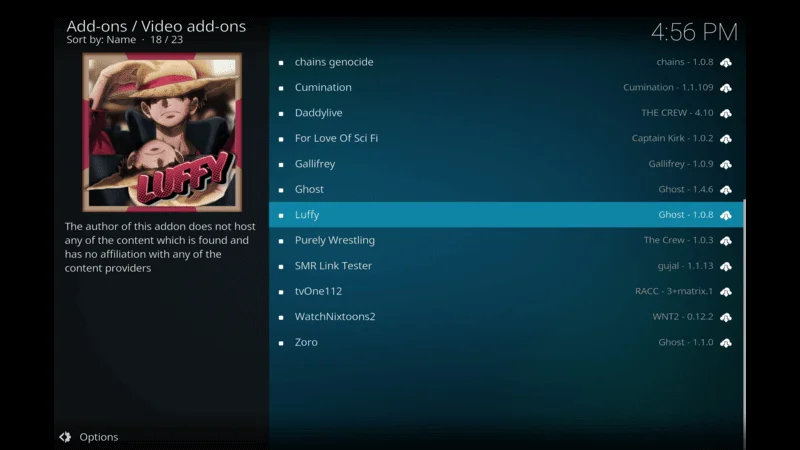
Now click on Video Addons> then Click Seren Addon

Click on Install Button
Wait Until the Seren addon installed
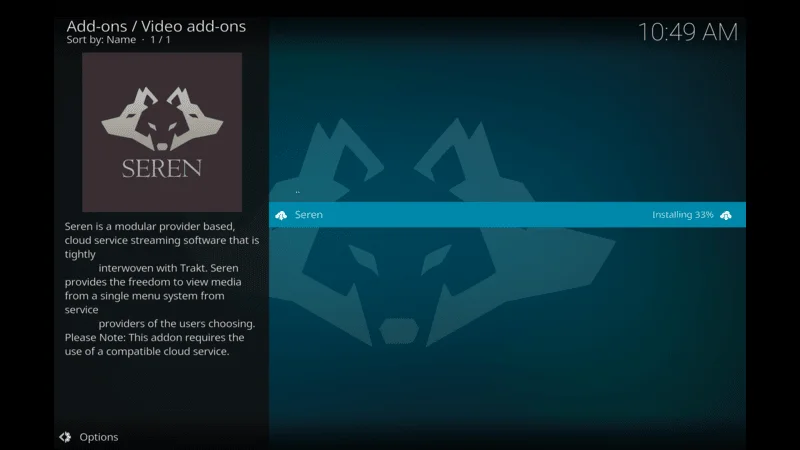
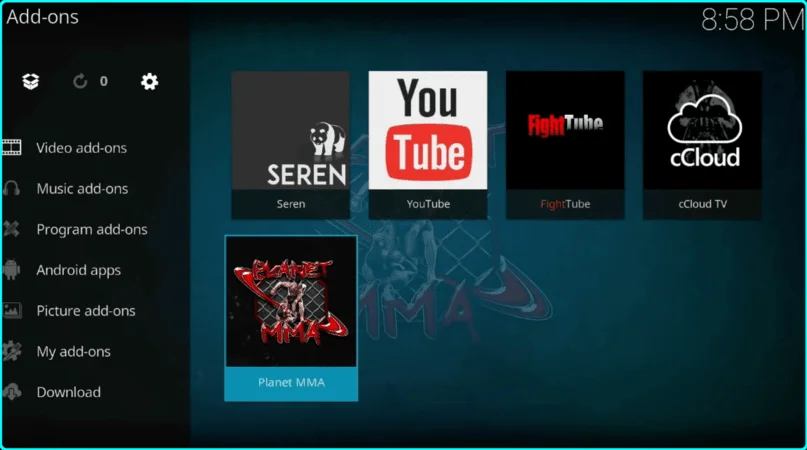
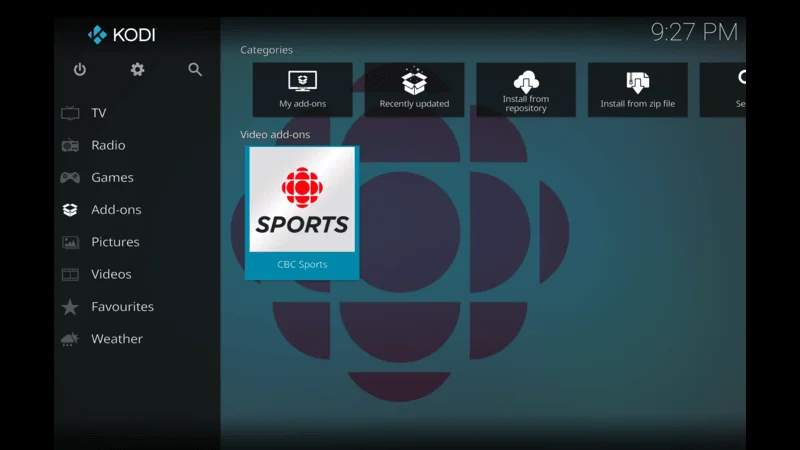
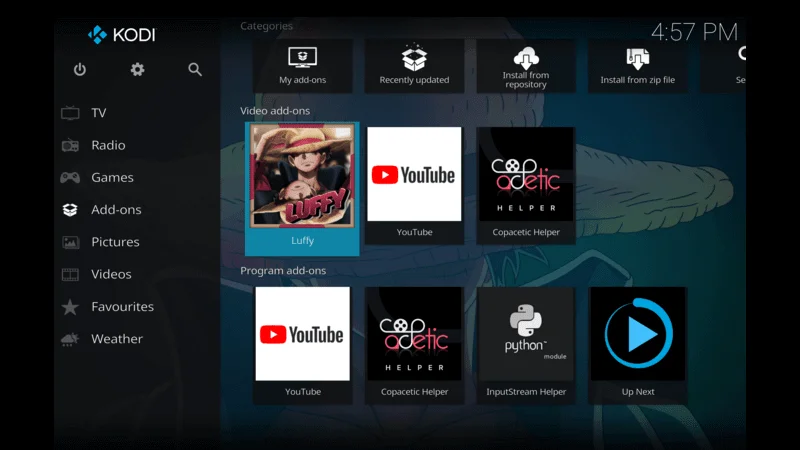
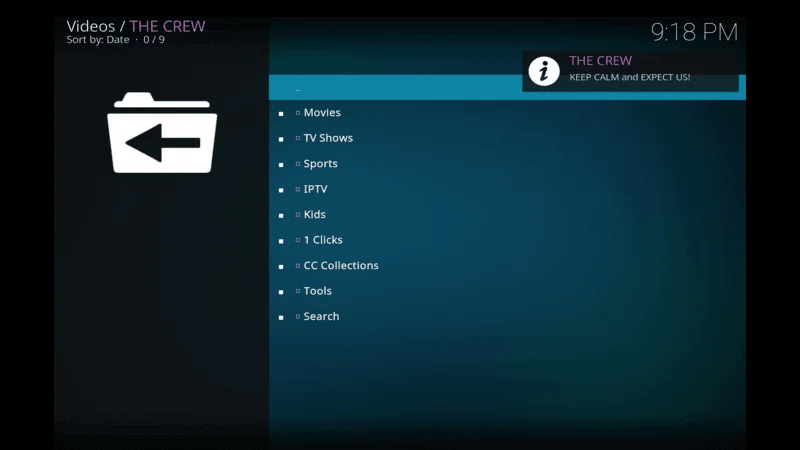
Once the Addon installed Go Back Home Screen> slide down and select Addons, here you find all installed addons select seren Addon

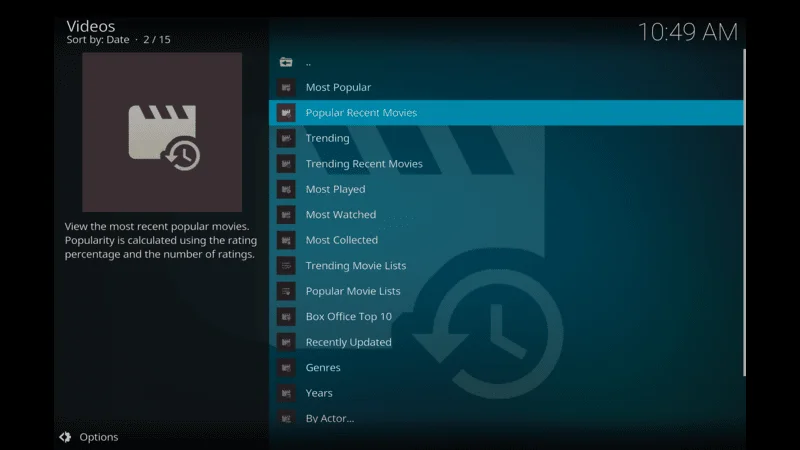
That is it now you watch movies and series on kodi
B. Tips for Safe Installation
To ensure a safe installation experience and protect your privacy while using Kodi addons, consider the following tips:
Use of VPNs (Virtual Private Networks): Use a VPN to encrypt your internet connection and mask your IP address. This helps in bypassing geo-restrictions and ensures anonymity while streaming content through Kodi addons.
Choose a reputable VPN provider that offers fast speeds, strong encryption, and a no-logs policy to safeguard your online activities.
Avoiding Malicious Addons: Stick to addons from trusted sources such as the official Kodi repository or well-known third-party repositories with a good reputation.
Read user reviews and ratings before installing any addon to ensure it’s safe and reliable. Avoid addons with a history of security issues or suspicious behavior.
Regularly update addons to the latest versions provided by their developers to ensure they have the latest security patches and improvements.
By following these steps and tips, you can safely install Kodi addons and enhance your Kodi experience with access to a wealth of entertainment options while protecting your privacy and security online.
Troubleshooting Common Issues
A. Addons Not Working
When Kodi addons fail to work properly, several factors could be responsible. Common causes include outdated addons, dependency issues, server problems, and settings misconfigurations.
- Outdated Addon: Addons may not function correctly if they’re outdated and no longer compatible with the latest Kodi version.
- Dependency Issues: Addons often rely on other components (dependencies) to function correctly. If these dependencies are missing or outdated, the addon may fail to work.
- Server Issues: Sometimes, addon servers may be down or experiencing technical difficulties, affecting functionality.
- Settings Misconfiguration: Incorrect settings within Kodi or the addon itself can lead to operational issues.
To resolve these issues, try the following solutions:
- Update Addons: Ensure all installed addons are updated to the latest version. This can often resolve compatibility issues and improve functionality.
- Check Dependencies: Install any required dependencies for the addon to work properly. Kodi often prompts for dependencies when installing addons, but manual checks may be necessary.
- Verify Server Status: Check if the addon’s repository or source server is operational. Server downtime can affect addon performance.
- Reset Addons and Kodi: Sometimes, resetting the addon or even Kodi itself can resolve persistent issues caused by misconfigurations or conflicts.
B. Buffering Problems
Buffering issues during video playback on Kodi can be particularly frustrating, disrupting the viewing experience. Understanding the common causes and implementing effective solutions can help mitigate these problems and ensure smoother streaming.
Common Causes:
- Slow Internet Connection: Insufficient internet speed or a fluctuating connection can lead to buffering problems.
- High Traffic: Peak usage times can strain streaming servers, causing buffering as the server struggles to keep up.
- Device Limitations: Older or underpowered devices may struggle to handle high-definition streams, leading to buffering.
- Addons Configuration: Incorrect settings within the addon related to buffering settings or streaming quality can cause issues.
Solutions:
- Check Internet Speed: Ensure your internet connection meets the minimum requirements for streaming. Consider upgrading your internet plan if necessary.
- Reduce Network Load: Disconnect other devices from the network or pause downloads/uploads that may be consuming bandwidth.
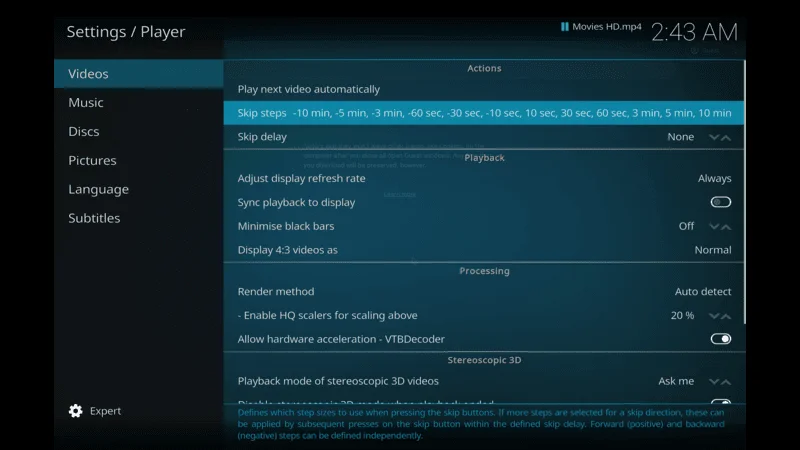
- Adjust Kodi Settings: In Kodi settings, navigate to Player Settings > Videos, and adjust the Cache Size and Read Buffer Factor. Increasing these values can help reduce buffering by allowing Kodi to preload more data.
- Use Real-Debrid or Premium Services: Consider using services like Real-Debrid that offer premium links with higher bandwidth and reduced buffering.
- Lower Streaming Quality: If buffering persists, lower the streaming quality within the addon settings. This reduces the data demand and may alleviate buffering issues on slower connections.
C. Compatibility Issues
Compatibility issues can arise when addons are not fully compatible with your Kodi setup, leading to functionality problems. Understanding common causes and implementing effective solutions can help resolve these issues.
Common Causes:
- Kodi Version: Newer Kodi versions may not be fully compatible with older addons, leading to functionality issues.
- Operating System Compatibility: Some addons may be designed specifically for certain operating systems (e.g., Windows, Android) and may not work well on others.
- Hardware Limitations: Older devices with limited processing power may struggle to run newer addons or addons that demand higher performance.
Solutions:
- Update Kodi: Ensure Kodi is updated to the latest stable version. Developers often release updates to address compatibility issues with addons.
- Check Addon Requirements: Review the addon’s documentation or developer notes for compatibility requirements. Ensure your device and operating system meet these specifications.
- Use Compatible Addons: If an addon consistently fails to work on your setup, consider using alternative addons known to be compatible with your Kodi version and device.
- Seek Community Help: Join Kodi forums or communities to seek advice from other users who may have encountered and resolved similar compatibility issues.
By following these troubleshooting steps, you can address common issues with Kodi addons, ensuring a smoother and more enjoyable media streaming experience on your Kodi device.
Legal and Ethical Considerations
Using Kodi addons for media consumption comes with legal and ethical responsibilities. Understanding these aspects is crucial to avoid legal issues and promote responsible usage.
B. Using Addons Responsibly
To use Kodi addons responsibly:
- Choose Legal Sources: Use addons that provide access to content legally obtained through authorized sources and services.
- Avoid Piracy: Refrain from using addons that facilitate access to pirated content, including unauthorized streams and downloads.
- Respect Licensing Terms: Adhere to licensing terms and conditions when using subscription-based services and streaming platforms.
C. Risks of Using Pirated Content
Using pirated content through Kodi addons poses several risks:
- Legal Consequences: Engaging in piracy can result in legal action from copyright holders, leading to fines, injunctions, or criminal charges.
- Malware and Security Risks: Addons offering pirated content may expose users to malware, spyware, and other security threats.
- Unreliable Sources: Pirated streams and downloads often lack quality control and may be unreliable or contain malicious software.
D. Promoting Legal Alternatives
Supporting legal alternatives helps sustain the entertainment industry while mitigating risks:
- Subscription Services: Use legitimate streaming services and platforms that offer content through legal channels.
- Public Domain Content: Access movies, music, and literature available in the public domain, which are free from copyright restrictions.
- Creative Commons Works: Use and share Creative Commons licensed content, which allows for legal distribution under specific terms and conditions set by the copyright holder.
By promoting and using legal alternatives, you can enjoy a safe, reliable, and ethical media consumption experience.
Conclusion
Adhering to copyright laws, using Kodi addons responsibly, avoiding pirated content, and promoting legal alternatives are essential practices for ethical media consumption. By understanding and respecting legal frameworks and ethical considerations, users can enjoy Kodi’s capabilities while contributing to a sustainable and lawful digital environment.