Are you tired of shelling out cash for streaming subscriptions and feeling restricted by limited content? Well, say hello to a whole new era of entertainment with Kodi Nexus on Windows. In this ultimate guide, we’re dishing out step-by-step instructions to get Kodi Nexus up and running on your Windows device. Get ready to dive into a world of endless movies, TV shows, music, and more!
With Kodi Nexus, you’re not just limited to one source of content. You can stream stuff from your own stash, online repositories, and even catch live TV channels. Plus, its user-friendly interface and customization options mean you can tailor your entertainment experience to suit your style.
Whether you’re a film buff, a sports nut, or a music aficionado, Kodi Nexus has something awesome for you. And the best part? It’s just a few clicks away from turning your Windows device into a total entertainment powerhouse.
So, ready to kick things up a notch? Follow our guide and unleash the full potential of Kodi Nexus on Windows today!
Benefits of Installing Kodi Nexus on Windows
Access to Unlimited Content: Kodi Nexus opens the door to a massive library of movies, TV shows, music, and more, sourced from all over. Say so long to the limits of regular streaming services and dive into a whole new realm of content.
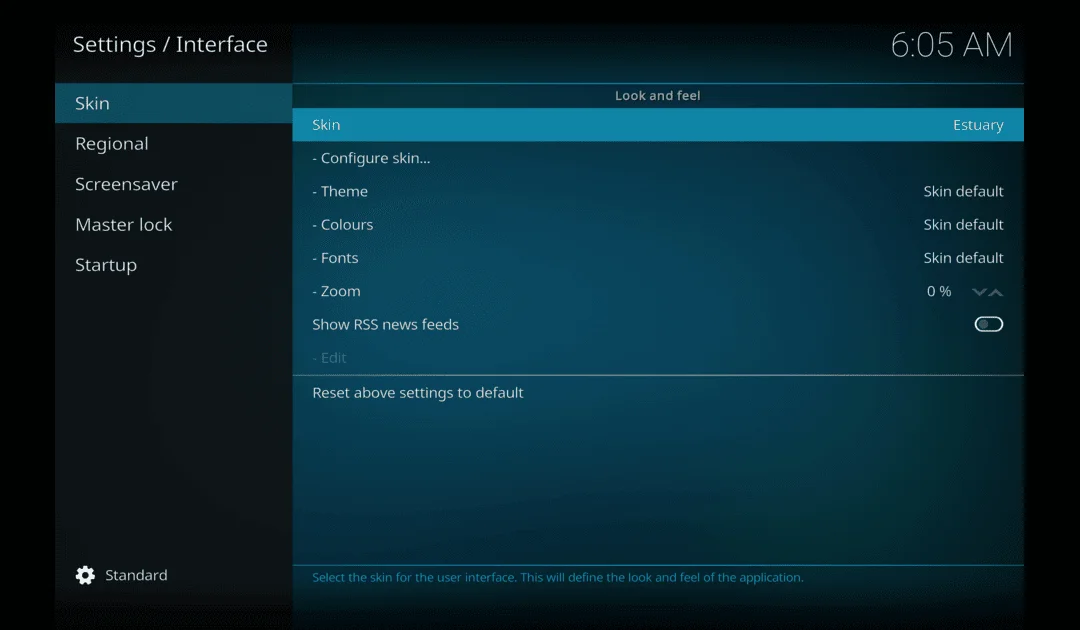
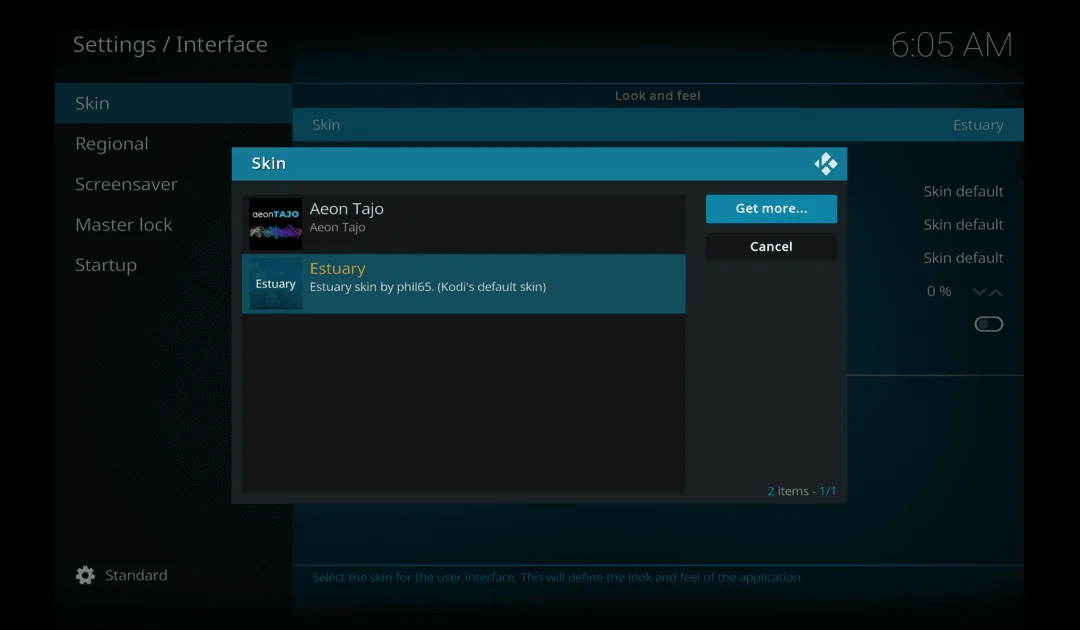
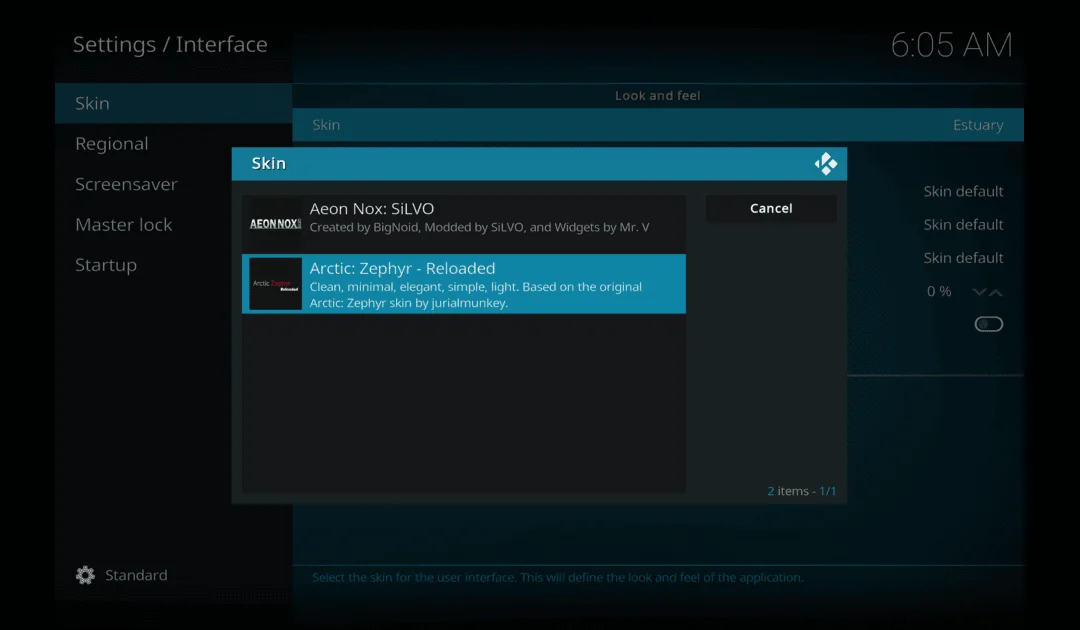
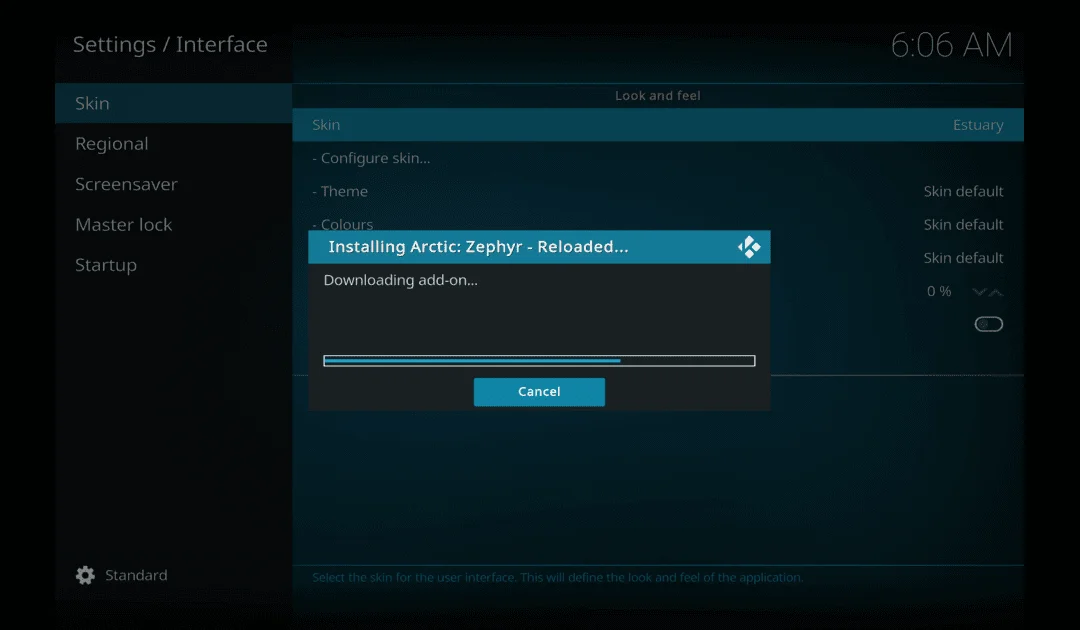
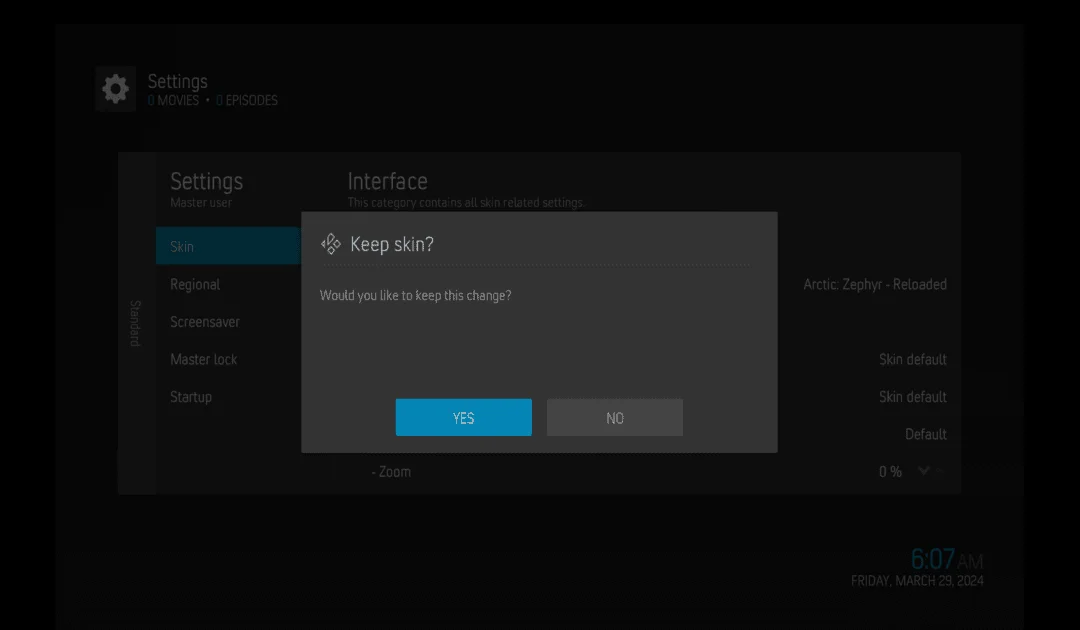
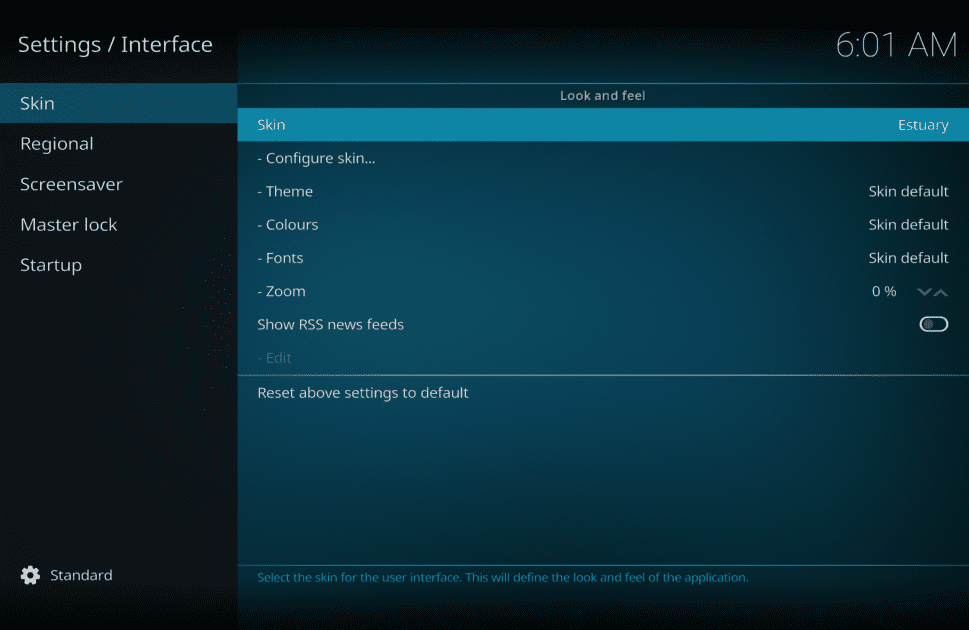
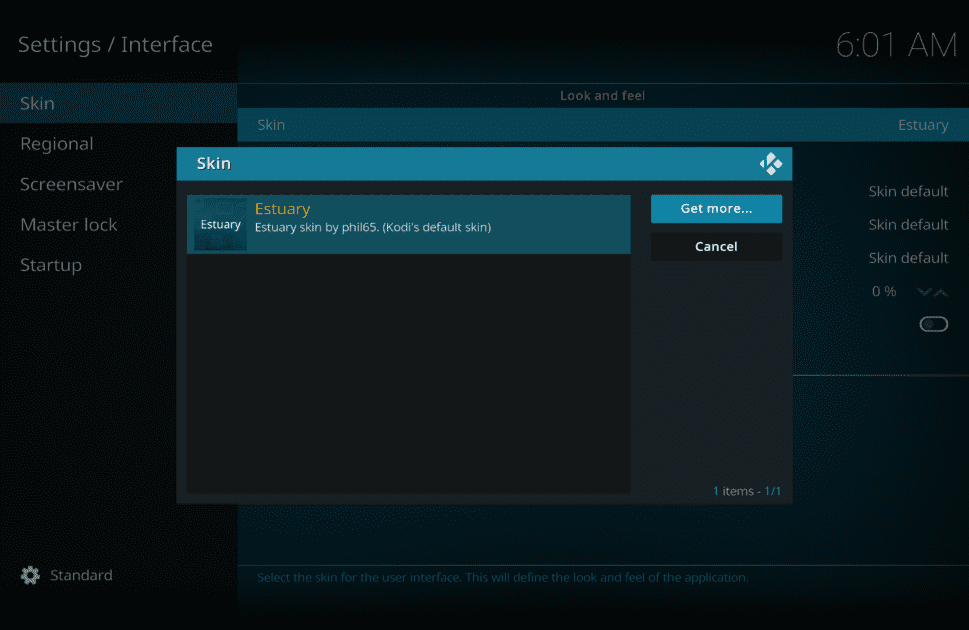
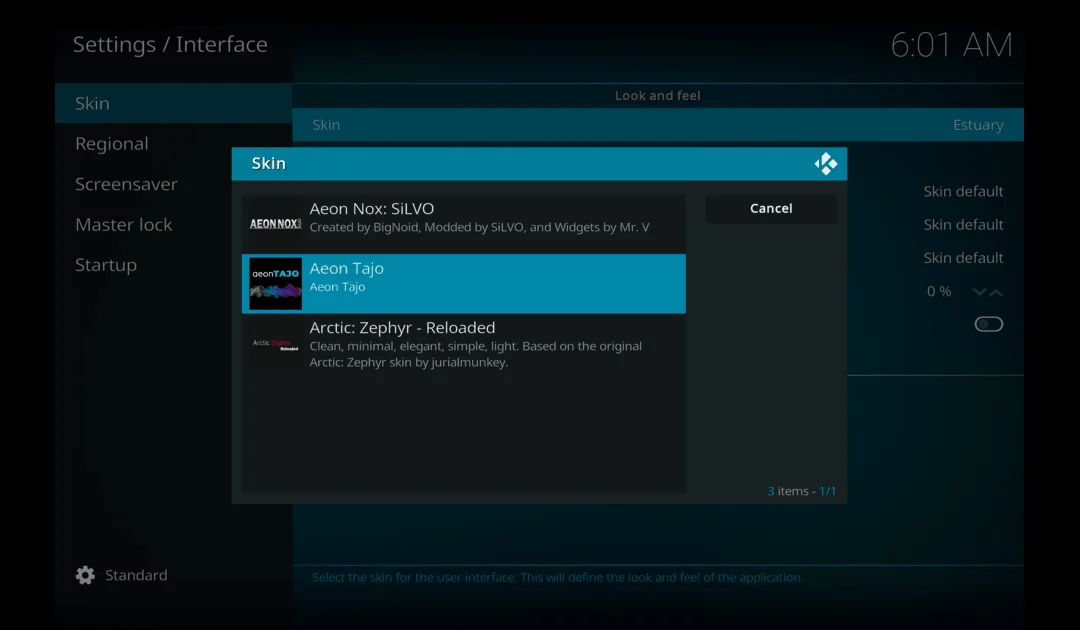
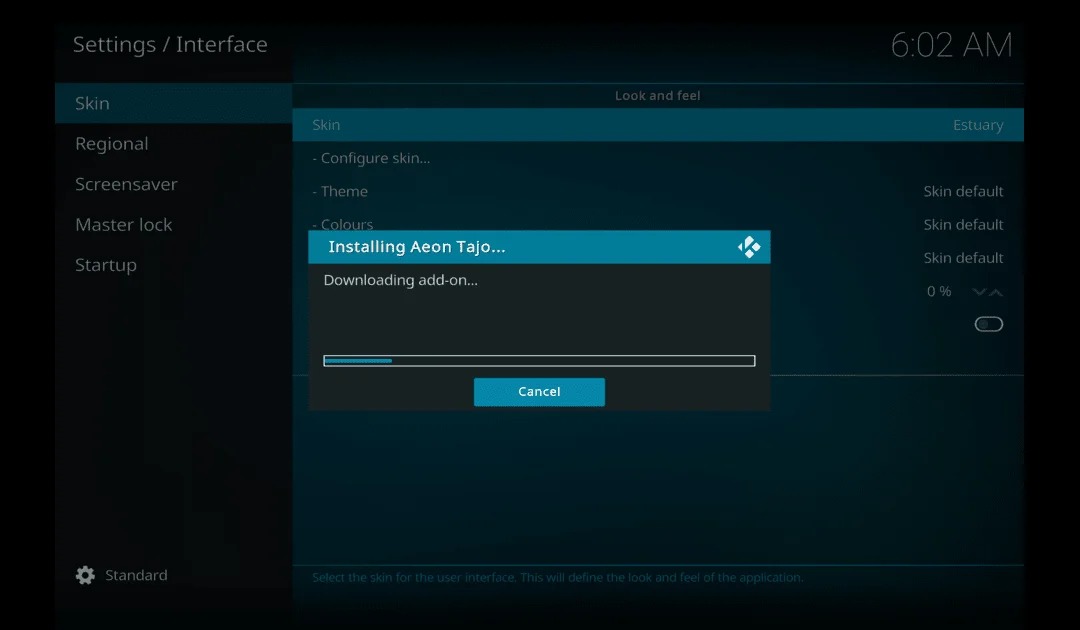
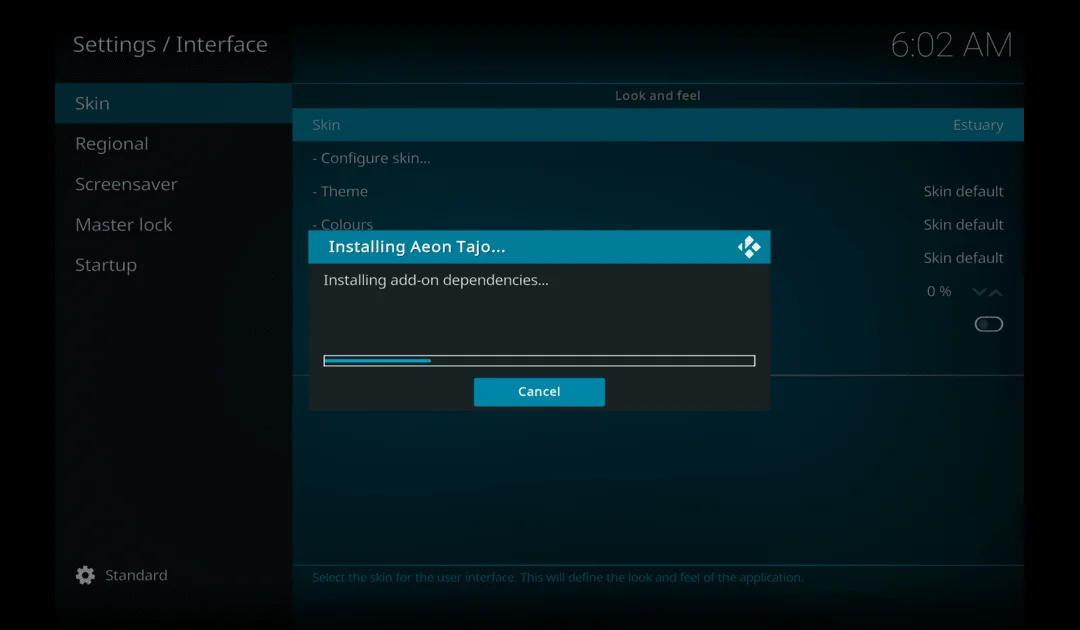
Personalization Galore: With Kodi Nexus, it’s all about making it your own. You’ve got loads of options to tweak things just how you like them. From funky skins and themes to crafting your own playlists, you’re the boss of your entertainment experience.
Live TV Magic: One of Kodi Nexus’ coolest tricks? Bringing live TV right into your media library. Catch your favorite shows and sports events as they happen, no extra subscriptions needed.
Works Everywhere: Kodi Nexus isn’t just for Windows—it plays nice with Android, iOS, macOS, and more. So whether you’re on your phone, tablet, or computer, your media library’s right there with you.
Add-Ons Galore: Kodi Nexus isn’t done impressing yet. It’s got a boatload of add-ons to supercharge its abilities. From streaming giants like Netflix and Hulu to handy weather and news widgets, these add-ons take Kodi Nexus to the next level and tailor it just for you.
System Requirements for Installing Kodi Nexus on Windows
Before diving into setting up Kodi Nexus on Windows device, ensure your system meets the minimum requirements. Firstly, verify that your Windows version is at least Windows 7 or newer to support Kodi Nexus. A dual-core processor or better is recommended for smooth performance, particularly for handling high-definition content. Aim for a minimum of 2GB of RAM, though 4GB is preferable for an enhanced experience.
Check your device’s storage space to ensure there’s enough room for Kodi Nexus and your media library, typically requiring a few gigabytes. While a dedicated graphics card isn’t essential, it can enhance visual quality and performance, especially with HD content; ensure you have the latest drivers installed if applicable. Once you’ve confirmed your system meets these requirements, you’re ready to proceed with the step-by-step installation of Kodi Nexus on your Windows device. Let’s get started!
Install Kodi Nexus on Windows
Installing Kodi Nexus on your Windows device is a breeze with these simple steps:
Step 1: Download the Kodi Nexus Installer
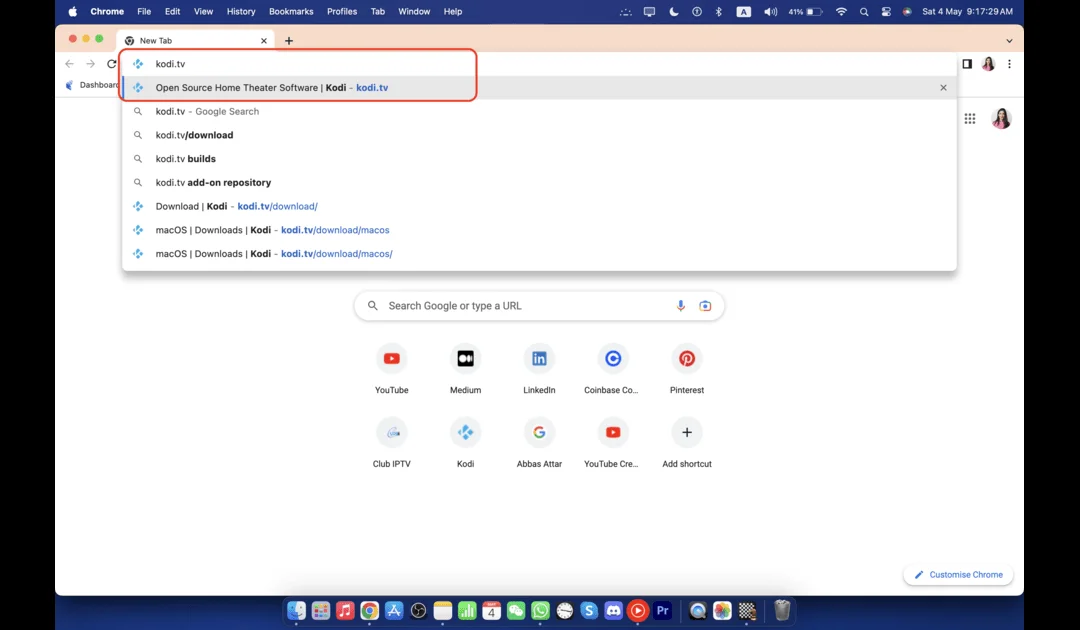
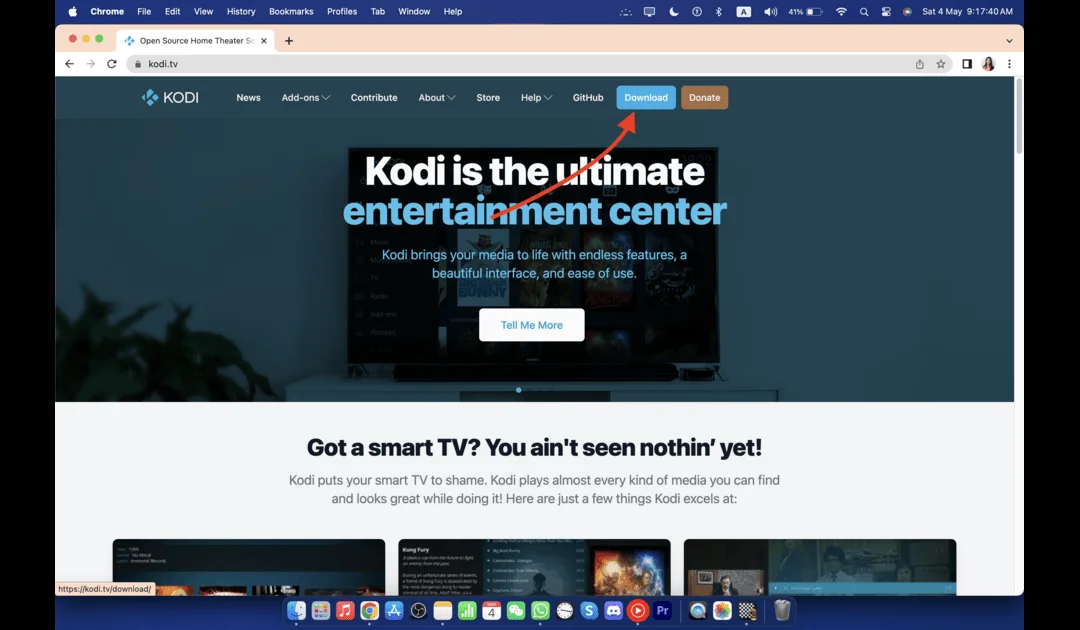
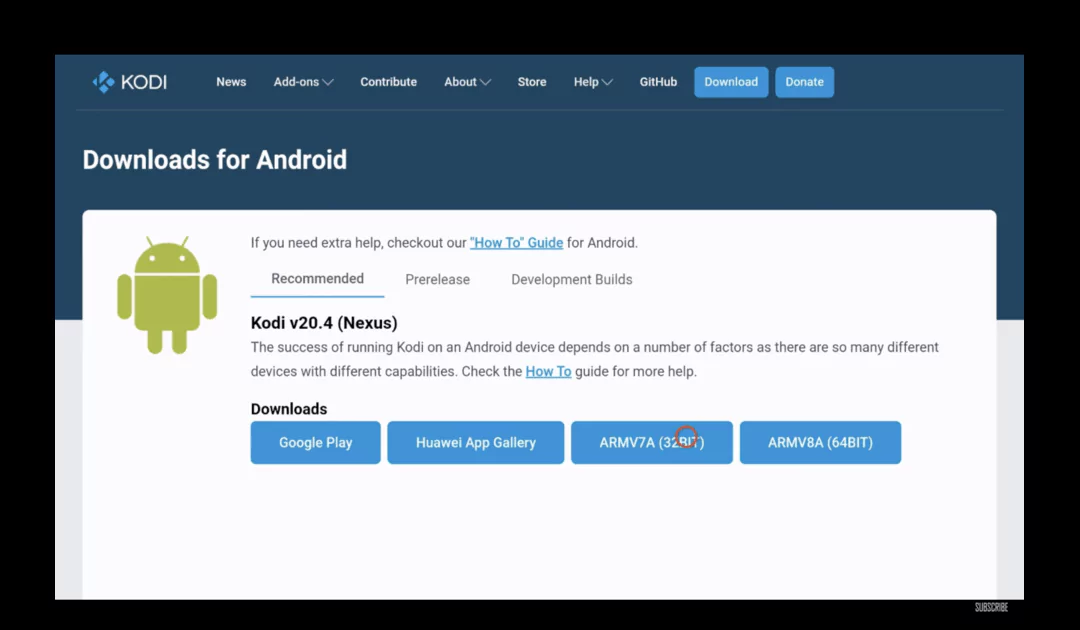
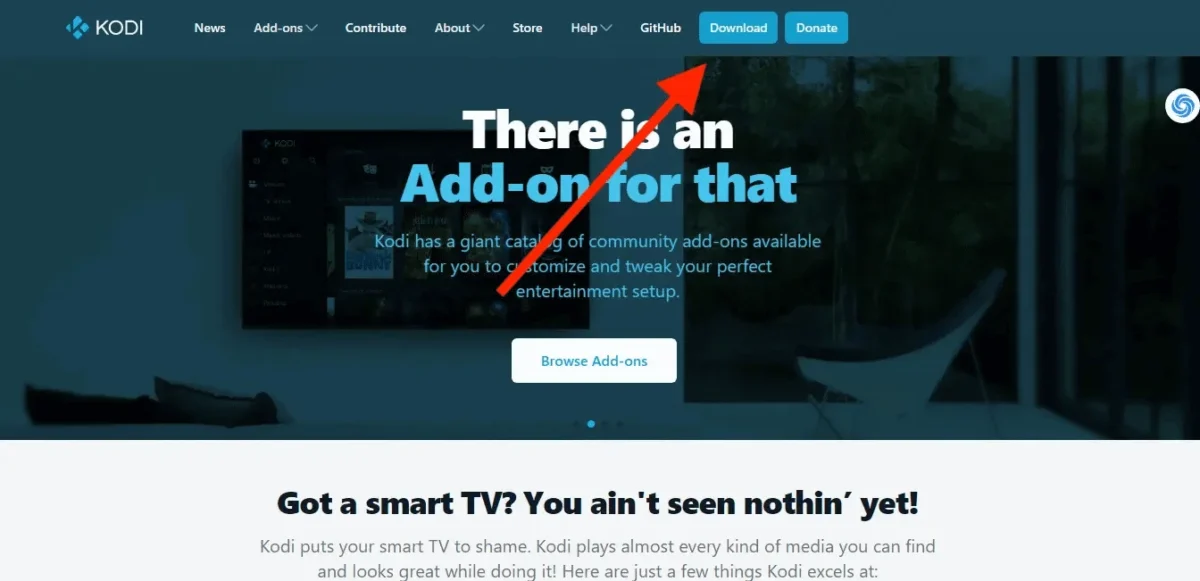
Head over to the official Kodi website at https://kodi.tv and hit up the “Download” section.
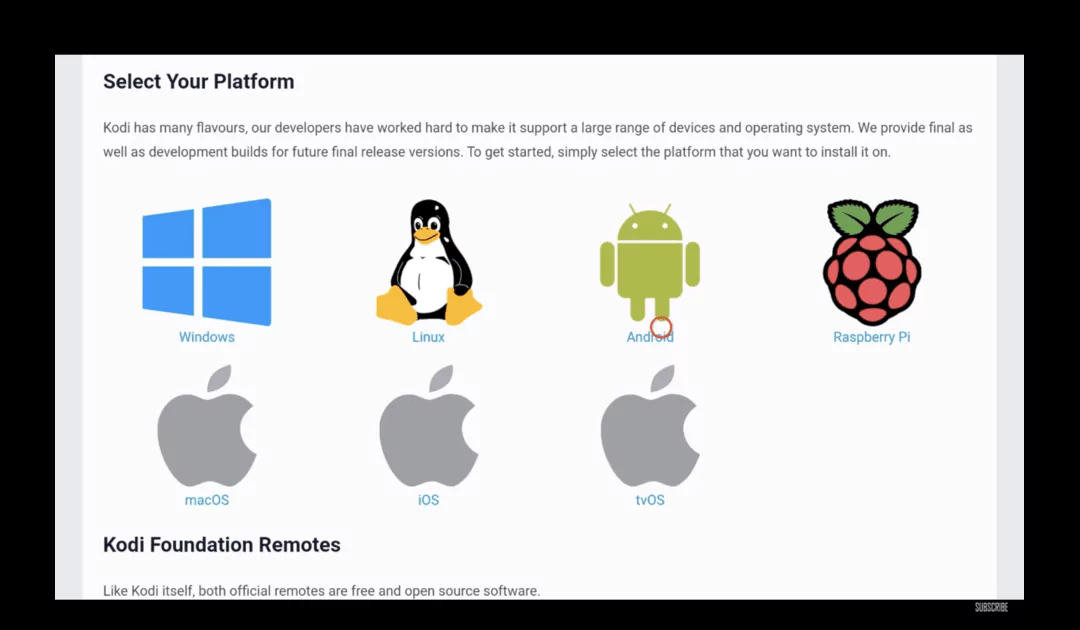
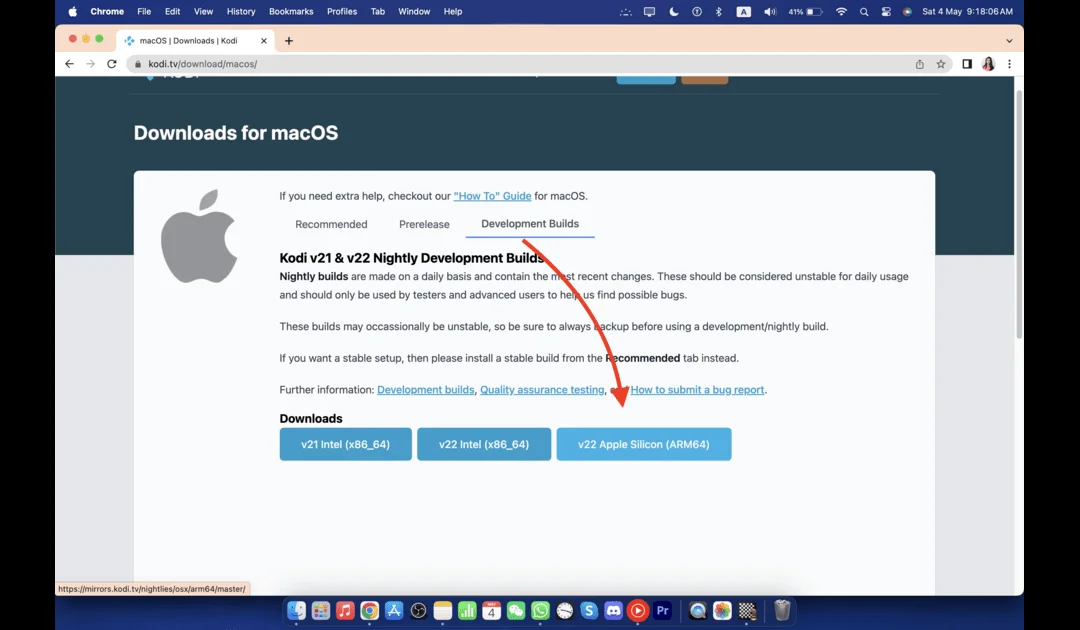
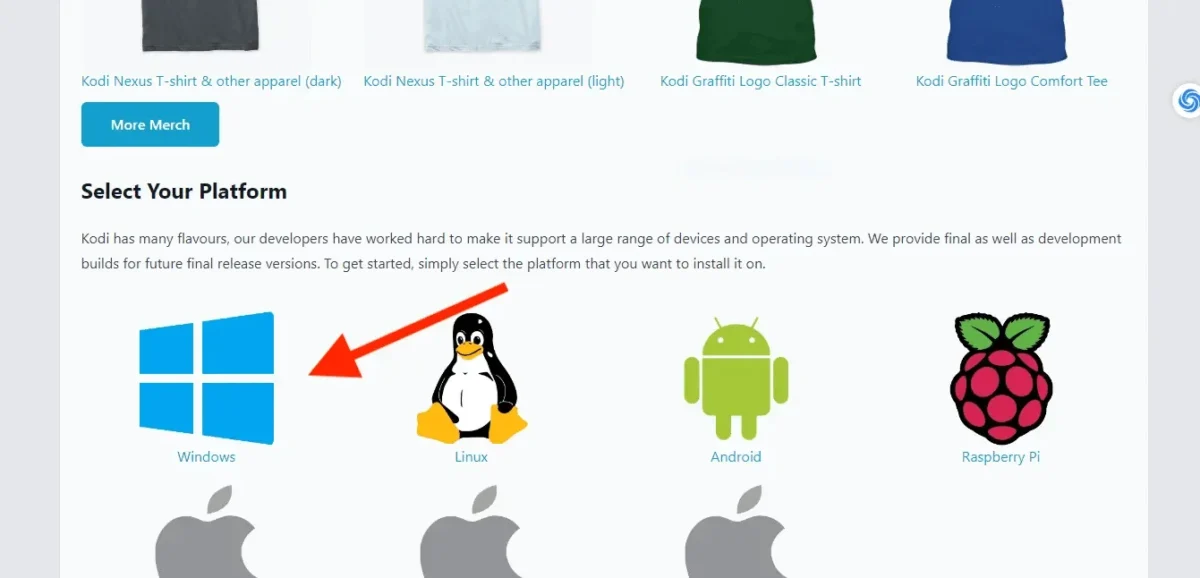
Choose the Windows version and grab that installer file.
Wait until the downloading finish
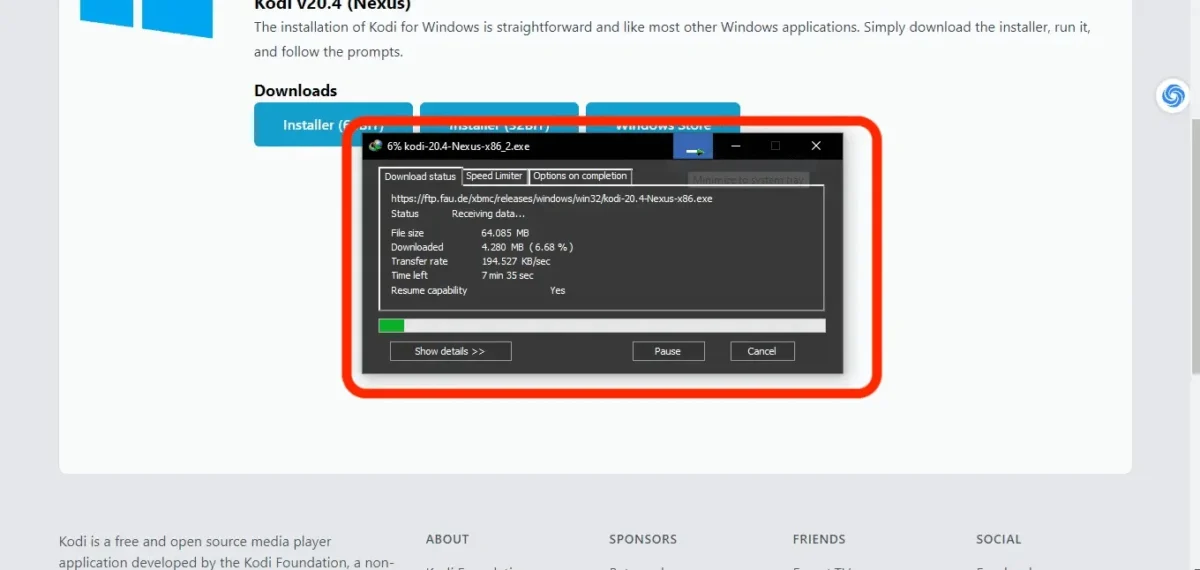
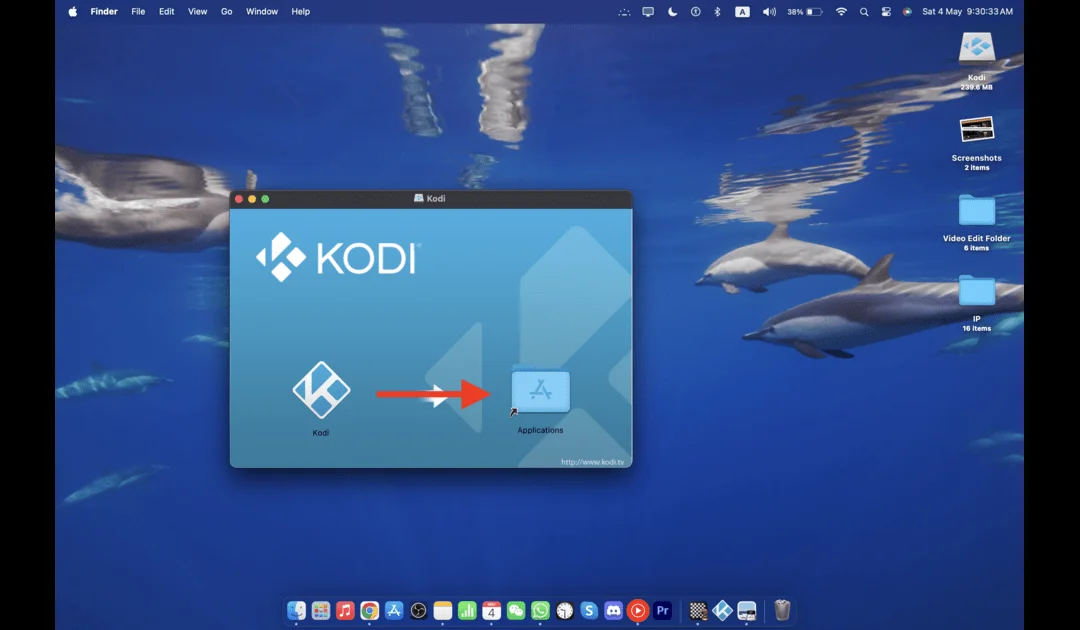
Once the downloading complete click on the software to install in it on windows.
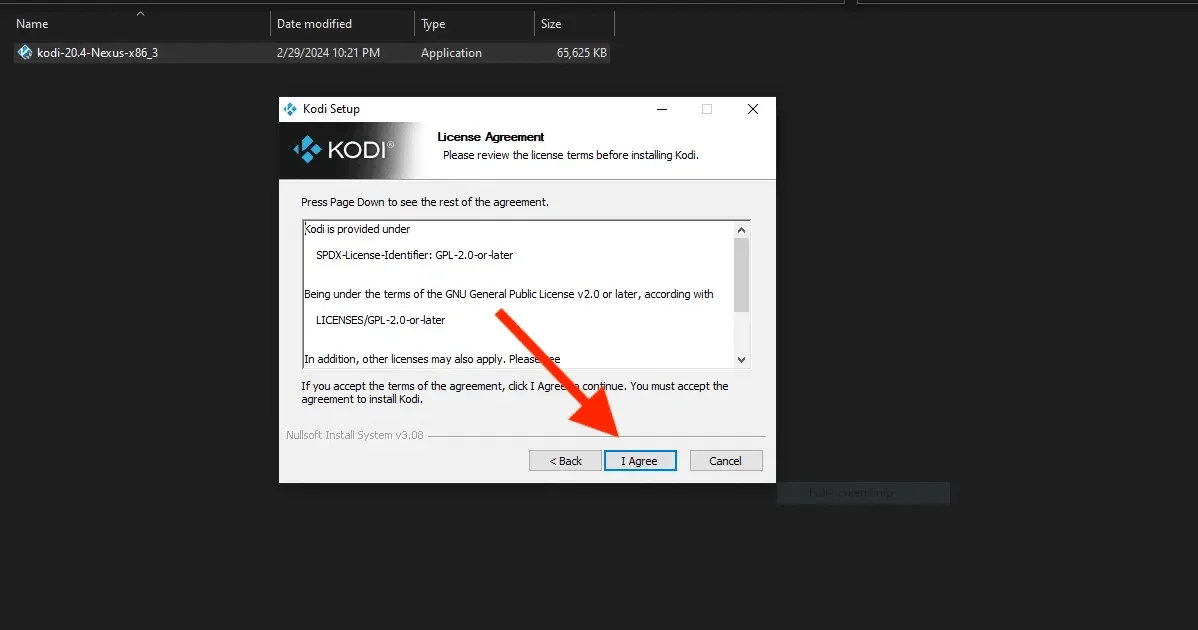
here click to I Agree
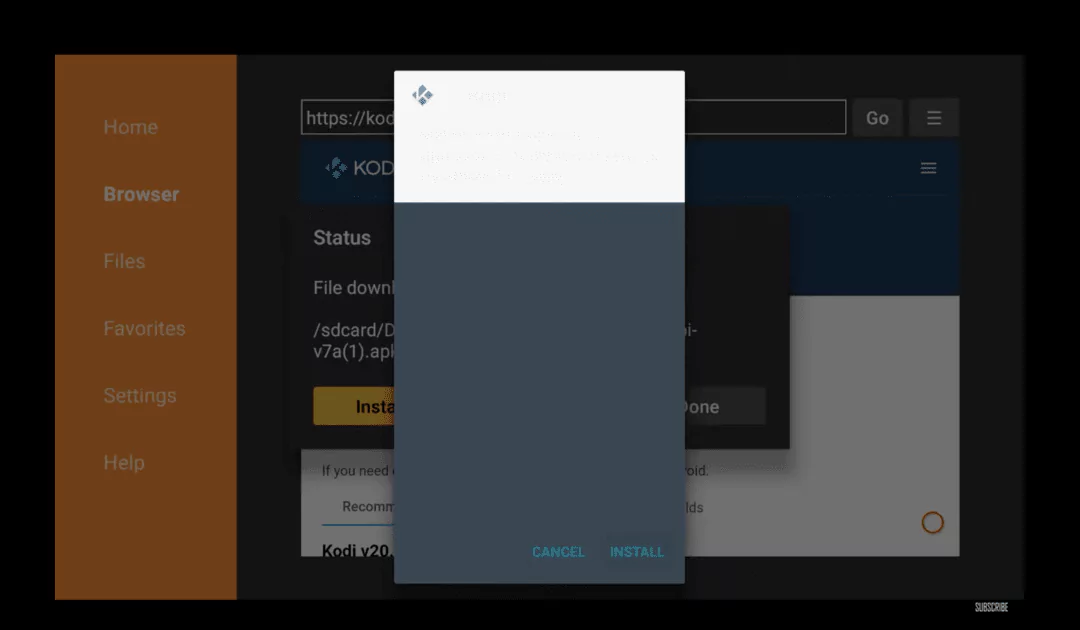
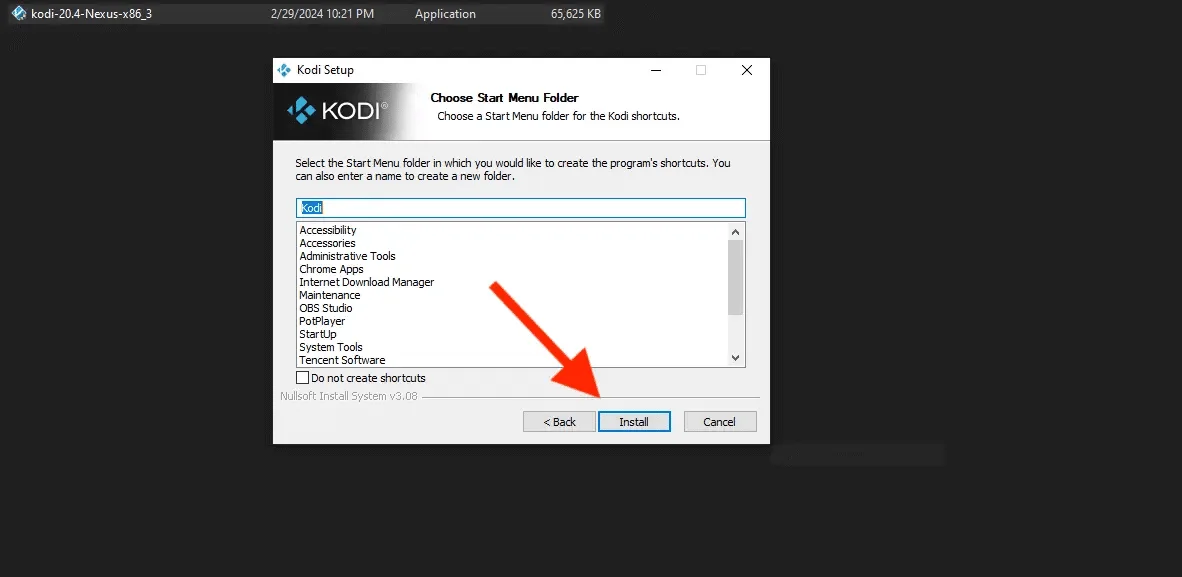
Then click on Install Button to Install Kodi Nexus on Windows
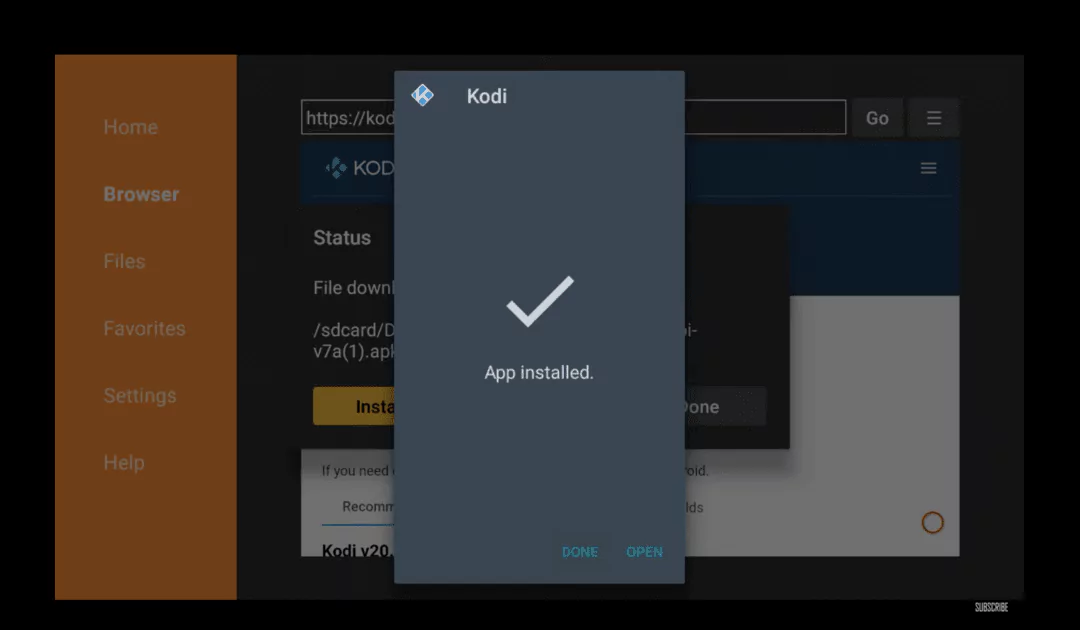
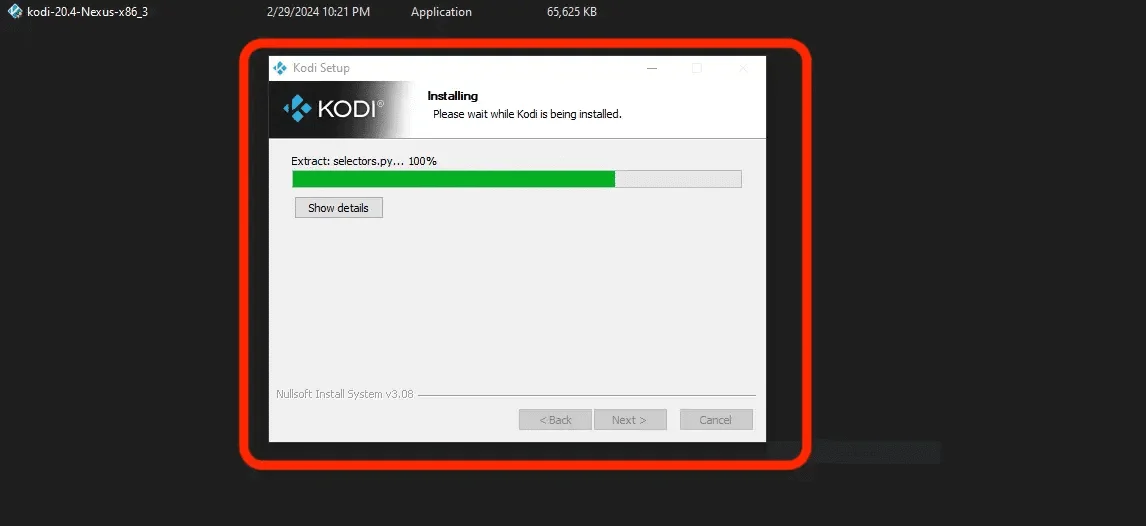
wait until the kodi nexus installed on Windows
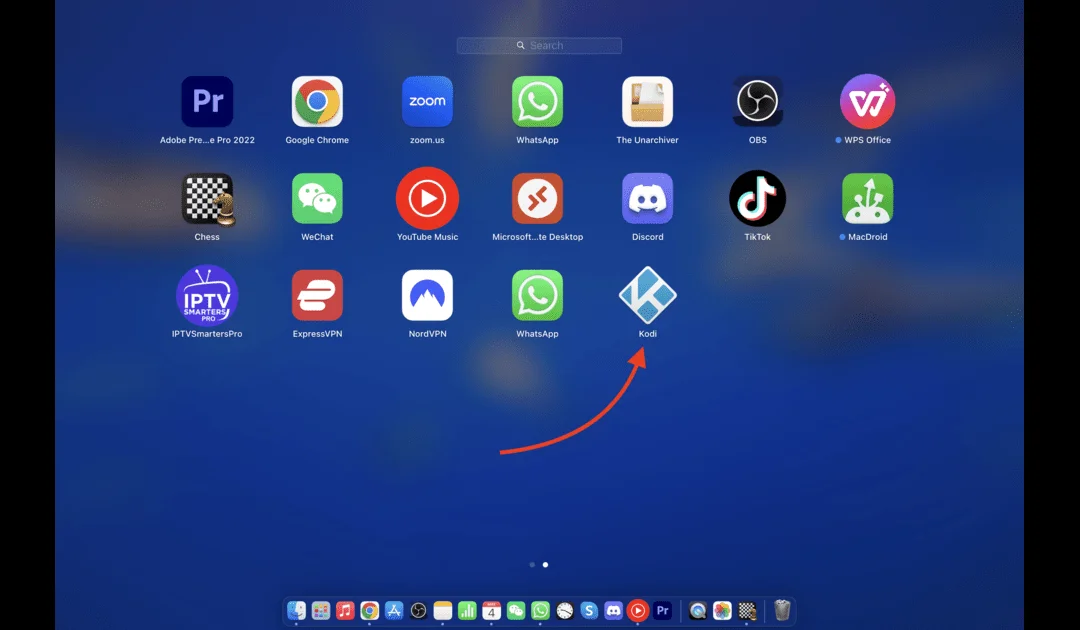
Once the installion complete check on Run Kodi the Click on Finish button.
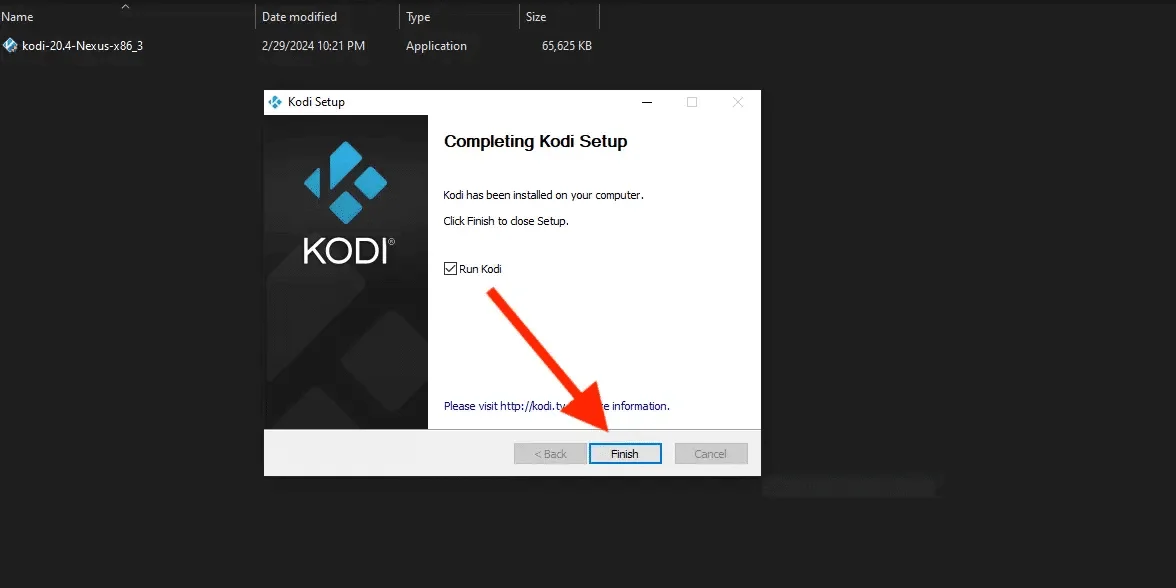
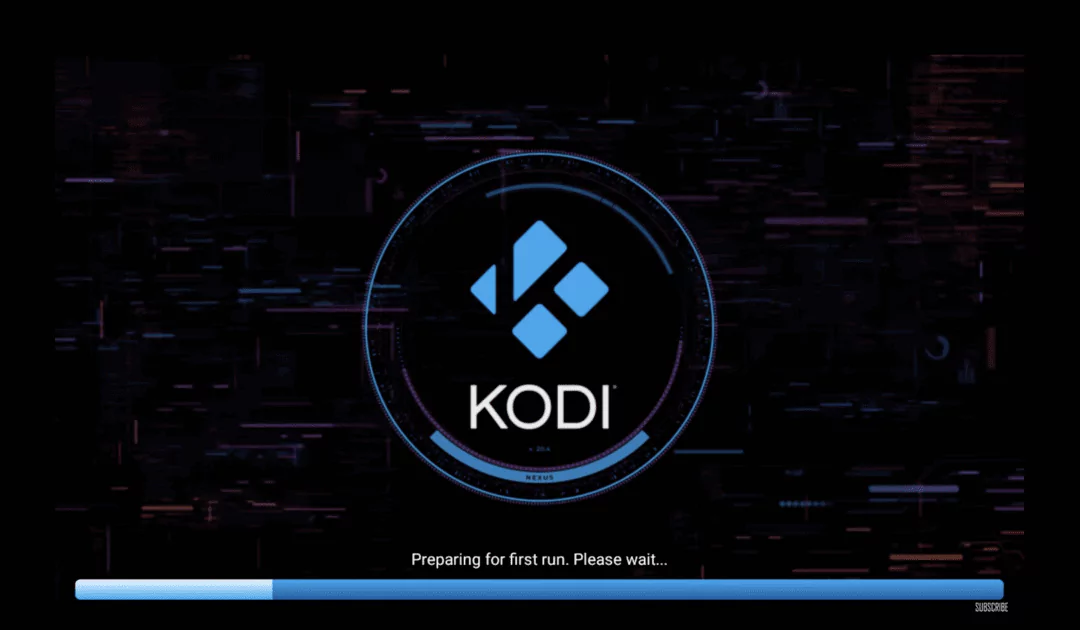
when you click on Finish button kodi Nexus will bhi launch Automaticlly on your Windows Computer/Laptop.
Exploring the Features of Kodi Nexus on Windows
Kodi Nexus isn’t just your run-of-the-mill media player—it’s a powerhouse packed with features to level up your entertainment game. Let’s dive into some of its standout features:
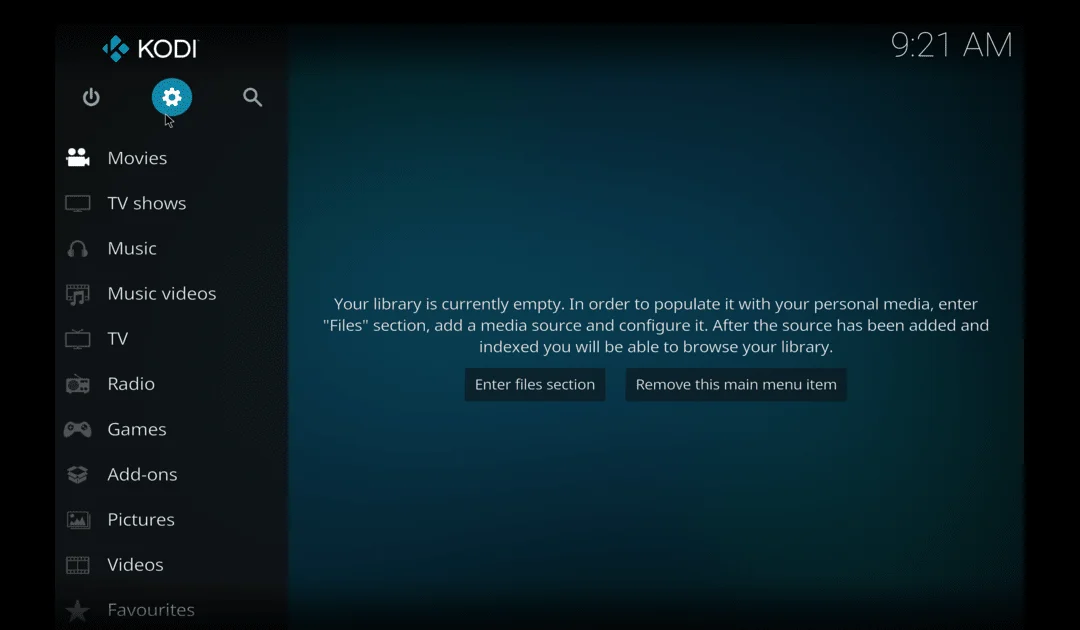
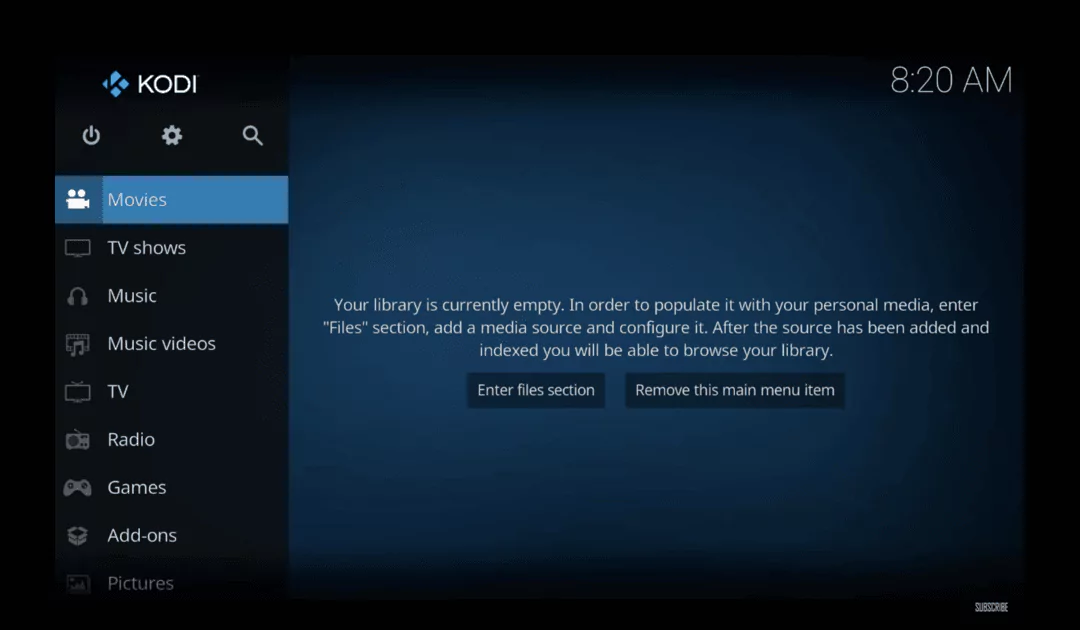
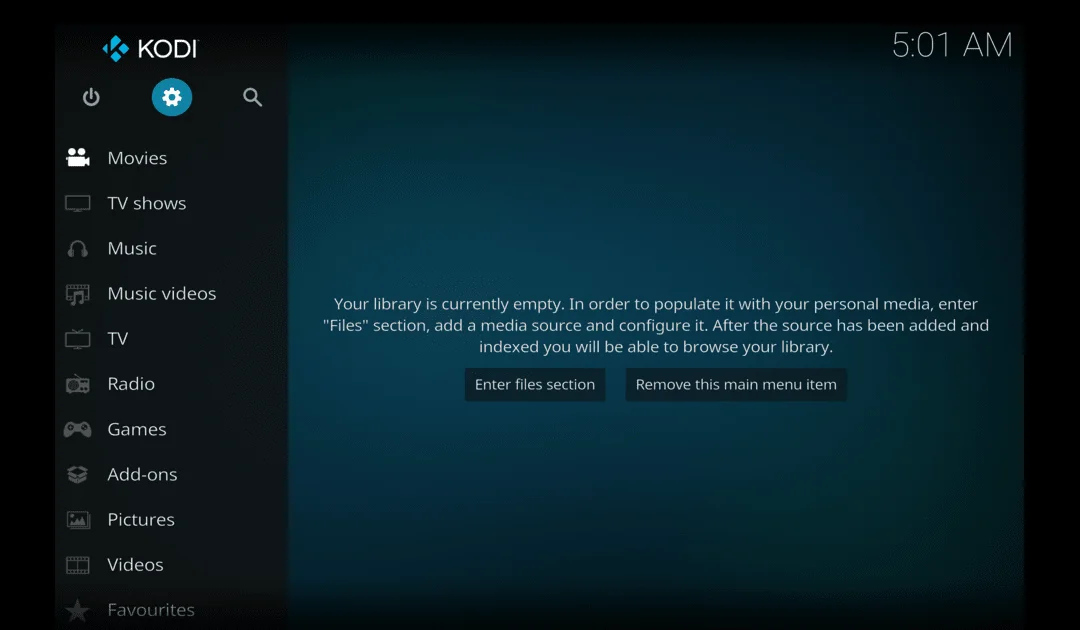
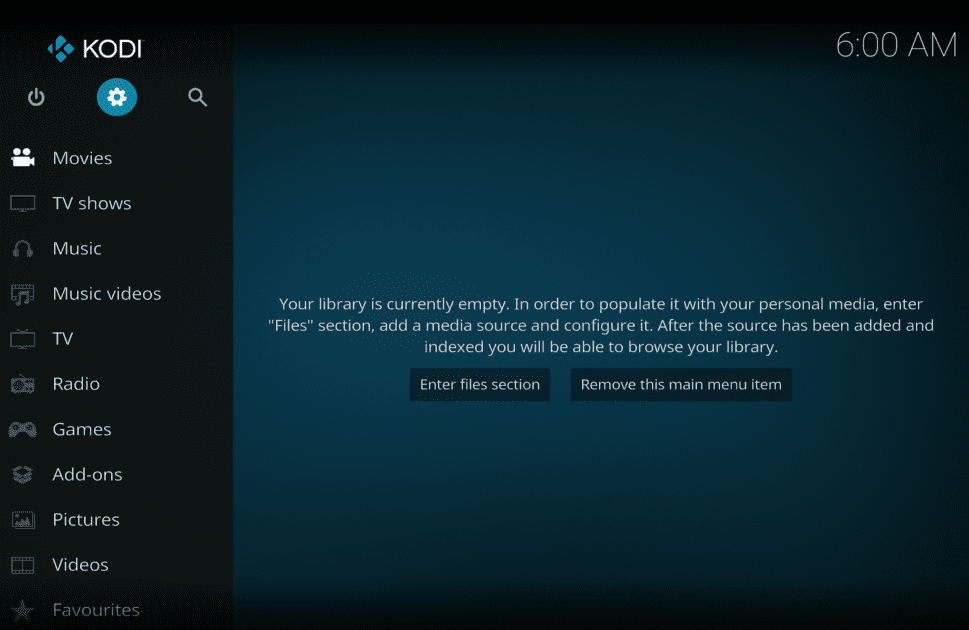
1. Effortless Media Library Management
With Kodi Nexus, organizing your media library is a breeze. Add your own movies, TV shows, music, and photos, then neatly categorize them for easy access. The intuitive interface makes finding your faves a cinch.
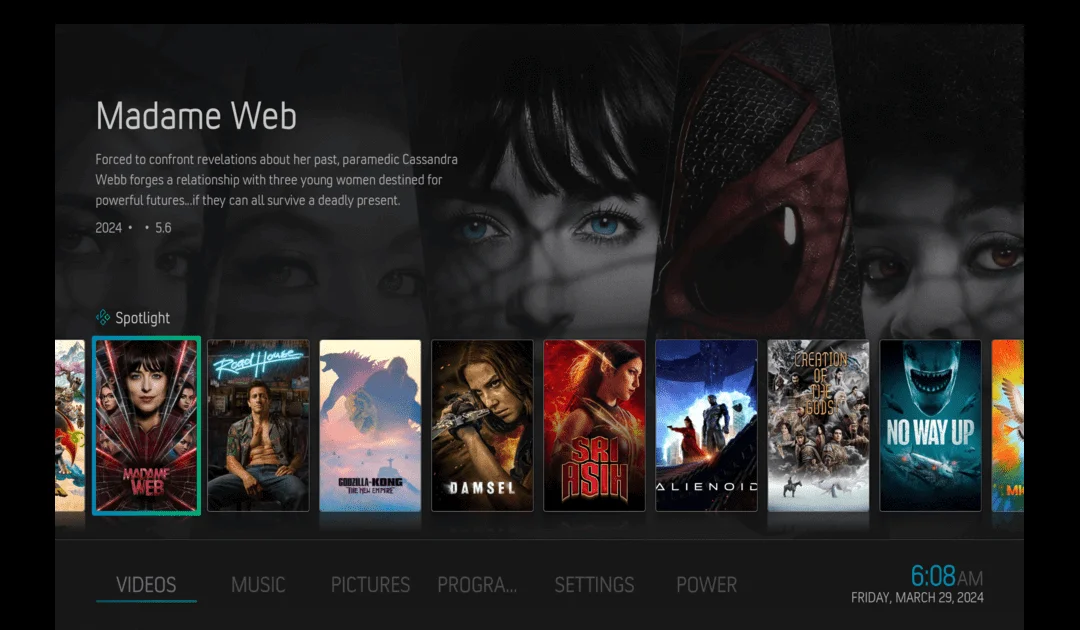
2. Tailored Home Screen
Make your Kodi Nexus home screen your own personal playground. Add shortcuts to your go-to movies, TV shows, music albums, or specific add-ons for lightning-fast navigation.
3. Advanced Filtering and Sorting
Lost in a sea of content? Not with Kodi Nexus. Dive into advanced filtering and sorting options to pinpoint exactly what you’re after. Filter by genre, year, actor, and more to narrow down your search in a flash.
4. Remote Control Bliss
Kick back and relax with Kodi Nexus’ remote control support. Whether you’re using a smartphone app or a dedicated Kodi remote, you can command your media playback from the comfort of your couch, just like with a regular TV remote.
5. Seamless Playback Management
Pause that movie or TV show without worry—Kodi Nexus remembers where you left off. Plus, you can bookmark your favorite scenes or moments for quick and easy access whenever you fancy a rewatch.
6. Kid-Friendly Parental Controls
Got little ones around? No problem. Set up parental controls in Kodi Nexus to keep them safe and sound. Control access to age-appropriate content, ensuring they only see what’s suitable.
And these are just the tip of the iceberg! Kodi Nexus is packed with even more features waiting to be explored. So go ahead, dive in, and discover all the ways it can elevate your entertainment experience.
Troubleshooting Common Issues
encounter compatibility issues, check the version of Windows you’re running against the requirements specified by Kodi Nexus. If necessary, consider updating your operating system to a compatible version.
4. Corrupted Installer File
If the installer file for Kodi Nexus is corrupted or incomplete, you may encounter errors during installation. To resolve this issue, re-download the installer file from the official Kodi website and ensure that the download completes successfully before attempting to install again.
5. Administrative Privileges
To install Kodi Nexus on Windows device, you need administrative privileges. If you’re encountering issues with the installation process, ensure that you’re logged in with an account that has administrative rights. You can also try running the installer as an administrator by right-clicking on the installer file and selecting “Run as administrator.”
6. Conflicting Software
Sometimes, other software installed on your device may conflict with Kodi Nexus during installation. Try closing any unnecessary programs running in the background and temporarily disabling non-essential software before attempting the installation again.
7. Internet Connection Issues
If you’re downloading Kodi Nexus from the internet and encounter connection issues, check your internet connection and ensure that it’s stable. If you’re using a Wi-Fi connection, try switching to a wired connection for a more reliable download experience.
8. Outdated Drivers
Outdated or incompatible drivers can sometimes cause issues during installation. Make sure that your device’s drivers, especially graphics card drivers, are up-to-date. You can usually update drivers through the Device Manager or by visiting the manufacturer’s website. By following these troubleshooting tips, you should be able to overcome common issues encountered during the installation of Kodi Nexus on your Windows device. If you continue to experience problems, you can seek further assistance from the Kodi community forums or support resources.
Conclusion
installing Kodi Nexus on your Windows device opens up a world of entertainment possibilities. While the installation process is generally straightforward, you may encounter common issues along the way. By following the troubleshooting tips provided, such as temporarily disabling antivirus software, ensuring sufficient disk space, and checking for compatibility with your operating system, you can overcome these challenges and enjoy the full benefits of Kodi Nexus.
Once Kodi Nexus is up and running, you’ll have access to a feature-rich platform that offers seamless media library management, customizable home screen options, advanced filtering and sorting capabilities, and much more. Whether you’re a movie buff, a music lover, or a fan of live TV, Kodi Nexus has something for everyone.
Remember to explore all the features and customization options available in Kodi Nexus to tailor your entertainment experience to your preferences. And if you encounter any further issues, don’t hesitate to seek assistance from the Kodi community forums or support resources.
With Kodi Nexus on your Windows device, you’re ready to immerse yourself in endless entertainment and elevate your media consumption to new heights. Enjoy the journey!