
Ready to enhance your Kodi experience? Aeon Nox Silvo on Kodi skin, loved for its sleek design and easy customization. In this guide, we’ll show you how to install Aeon Nox Silvo step by step, so you can enjoy its powerful features and stunning visuals. Whether you’re new to Kodi or a seasoned user, we’ll make the installation process a breeze.
From downloading the necessary files to setting up Aeon Nox Silvo, we’ll cover it all. By the end, you’ll have a beautifully customized Kodi setup that’s tailored just for you. Get ready to take your Kodi viewing to the next level with Aeon Nox Silvo. Let’s dive in and explore the endless possibilities this fantastic Kodi skin has to offer!
Why choose Aeon Nox Silvo for Kodi
Aeon Nox Silvo stands out as a top choice Kodi skin for several reasons. Firstly, its modern design refreshes Kodi with a sleek and attractive appearance. Navigating through its intuitive user interface is a breeze, ensuring easy access to your favorite content.
Moreover, Aeon Nox Silvo offers extensive customization options, allowing you to tailor your Kodi setup to your liking. With a variety of themes, color schemes, and layouts to choose from, you can create a unique and visually stunning interface that suits your style.
Before you start using Kodi Addons or Builds to watch stuff, it’s important to know that what you watch can be seen by your internet provider and the government. This includes movies, TV shows, and sports that might not be legal to stream for free.
But there’s a way to keep your streaming private. You can use something called a VPN for Kodi. It hides your real internet address, like 3255:4754:5235:sfgs:52sd, so your internet provider and the government can’t see what you’re doing. This helps you avoid getting slowed down by your provider and lets you watch content that might be blocked in your area.
Installing Aeon Nox Silvo on Kodi
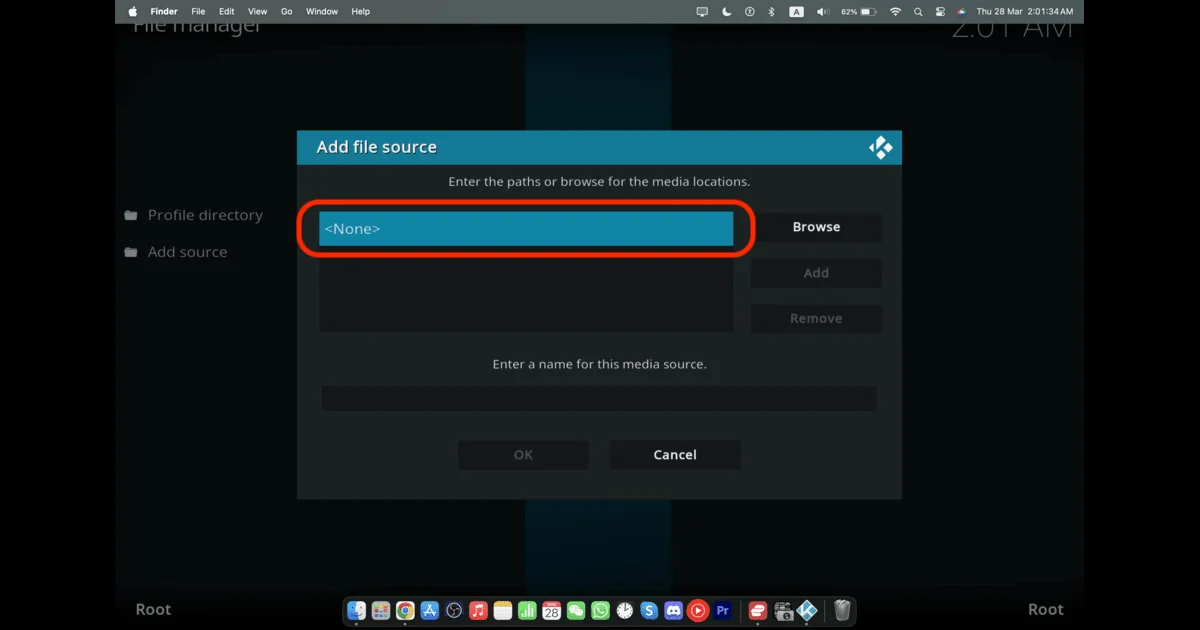
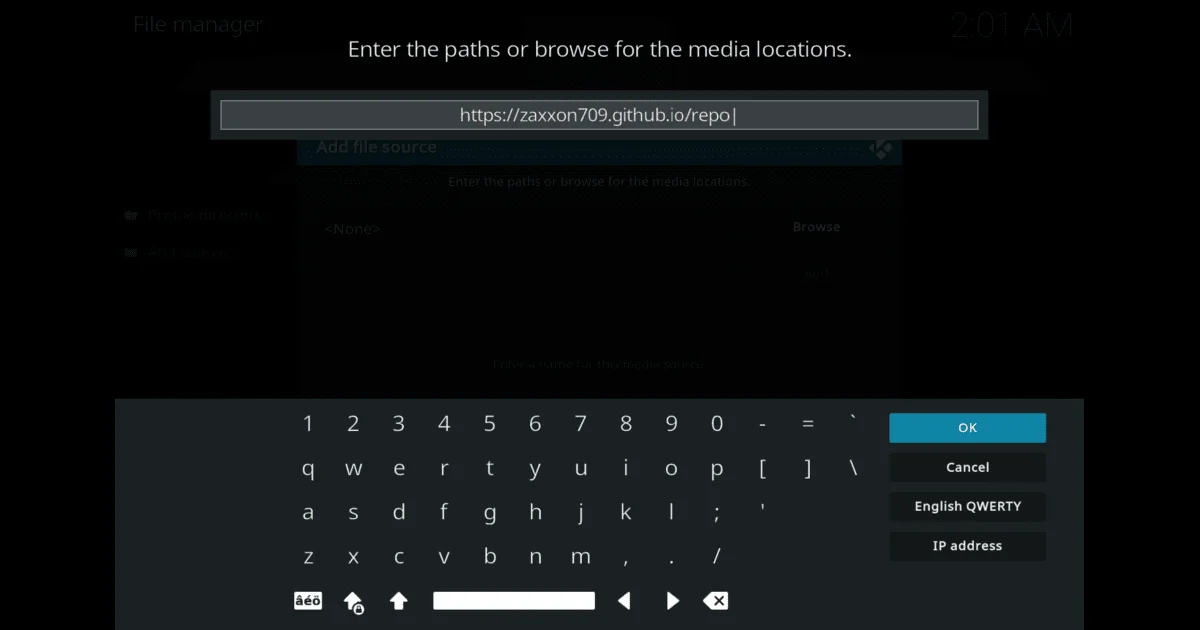
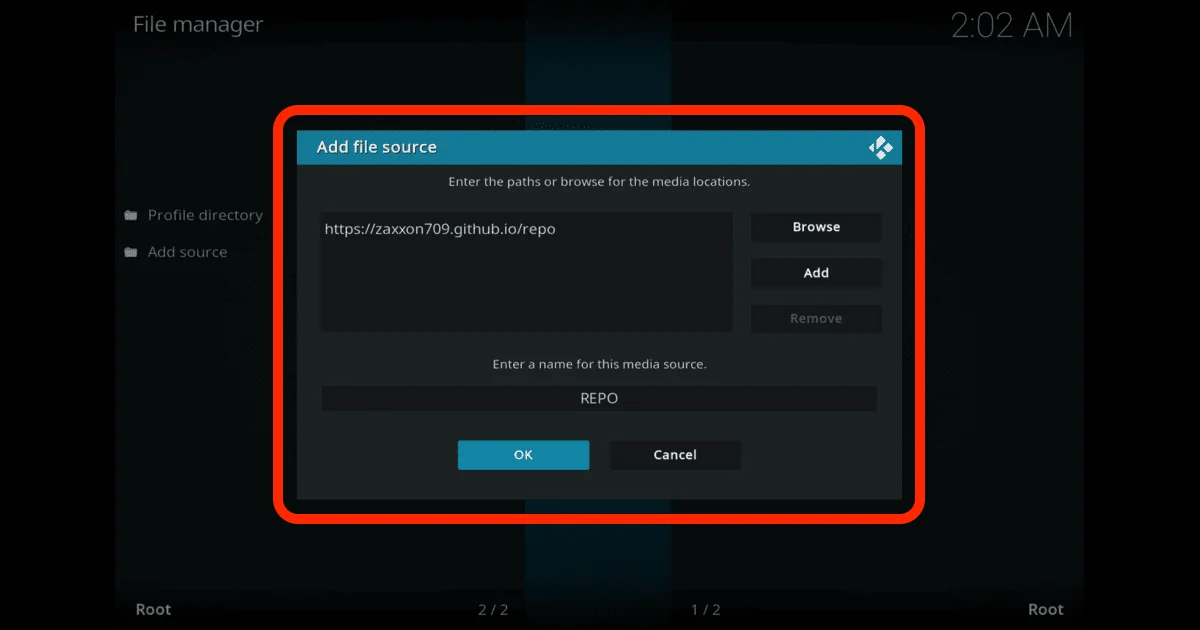
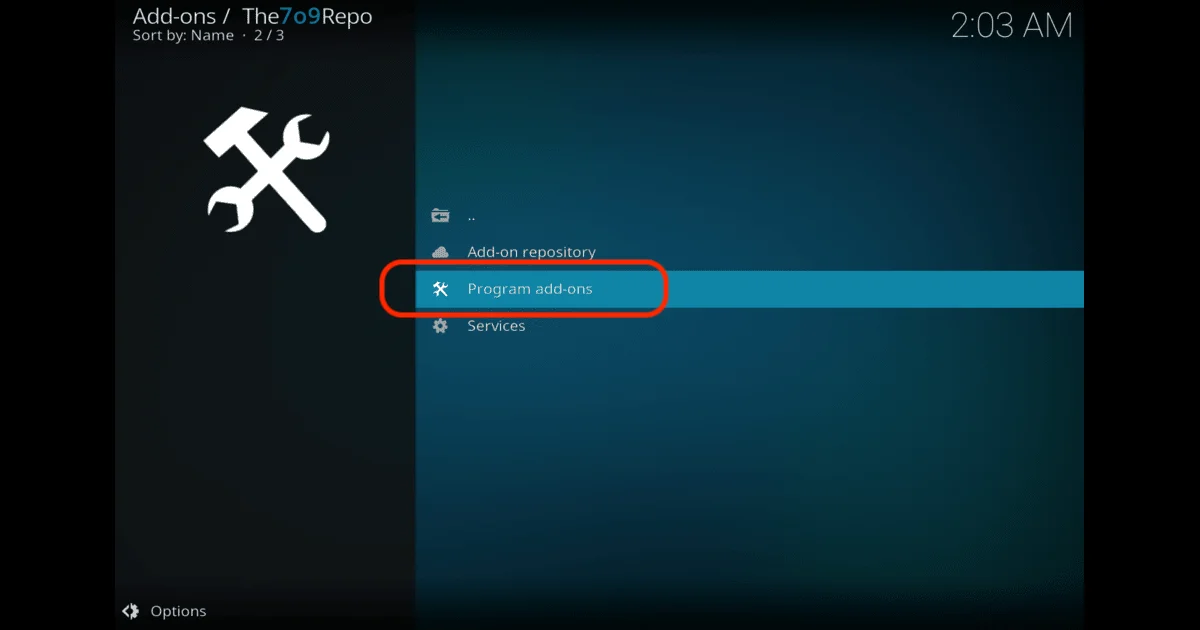
Now that Kodi is set up, let’s proceed with downloading and installing Aeon Nox Silvo on Kodi. Follow these simple steps to get the skin up and running on your Kodi device
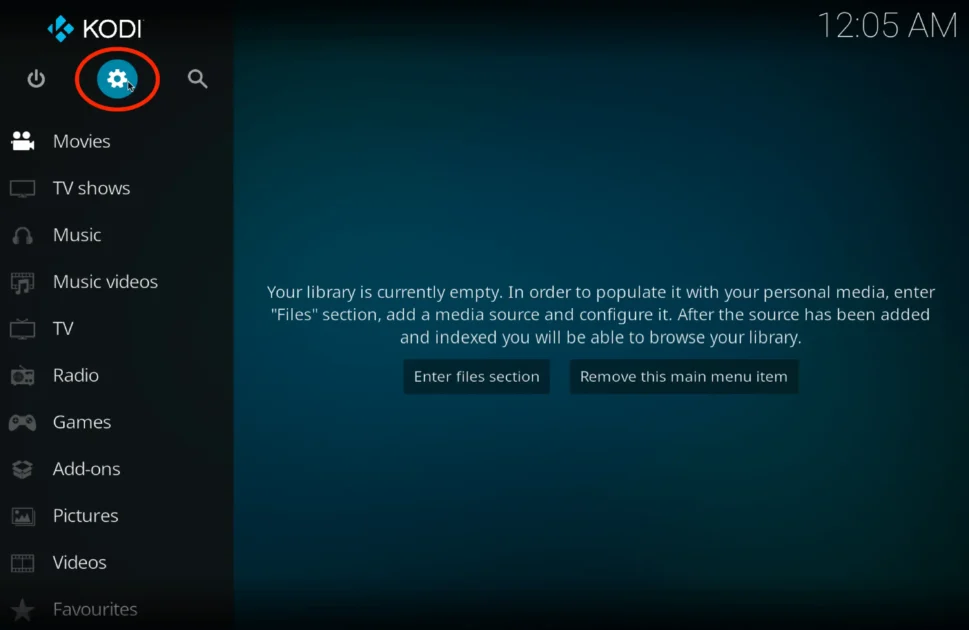
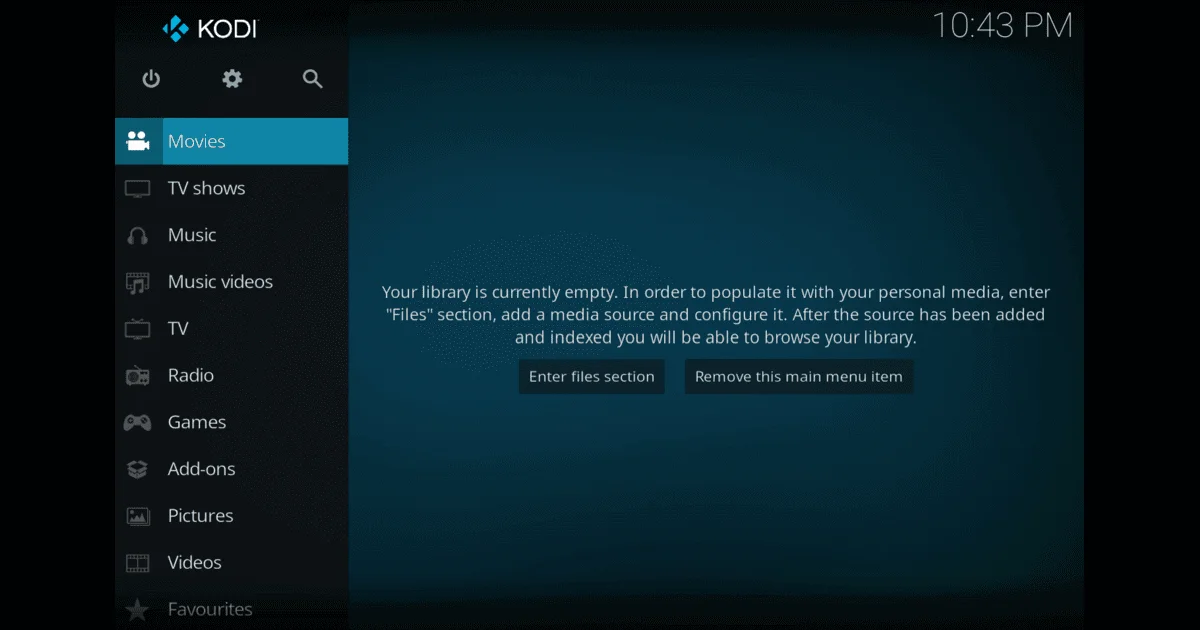
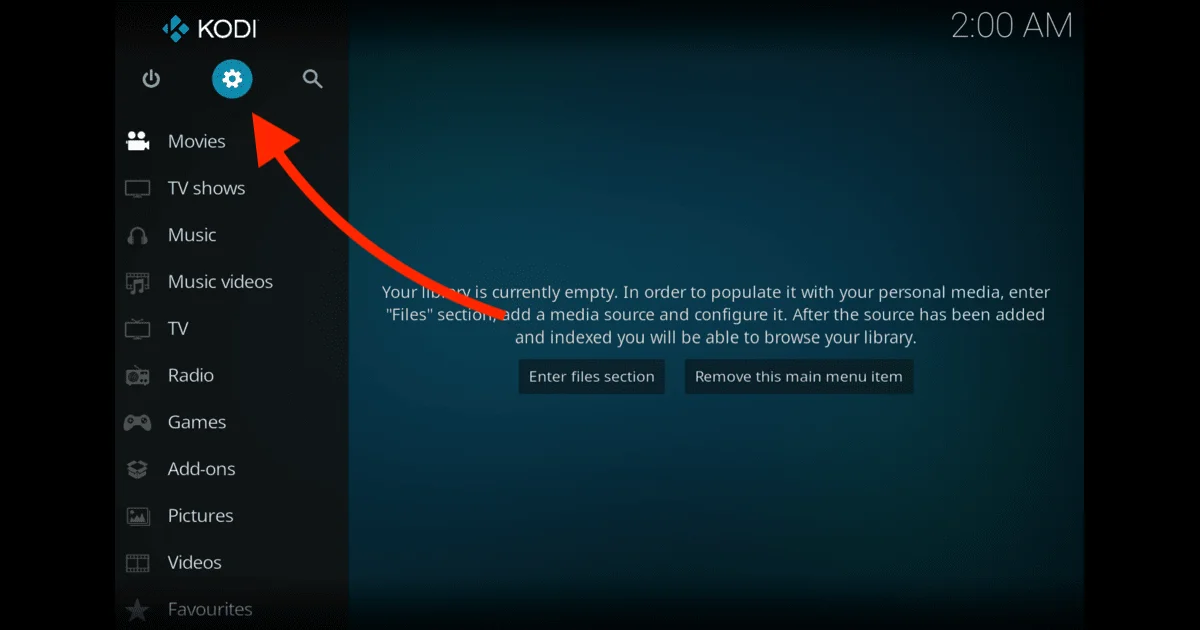
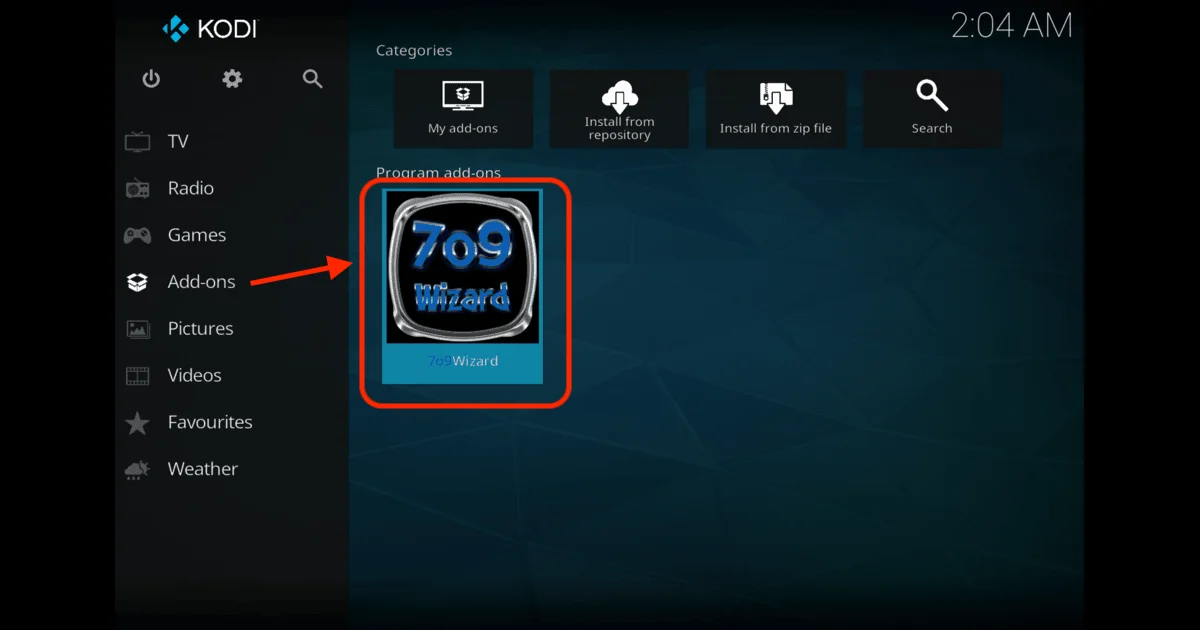
Launch Kodi on your Device
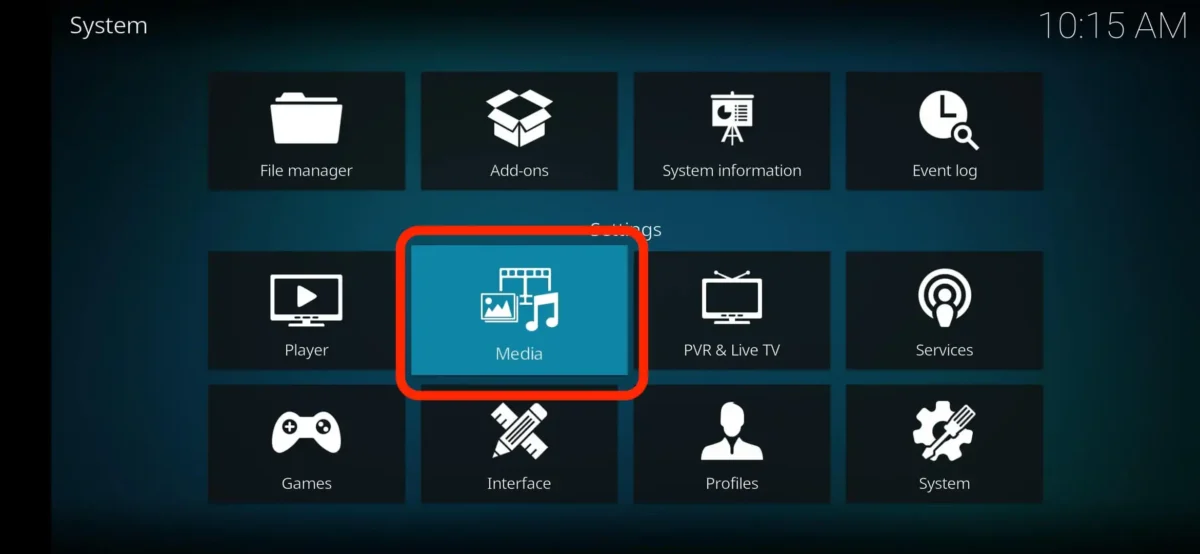
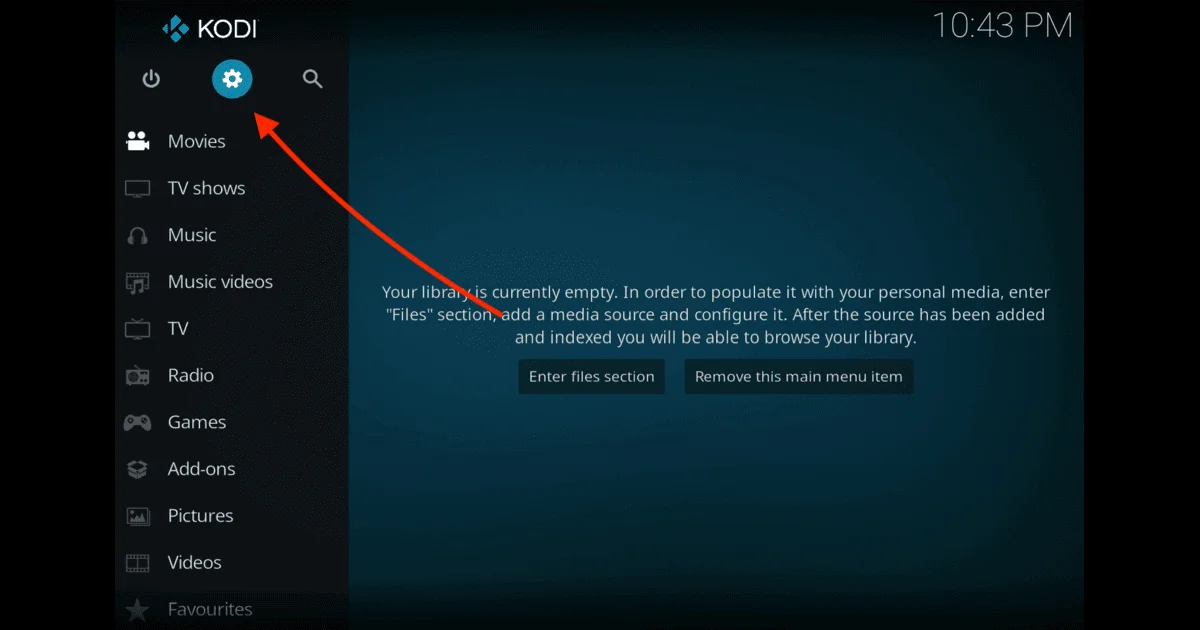
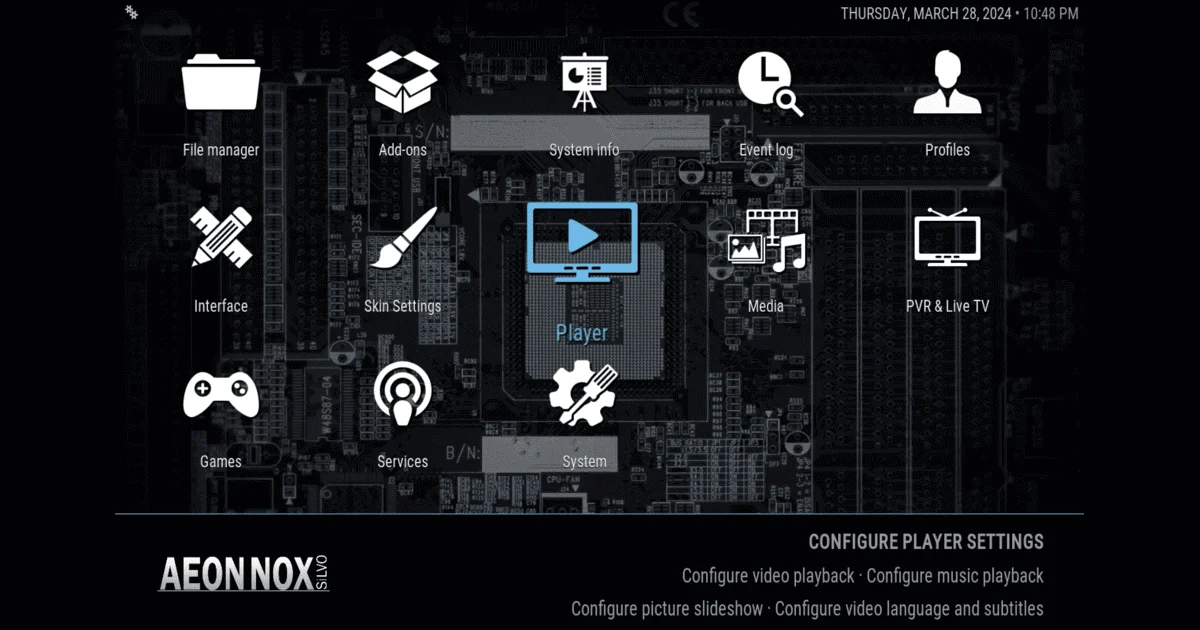
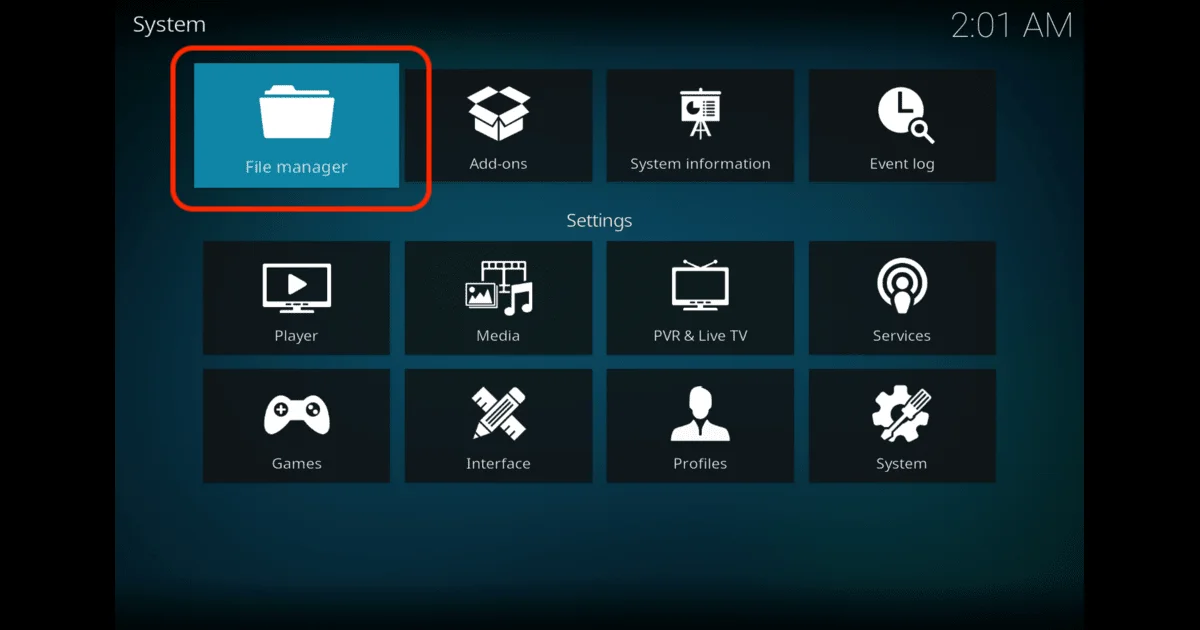
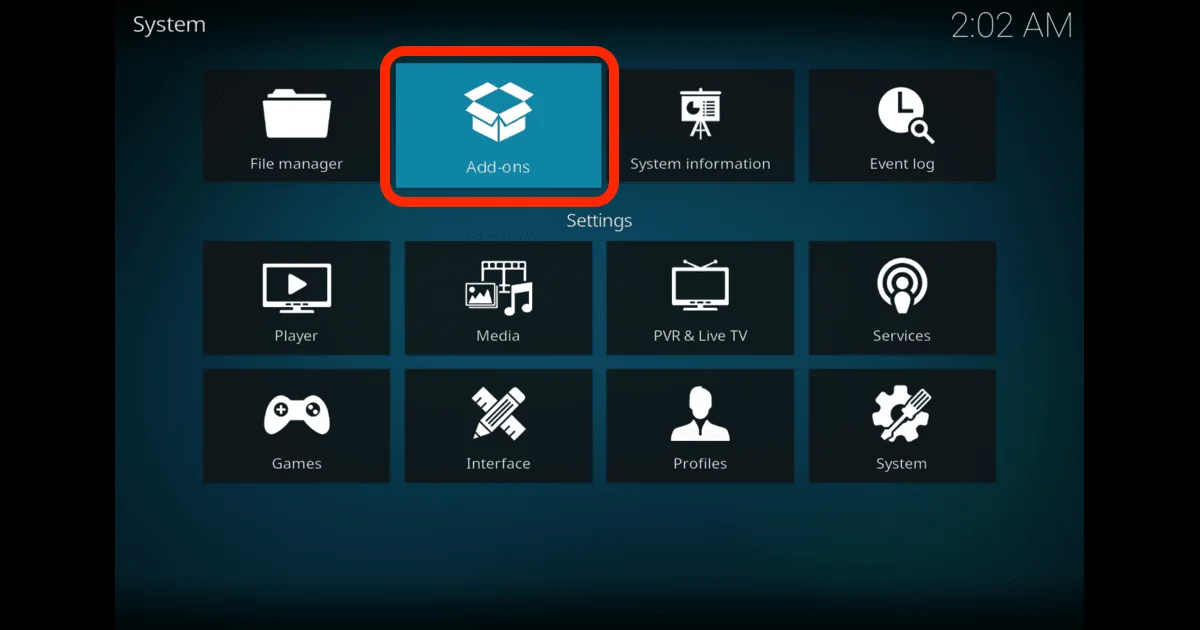
Click on Setting geat icon above
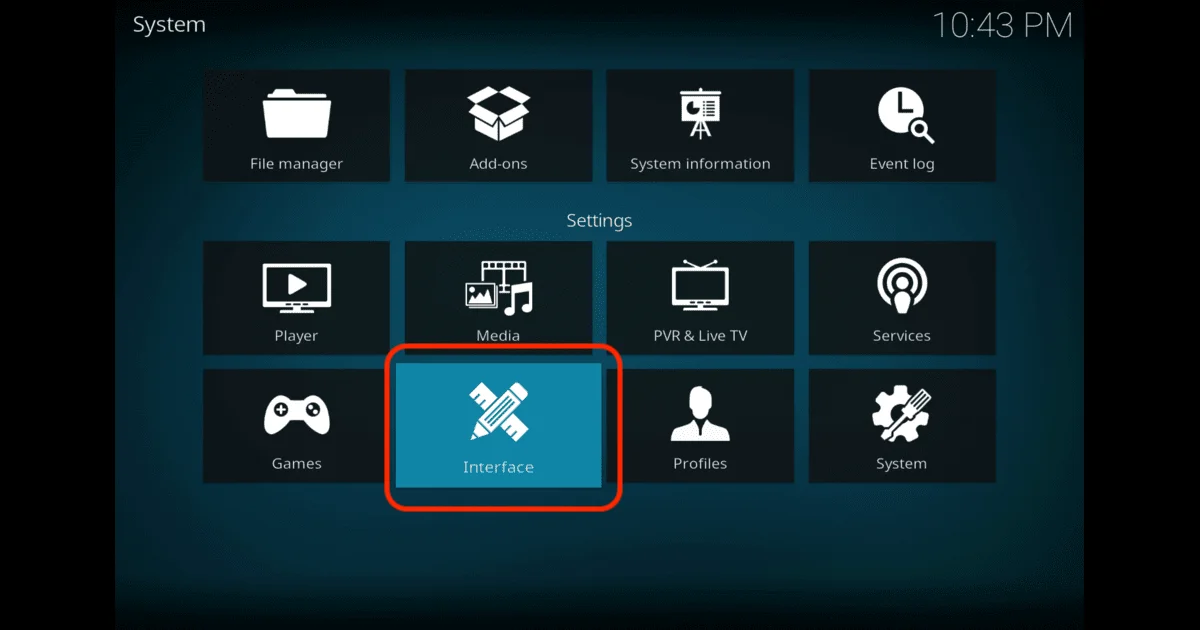
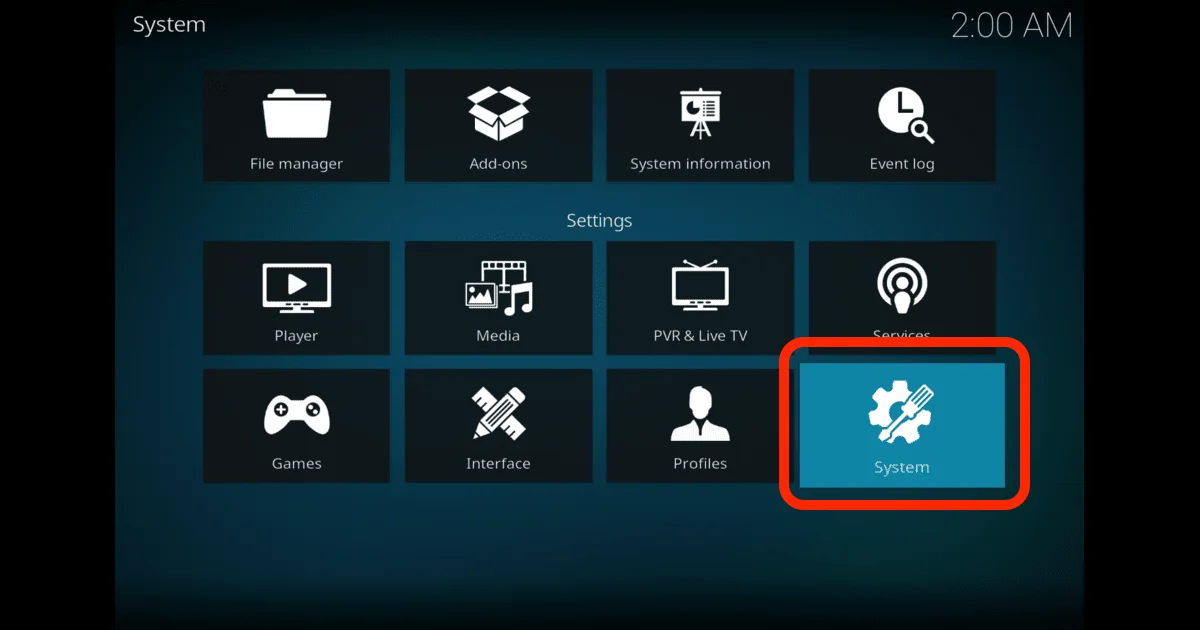
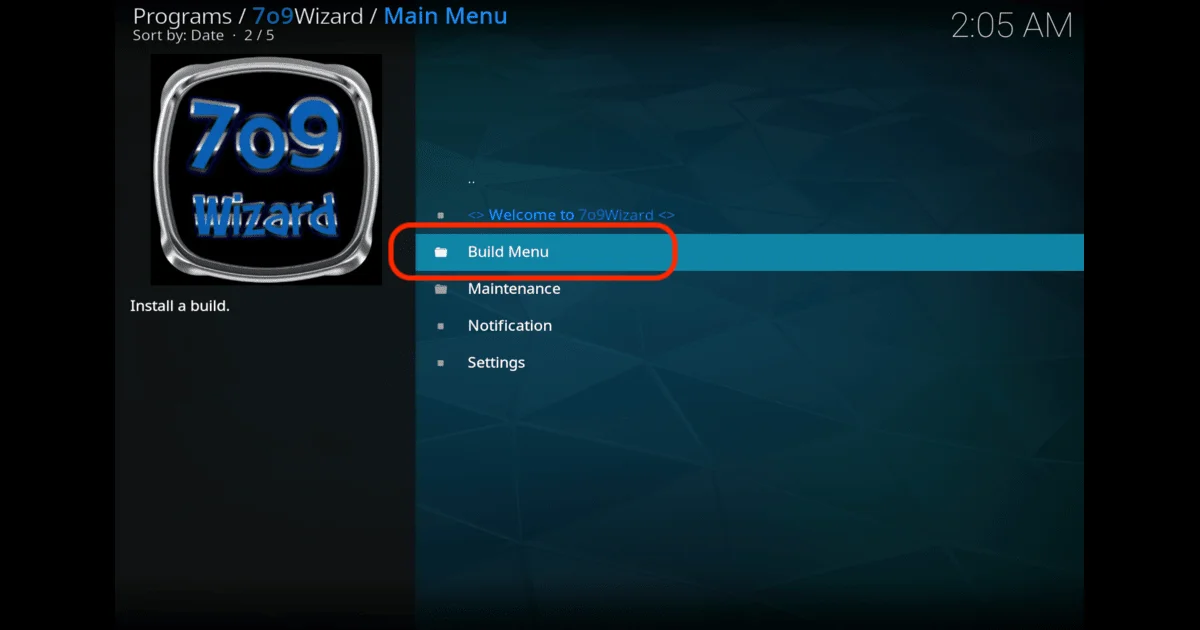
From setting Menu Select Interface
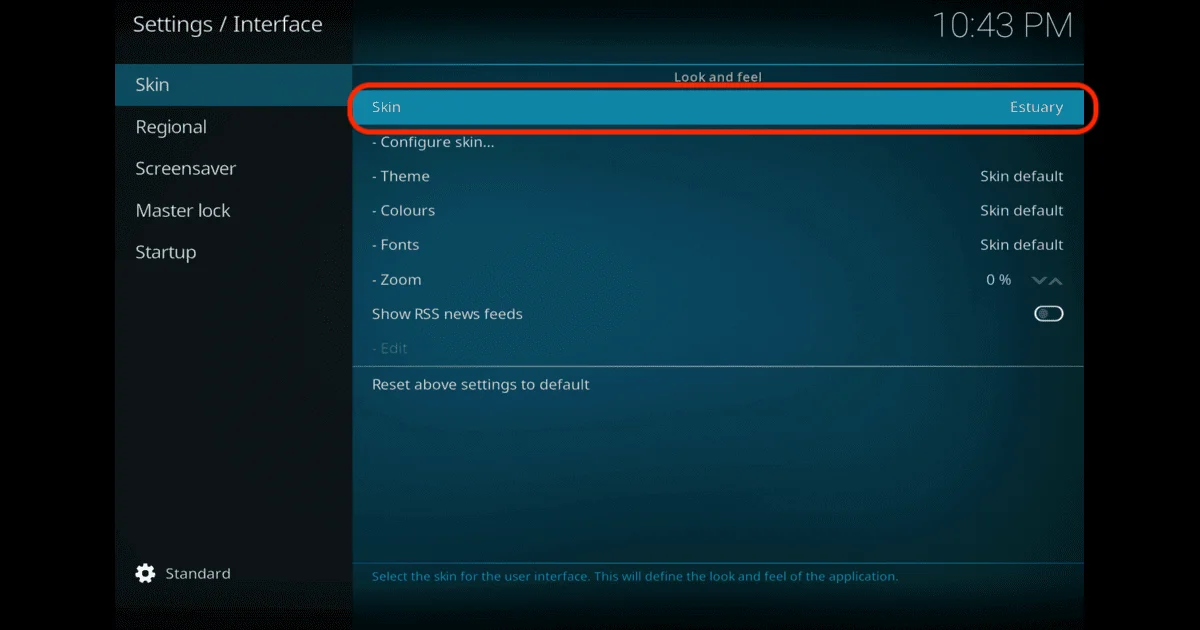
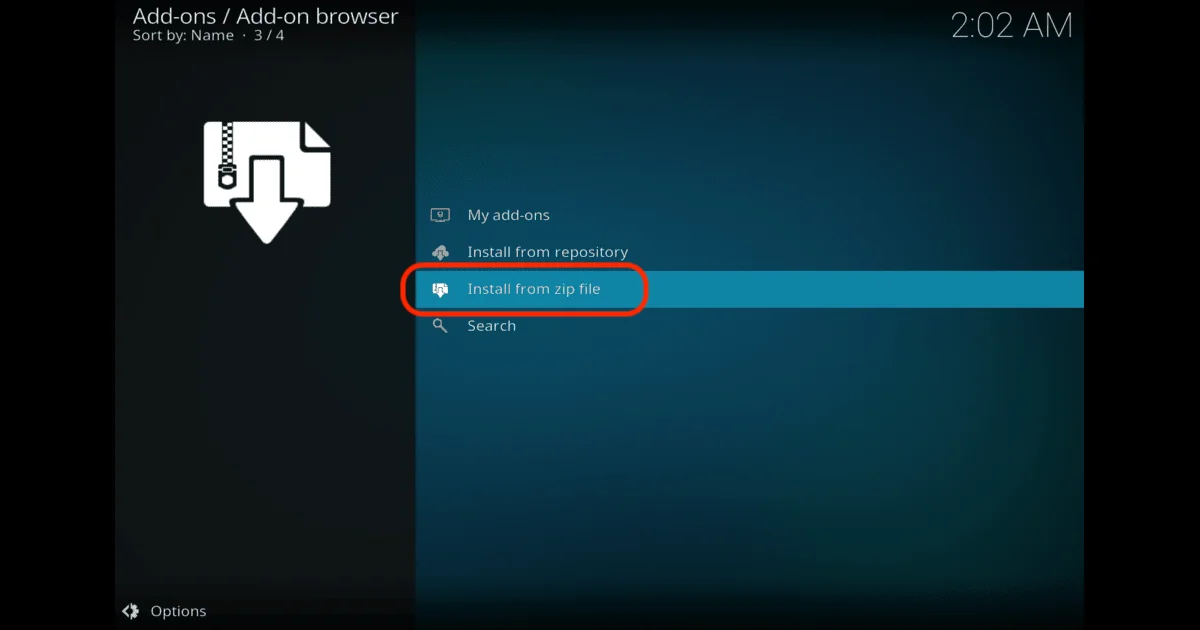
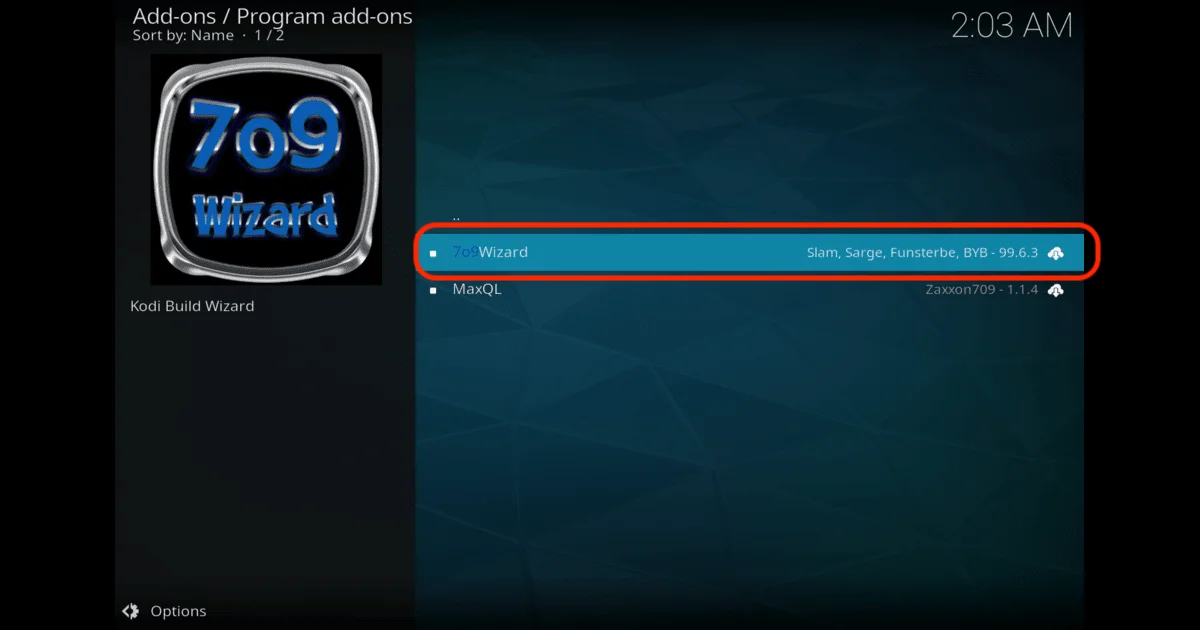
Click on Get More
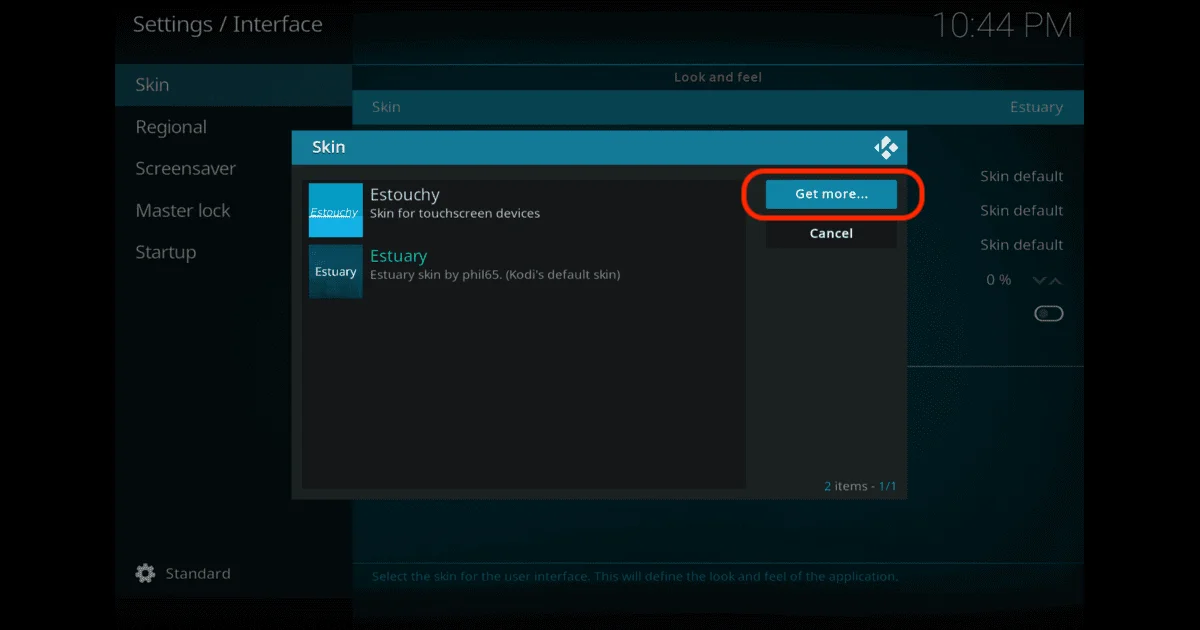
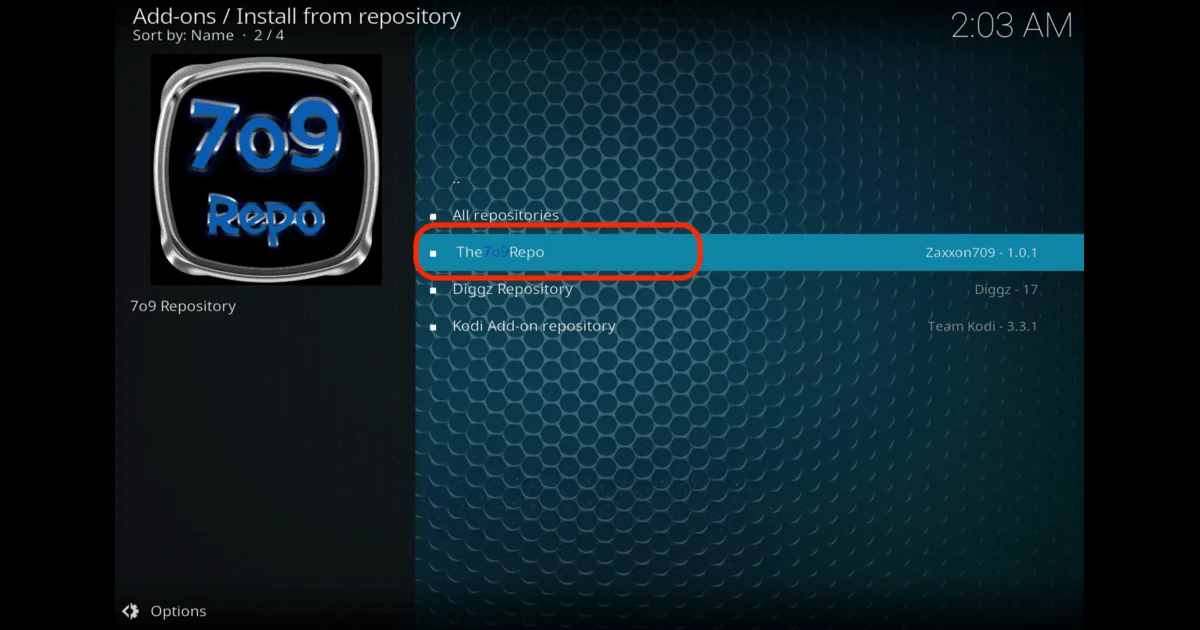
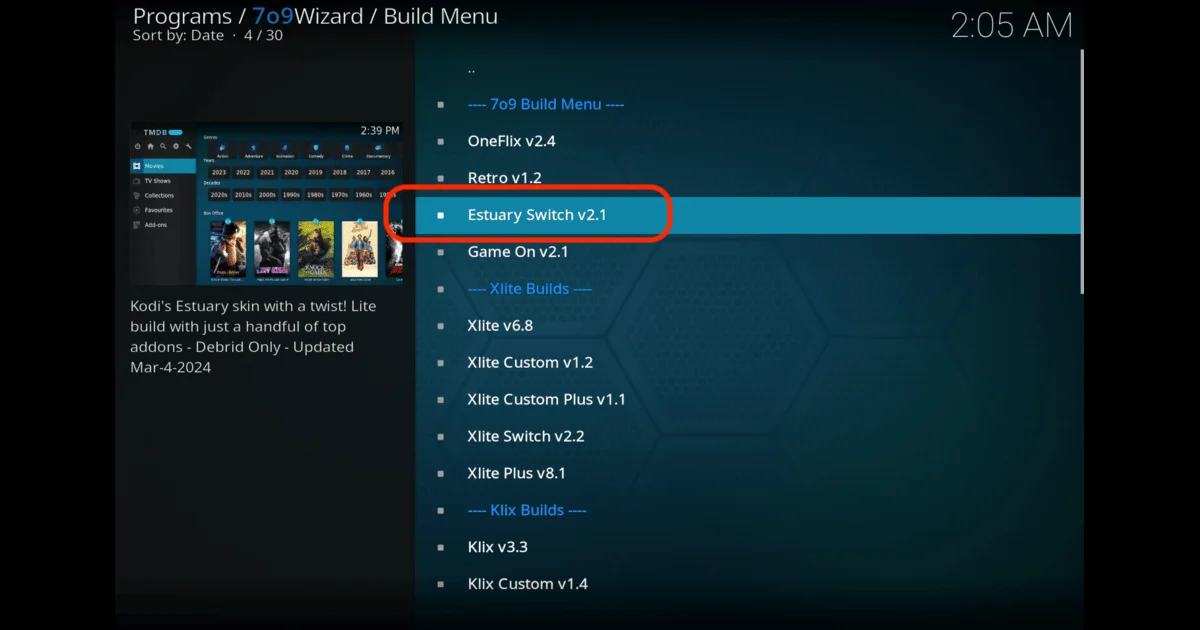
Next you have click on Aeon Nox: SiLVO
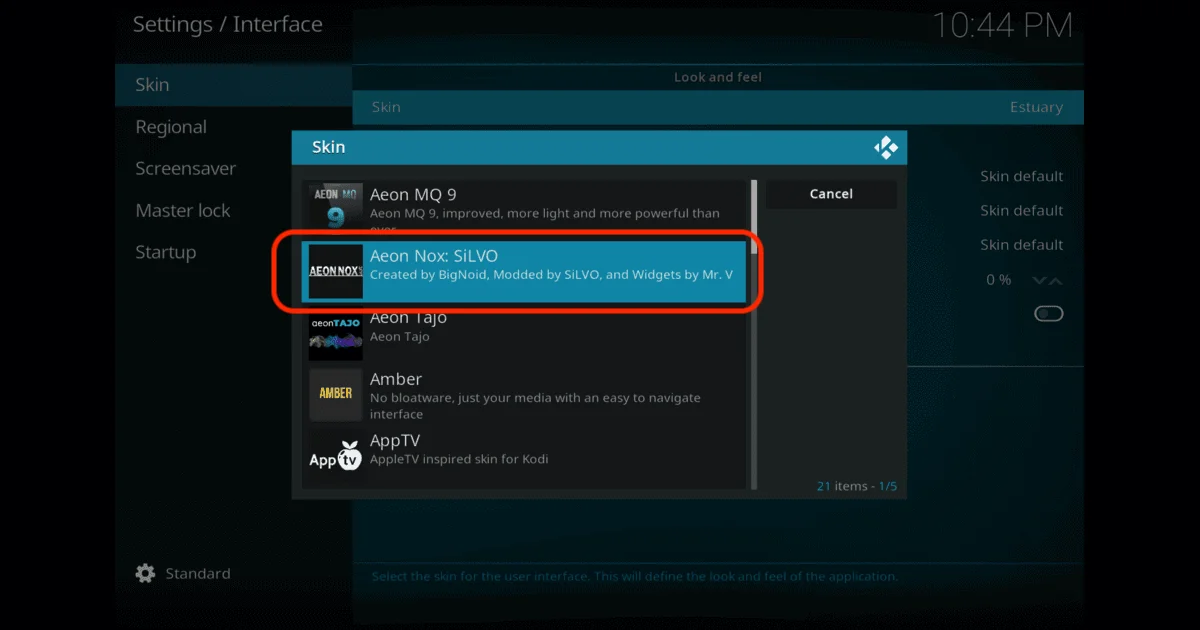
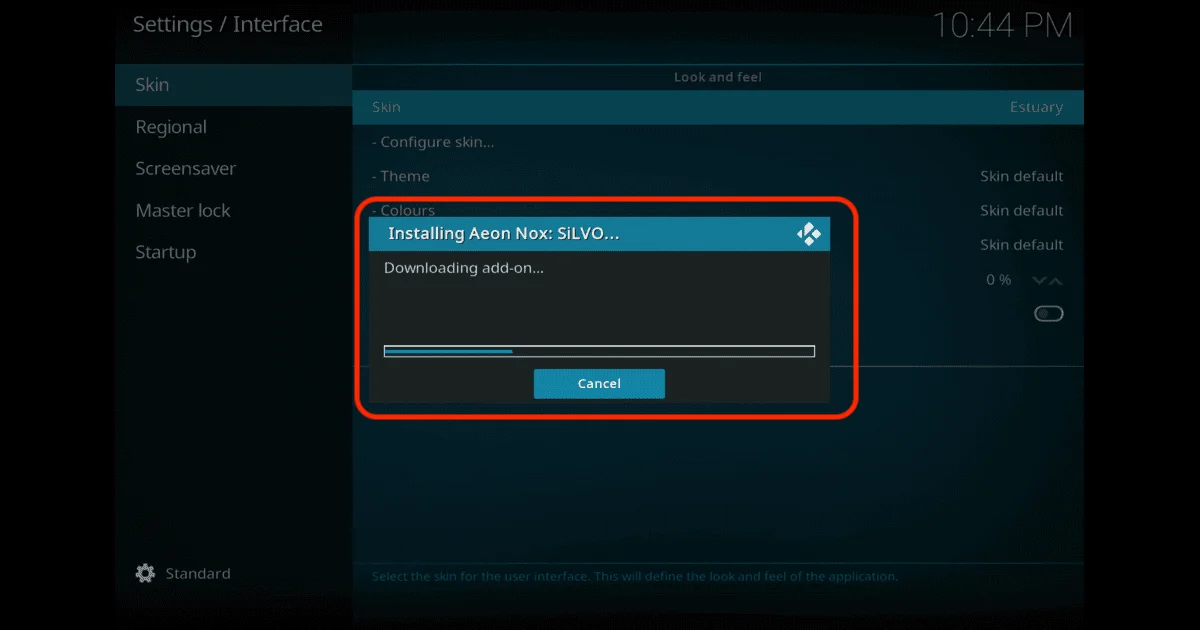
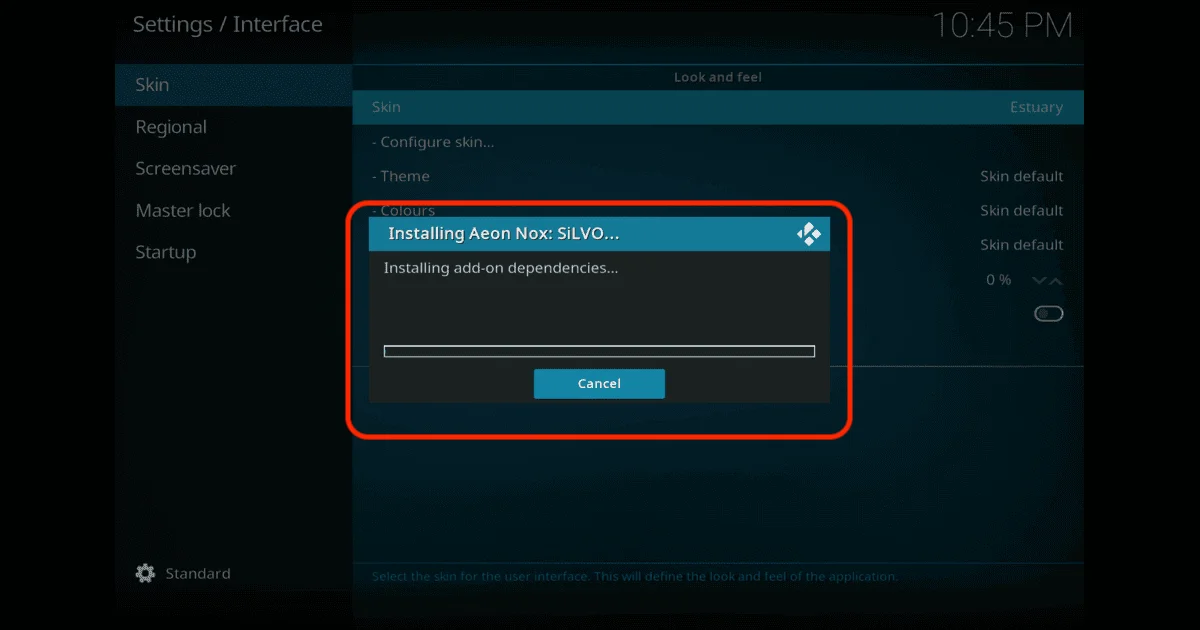
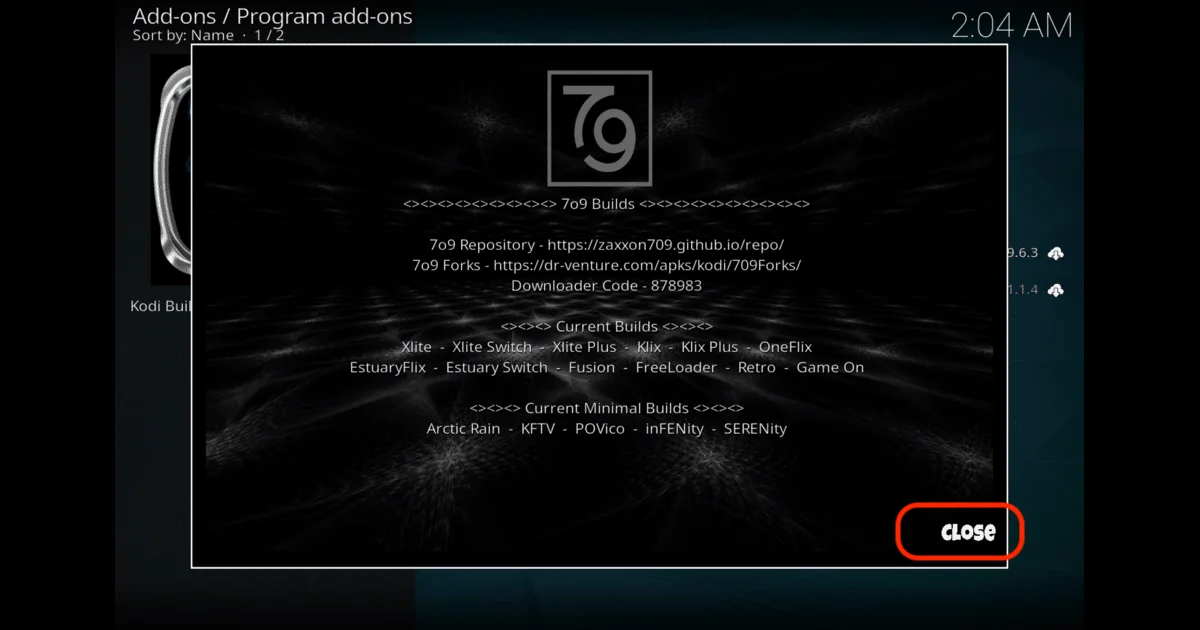
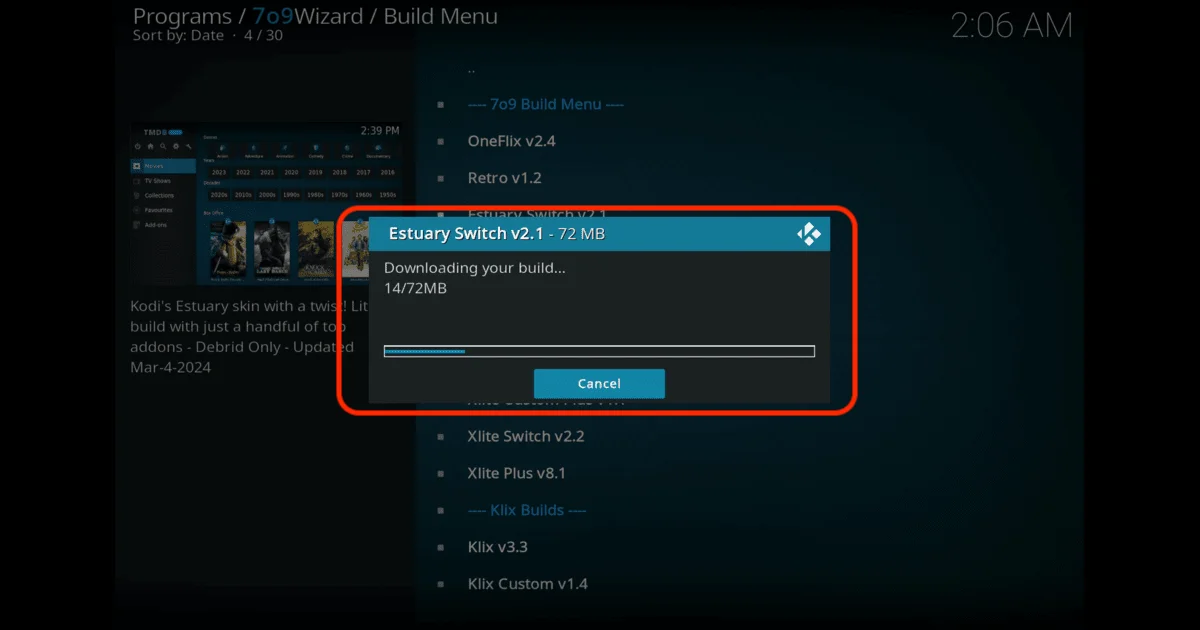
Wait a few seconds for the skin to be downloaded
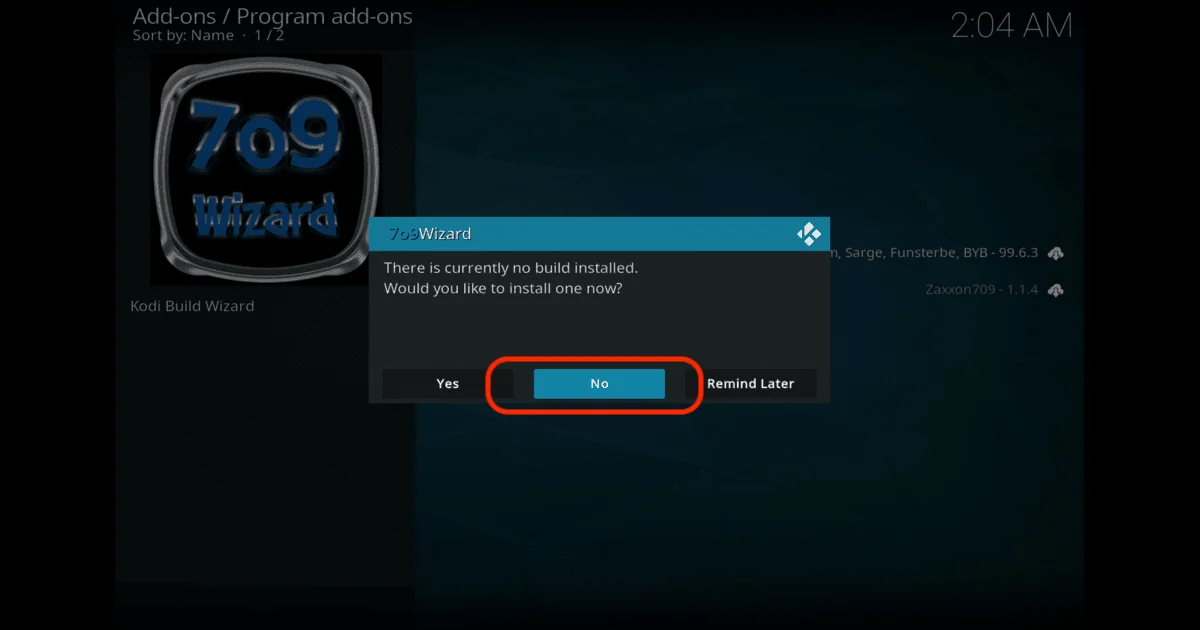
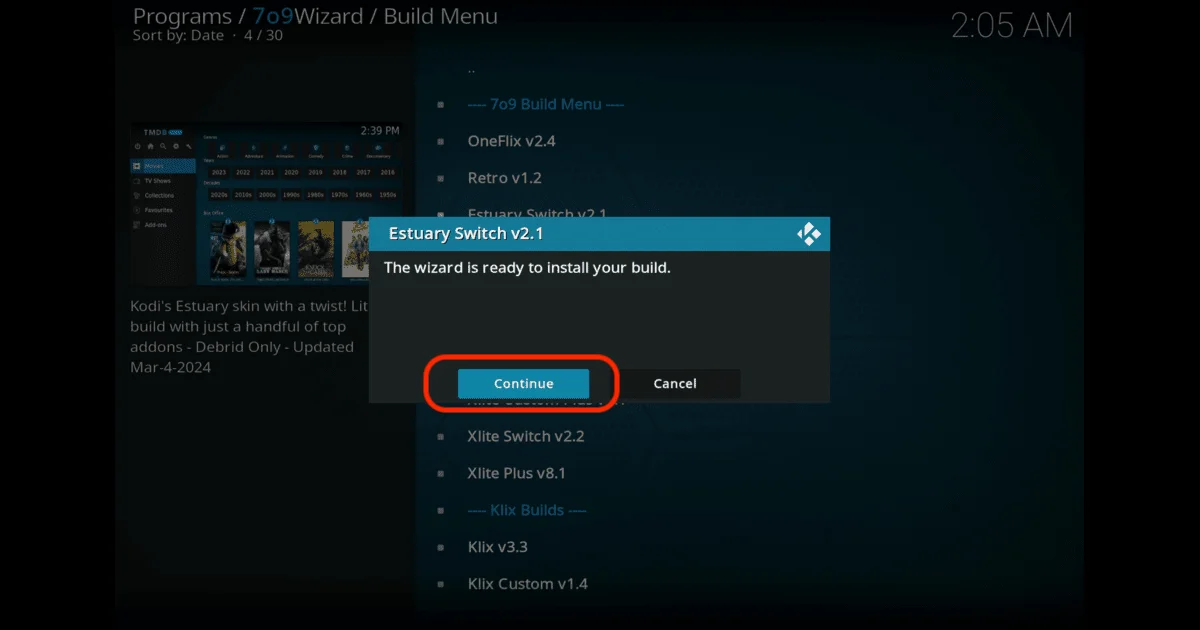
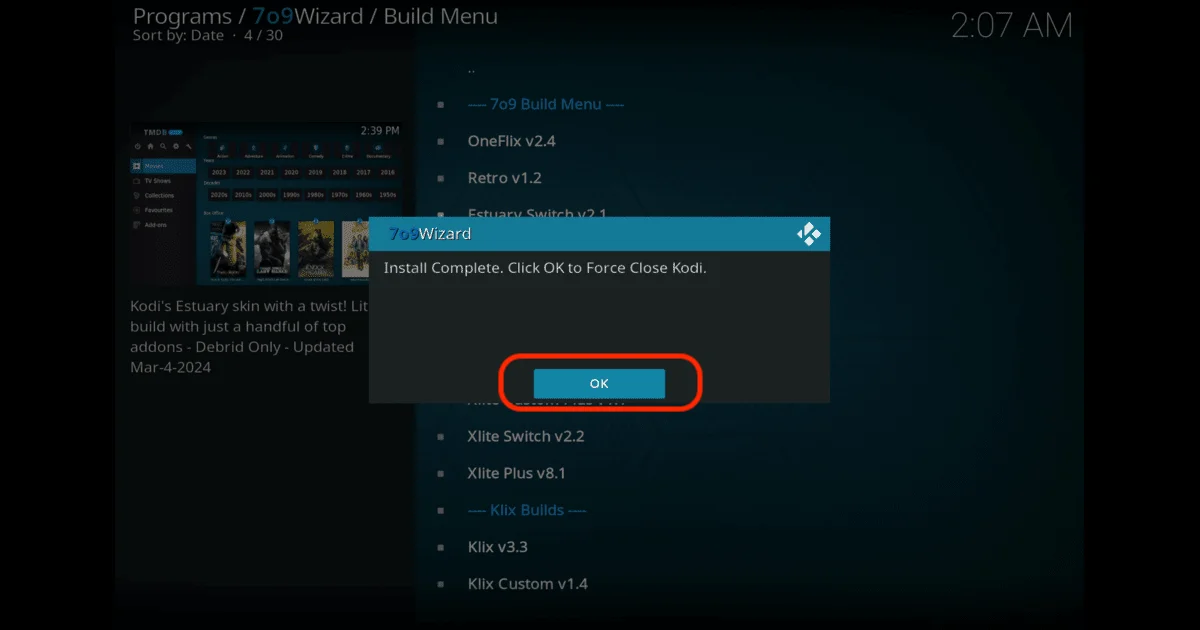
When all process done it will ask you would you like to change the skin if you want to change the skin then click on NO button, right now we want to change the skin so we will click on YES
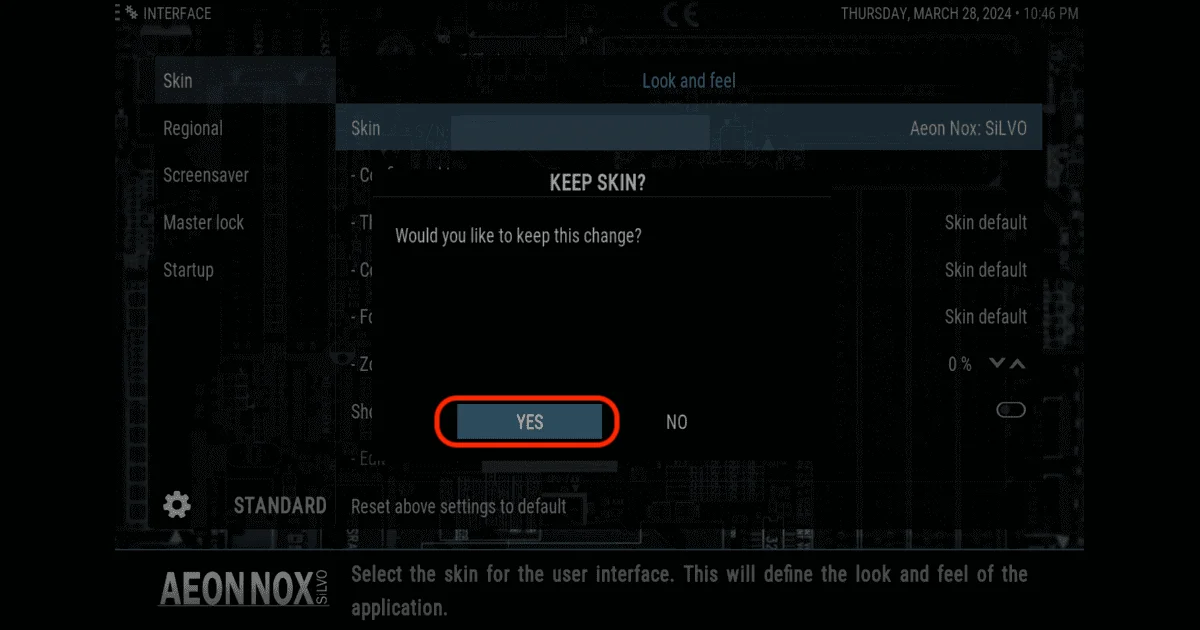
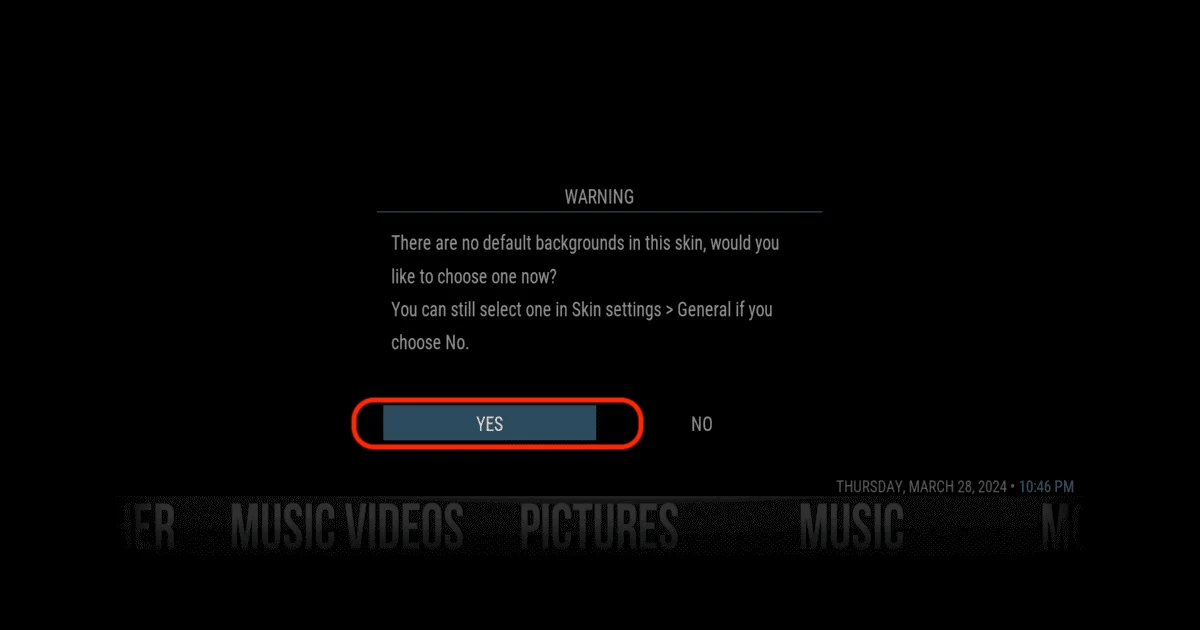
Next Click on Yes To for chang Skin Setting
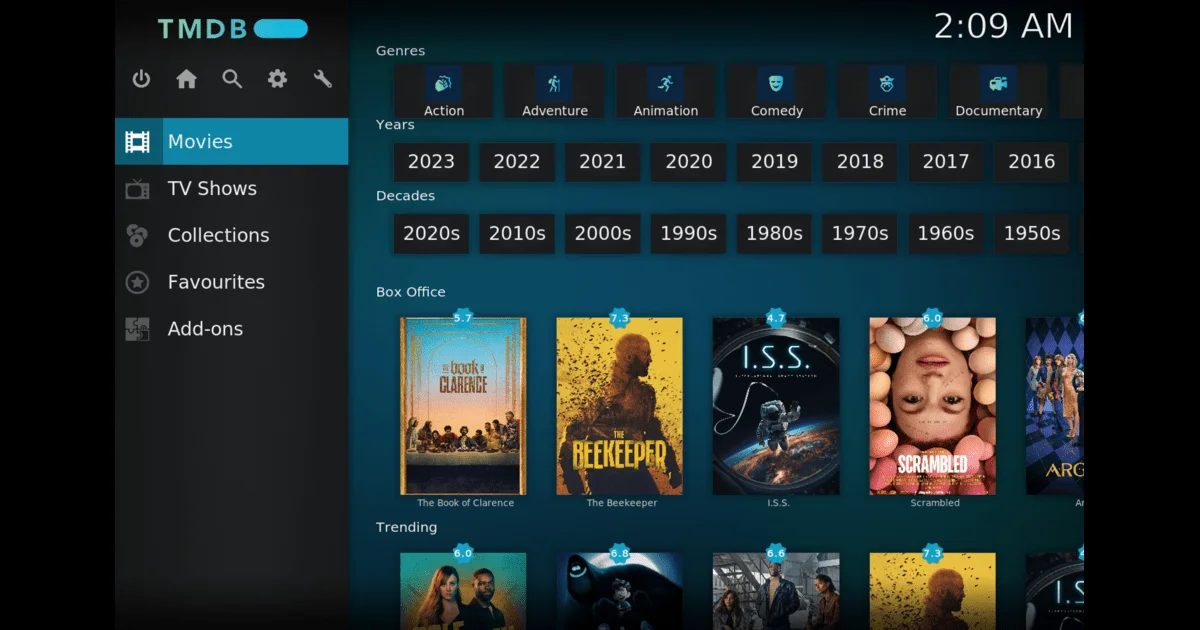
We have succefully changed kodi skin now if you want add-some of add-ons on that skin then go to our Add-ons section
You’ve successfully downloaded and installed Aeon Nox Silvo on Kodi device. Now, let’s delve into how you can personalize the skin to suit your preferences.
Before diving into the installation process, I highly recommend using a VPN with your Device. A VPN encrypts your internet traffic, routing it through a remote server, ensuring your online activities remain untraceable by your ISP or third-party advertisers.
Moreover, a VPN helps bypass geographical restrictions, granting access to content otherwise blocked in your region. For instance, if you aim to access content from a streaming service limited to a specific country, a VPN can connect you to a server there, unlocking the content.
For VPN usage, I personally recommend IPVanish. It offers versatile software compatible with numerous devices, including Firestick, Windows, Mac, iOS, Android, Linux, and routers. With over 3000 servers across 94 countries, IPVanish assures fast and dependable connections globally.
IPVanish utilizes robust encryption to safeguard user data and upholds a strict no-logs policy, ensuring no records of your online activities are stored. In addition to bolstering online security and privacy, IPVanish seamlessly enables access to geo-restricted content, including various streaming services unavailable in your area.
Customizing Aeon Nox Silvo
Aeon Nox Silvo on Kodi shines with its vast customization options, letting you tailor every aspect of the skin to your liking and craft a unique Kodi setup. Here’s a glimpse into what you can customize:
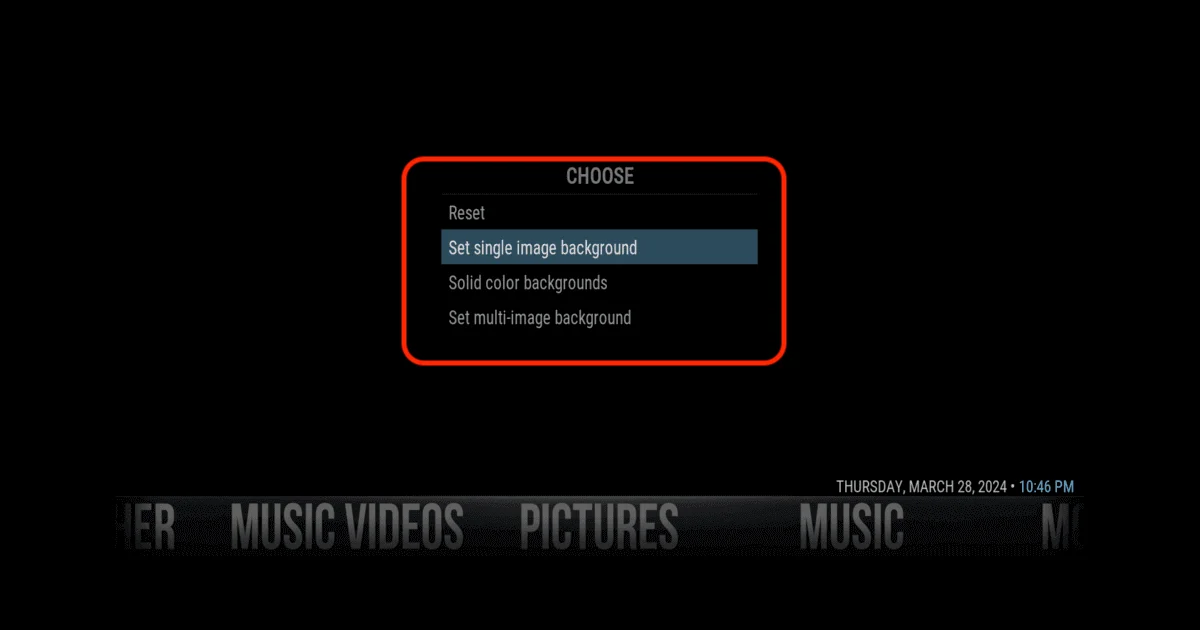
- Background Images: Set custom background images for your home screen and other sections. Choose from pre-installed backgrounds or use your own images. To customize, navigate to Settings > Interface > Skin > Backgrounds.
- Home Screen Layout: Personalize the layout of your home screen with Aeon Nox Silvo. Add or remove widgets, adjust menu item positions, and even create custom menu items. Head to Settings > Interface > Skin > Home to tweak your home screen.
- Color Themes: Change the overall look of the skin with various color themes. Select from pre-installed themes or create your own custom theme. To switch themes, go to Settings > Interface > Skin > Colors.
Customize Menu Items: Tailor the menu items displayed on the home screen. Add or remove items, change their order, and assign custom actions to specific menu items. Customize your menu via Settings > Interface > Skin > Customize Main Menu.
By delving into these customization options, you can curate a personalized Kodi setup that mirrors your style and preferences. Take your time to experiment with different settings and make Aeon Nox Silvo uniquely yours.
Features of Aeon Nox Silvo
Now that you’ve installed and customized Aeon Nox Silvo on Kodi, let’s delve into some of its standout features that will elevate your Kodi experience:
- Fanart and Movie Posters: Aeon Nox Silvo brings your media library to life with beautiful fanart and movie posters, enhancing the visual appeal of your Kodi interface. The skin automatically fetches artwork and metadata for your movies and TV shows, immersing you in an engaging browsing experience.
- Custom Widgets: Personalize your home screen with custom widgets in Aeon Nox Silvo. Gain quick access to your favorite add-ons, media categories, or specific playlists with ease. Create custom widgets for movies, TV shows, music, and more to streamline your Kodi navigation.
- Advanced Library Views: Explore your media collection effortlessly with Aeon Nox Silvo’s array of library views. Choose from simple list views to detailed fanart views, finding the perfect layout that matches your browsing preferences. Enjoy a tailored browsing experience that suits your style.
- Smart Playlists: Aeon Nox Silvo supports smart playlists, enabling you to create dynamic playlists based on specific criteria. Craft playlists based on genres, actors, directors, release years, and more. Smart playlists automatically update as you add or remove media from your library, ensuring your playlists stay fresh and relevant.
These are just a glimpse of the myriad features that Aeon Nox Silvo offers. Take your time to explore the skin and unlock its full potential. With its advanced customization options and stunning visuals, Aeon Nox Silvo will elevate your Kodi experience to new heights.
Troubleshooting common installation issues
While installing Aeon Nox Silvo is typically straightforward, you might encounter some common issues along the way. Here are a few troubleshooting tips to help you resolve any installation hiccups:
- Ensure Compatibility: Double-check that you’ve downloaded the correct version of Aeon Nox Silvo for your device and Kodi version. Using an incompatible version could lead to installation issues or compatibility conflicts.
- Check Dependencies: Some skins or add-ons may require specific dependencies to be installed. Ensure you have all the necessary dependencies installed to avoid any installation problems.
- Clear Cache: If you’re experiencing performance issues or crashes after installing Aeon Nox Silvo, try clearing the cache in Kodi. Navigate to Settings > System > File Manager > Profile directory > Database, then delete the “Textures13.db” file to clear the cache.
- Reinstall the Skin: If problems persist, consider uninstalling and reinstalling Aeon Nox Silvo. Sometimes, a fresh installation can resolve installation or compatibility issues.
If you’re still unable to resolve the issues, don’t hesitate to seek help from the Kodi community forums or the official Aeon Nox Silvo support channels. The community is always ready to lend a hand and offer solutions to common installation issues.
Frequently Asked Questions (FAQs)
If you’ve completed the installation process for Aeon Nox Silvo but still have lingering questions or uncertainties, fret not. Below, you’ll discover a compilation of frequently asked questions along with comprehensive answers to common queries found across the internet. It’s highly likely that you’ll uncover the solution you seek within this list.
However, if your specific question isn’t addressed here or if you require further assistance, don’t hesitate to reach out. Feel free to leave your question in the comment section, and I’ll gladly provide you with the assistance you need. Your queries are welcomed, and I’m committed to ensuring your Aeon Nox Silvo experience is seamless and satisfying. Simply ask away, and I’ll endeavor to offer the guidance and support you require.
Conclusion and final thoughts
You’ve successfully installed Aeon Nox Silvo on Kodi and delved into its array of powerful features and customization options. Following this comprehensive guide, you’ve transformed your Kodi setup into a visually captivating and personalized media hub.
Aeon Nox Silvo empowers you with limitless customization possibilities, enabling you to craft a Kodi interface that aligns perfectly with your preferences. From background images to home screen layouts, you have full autonomy over every facet of your Kodi experience.
With its sleek design, intuitive interface, and advanced customization capabilities, Aeon Nox Silvo is an indispensable addition to any Kodi enthusiast’s toolkit. Whether you’re a cinephile, music aficionado, or TV series aficionado, Aeon Nox Silvo will elevate your viewing pleasure and elevate your media center to unprecedented heights.
So, why wait? Dive headfirst into the realm of Aeon Nox Silvo and unlock the boundless potential of your Kodi setup. With its unparalleled user experience and breathtaking visuals, Aeon Nox Silvo will revolutionize the way you indulge in your favorite media on Kodi. Don’t delay – install it today and immerse yourself in a world of unparalleled entertainment.


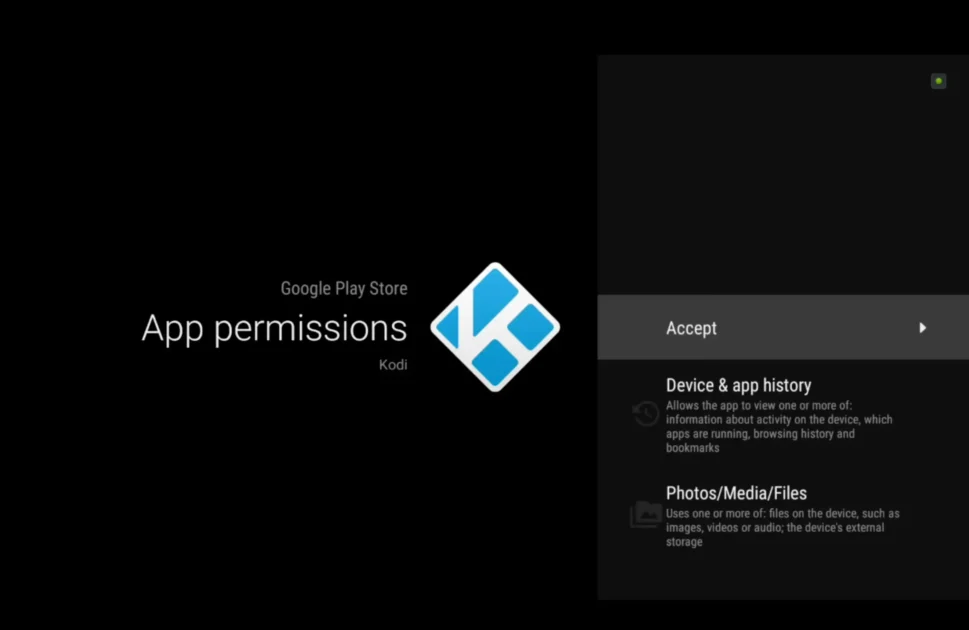
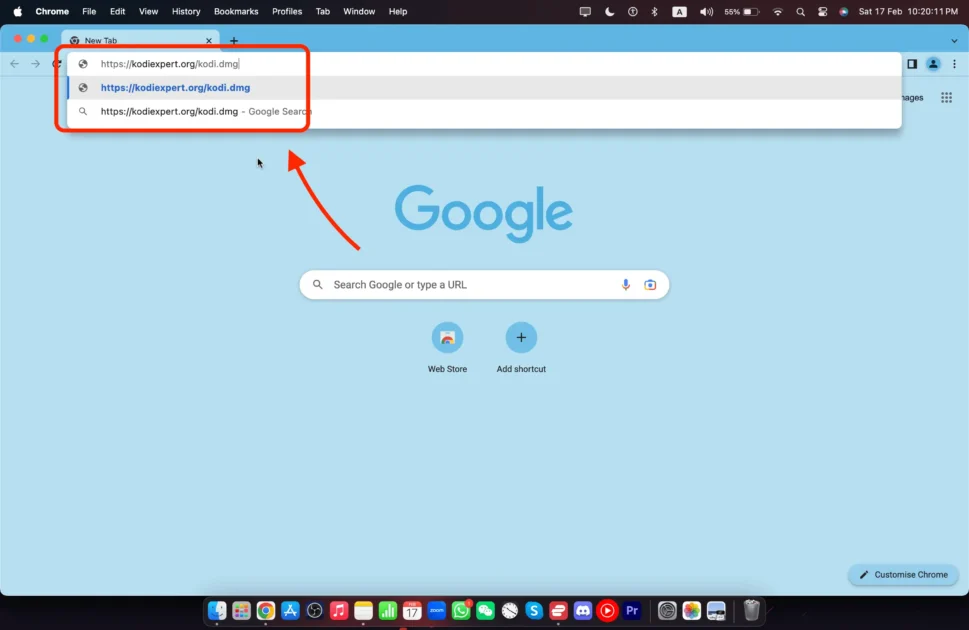
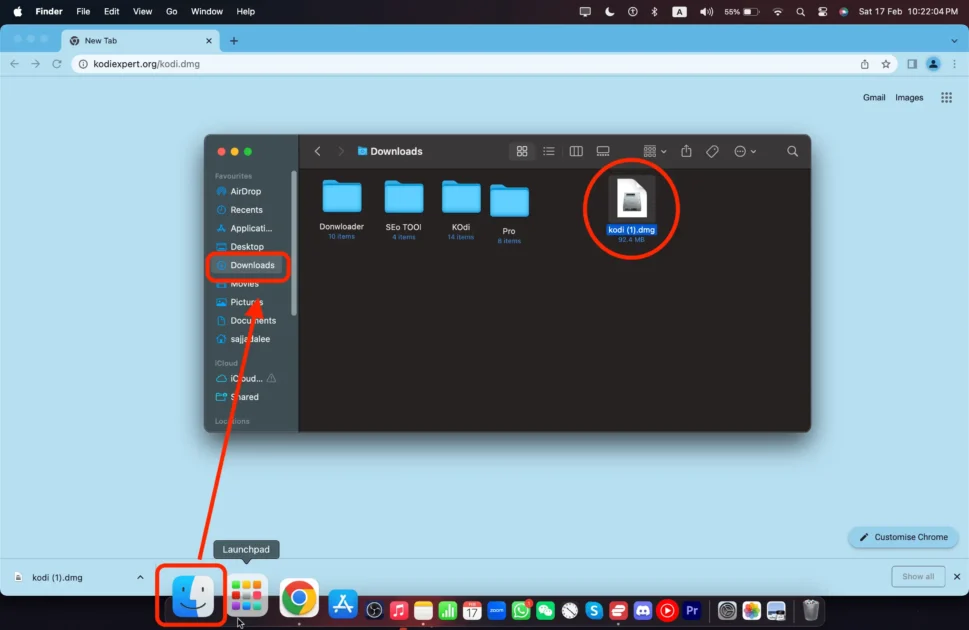
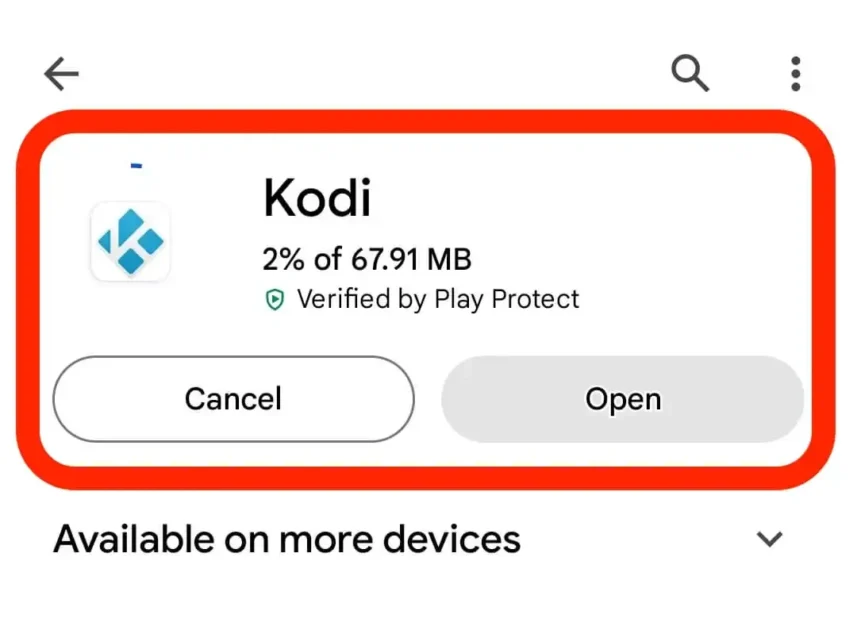
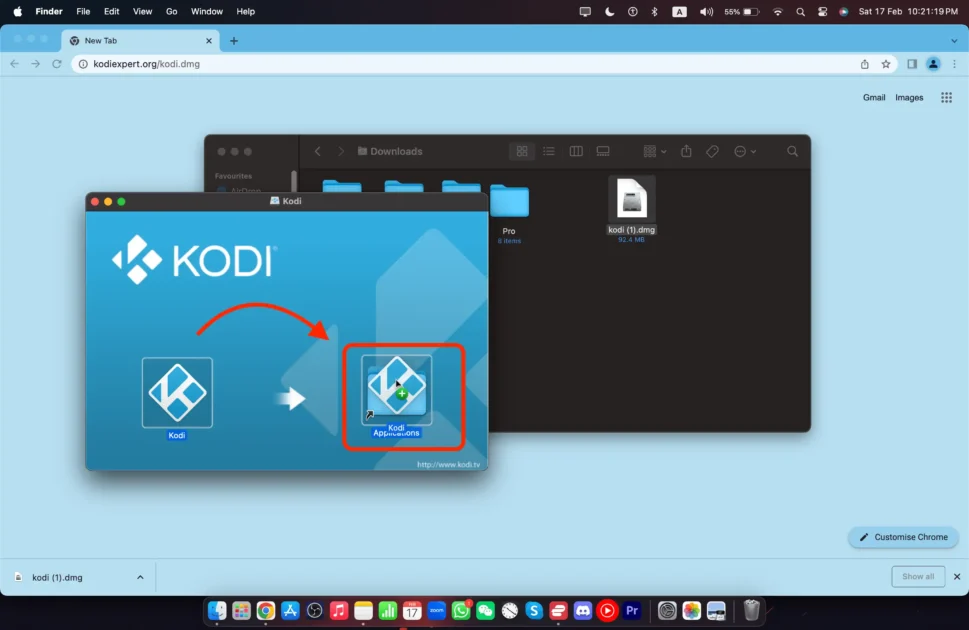 Start Kodi After the installation, find Kodi in your Applications folder and double-click it. Kodi will open up, showing you the main stuff.