In this article, I’ll guide you through the process of installing the POV Kodi addon. The instructions provided here are applicable to a wide range of devices, including Nvidia Shield, Amazon Fire TV, Windows PCs, Mac PCs, Android phones, and more. For this demonstration, I’m using a FireStick Lite with Kodi 19 Matrix.
Before we go the guide let’s start with brief introdection about POV Kodi Addon
What Is POV?
Looking to stream free movies and TV shows on your Kodi app? It’s time to install the popular POV addon. Available through the Kodifitzwell repository, POV is your go-to source for accessing a vast library of free TV shows, movies, documentaries, and more.
With POV, you can easily discover new TV shows, movies, and even explore content related to your favorite actors and filmmakers. This addon also allows you to curate your own collection of favorite content and create custom lists tailored to your preferences.
Overall, POV stands out as one of the top Kodi addons for streaming free TV shows and movies.
⚠️ Attention, Kodi Users!
Kodi Addons and builds offer unlimited streaming content, but they could also get you into trouble if you’re caught streaming free movies, TV shows, or sports. Currently, your IP 2400:adc3:12c:e600:bcd3:880f:e0ab:5a62 is visible to everyone. Kodi users are strongly advised to always connect to a VPN while streaming online. Kodi VPN hides your identity plus bypasses government surveillance, geo-blocked content, and ISP throttling (which also helps in buffer-free streaming).
I personally use NordVPN, which is the fastest and most secure VPN. It is easy to install on Amazon FireStick and any other devcie. You get 3 months free and save 49% on its annual plans. Also, it comes with a 30-day money-back guarantee. If you are not satisfied, you can always ask for a refund.
Is POV Safe & Legal?
Before installing and using POV, it’s crucial to understand the safety and legality aspects of the addon.
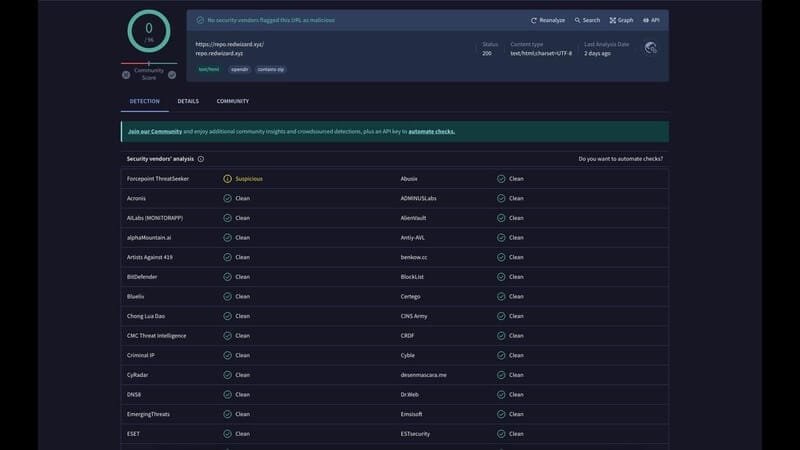
From a safety perspective, POV seems to be fine. I’ve personally used the addon and didn’t encounter anything suspicious. However, I can’t guarantee that POV is 100% safe, as we at FST aren’t security experts. Since this is a third-party addon, it’s impossible to be entirely certain.
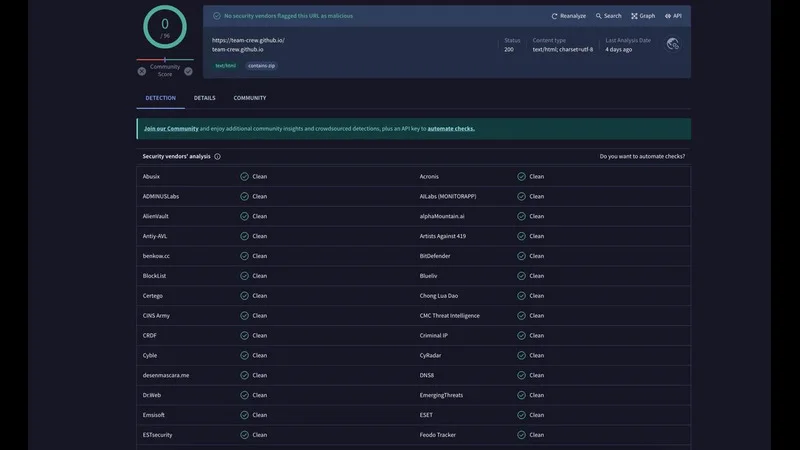
That said, I conducted a quick test on the POV repository’s zip file, and it came back clean. Here’s the proof:
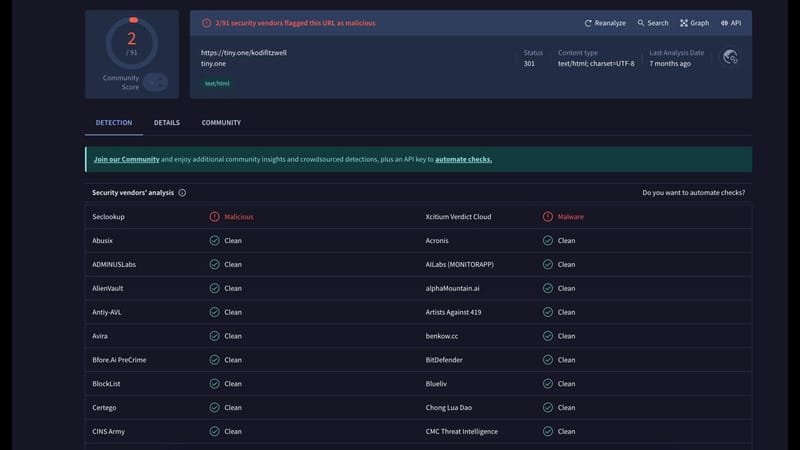
On the flip side, we don’t have the resources to conduct a thorough legality check on the content available through POV. Therefore, I can’t definitively say whether POV is legal or illegal.
Given this uncertainty, I highly recommend using a VPN service like ExpressVPN. This will help you stay protected from any potential safety or legality issues, allowing you to enjoy your streaming experience without worry.
Legal Disclaimer: This Guide is intended for Tech purposes only. FireStickTricks.com does not own, host, operate, resell, or distribute any streaming apps, addons, websites, IPTV, or related services. Some of the services mentioned on this page are unverified, and we cannot confirm whether they hold legal licenses to distribute the content. FireStickTricks.com does not verify the legality of each app or service in every region. It is your responsibility to conduct due diligence when using any unverified apps or services and to stream only content that is legally available in the public domain. The end-user is solely responsible for any media accessed.
How to Install POV Kodi Addon
POV is a third-party Kodi addon available through the Kodifitzwell repository. Installing it requires following a series of steps, which I’ve divided into three Sections to make the process easier to follow. Let’s dive in.
Sections 1: Enable Unknown Sources on Kodi
Before you can install the Kodifitzwell repository and access the POV addon, you need to enable unknown sources on Kodi. This step is crucial, as it allows you to load third-party repositories like Kodifitzwell. Here’s how to enable unknown sources on your Kodi app.
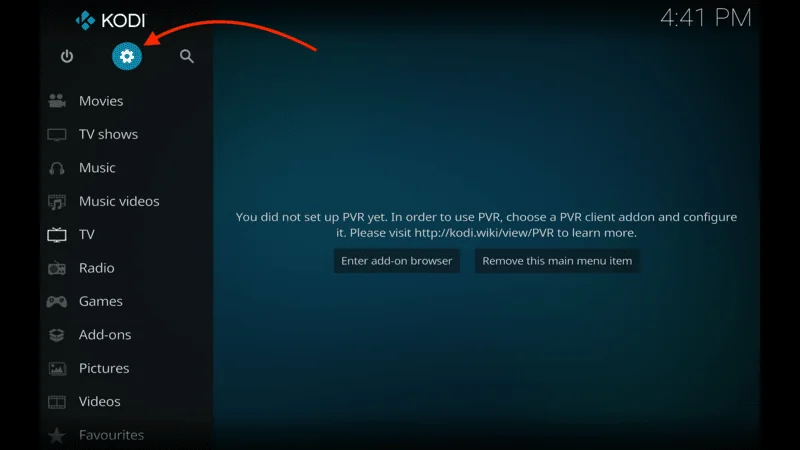
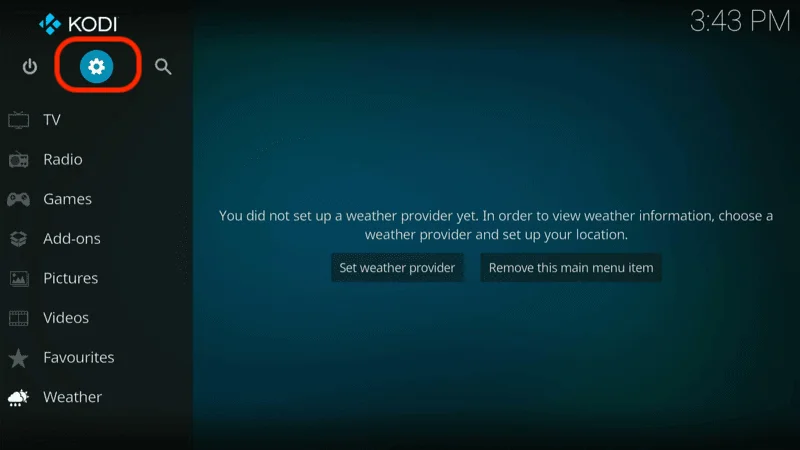
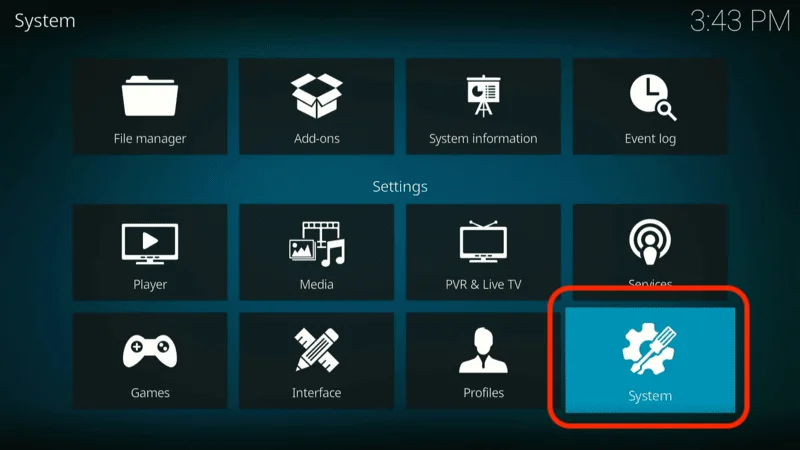
On the Kodi screen, select the above Settings.

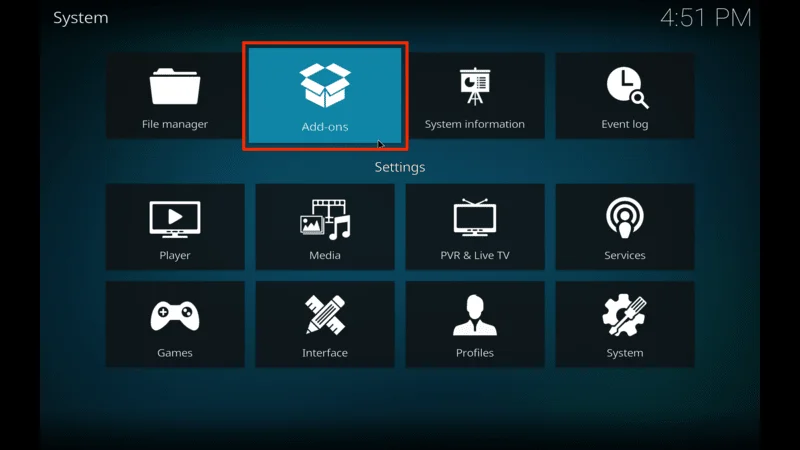
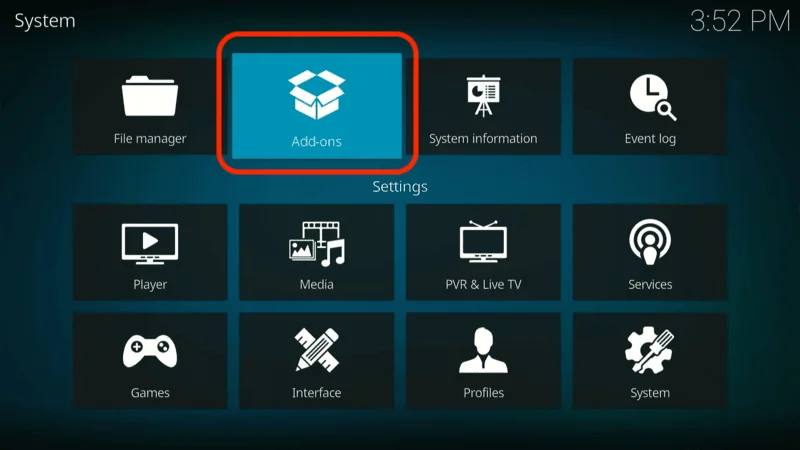
Choose System.

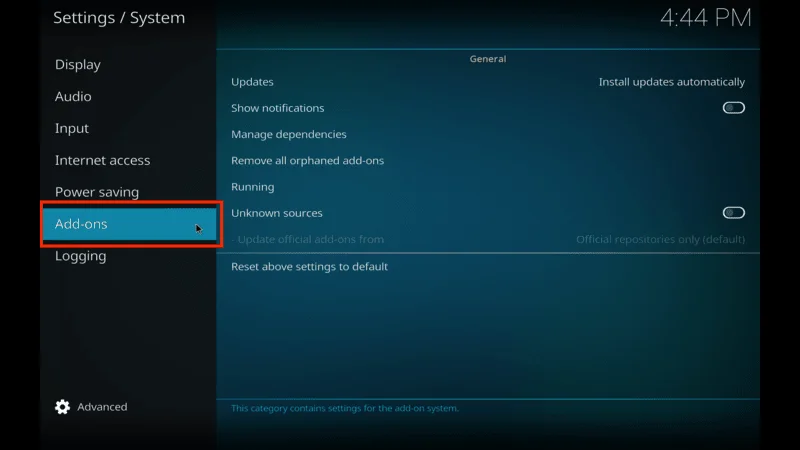
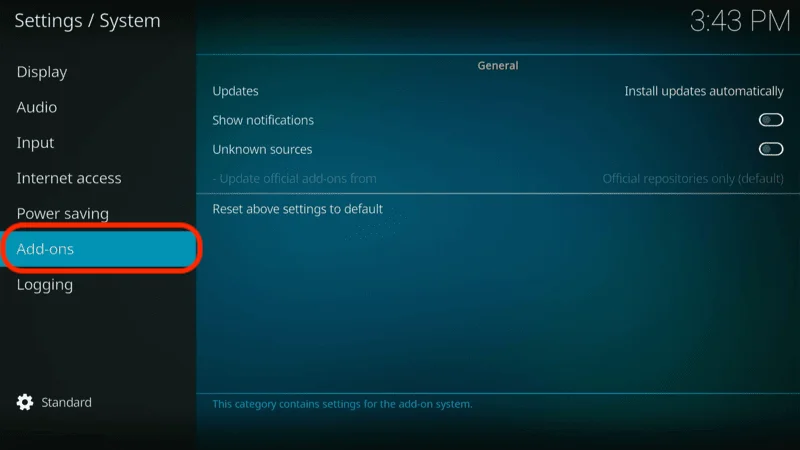
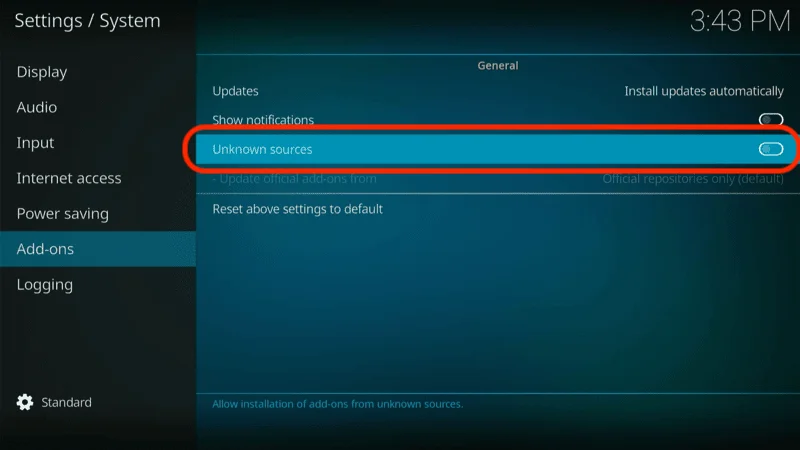
In the left-hand panel, scroll down to the Add-ons tab. Then, in the right-hand panel, toggle the Unknown Sources option to ON.

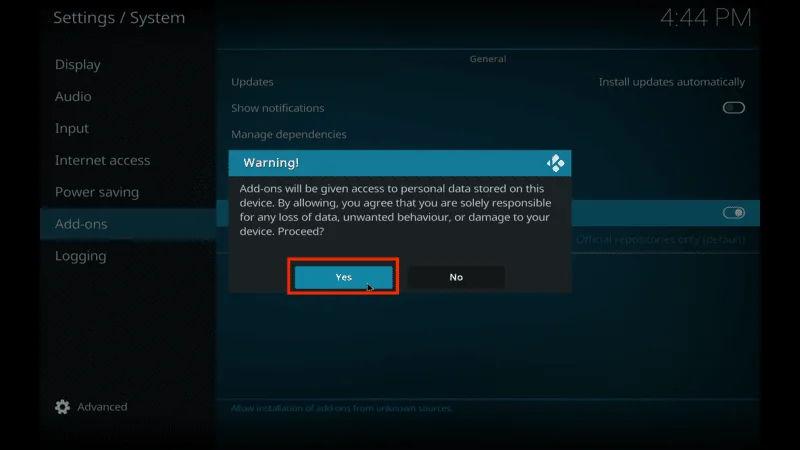
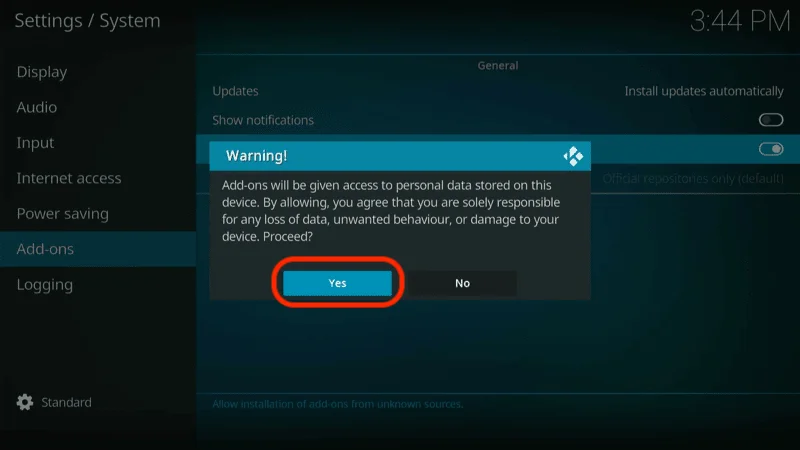
A warning will appear; click Yes.

Section 2: Install the Repository with POV
To access the POV Kodi addon, you’ll need to install the Kodifitzwell repository, where it is hosted.
Follow these steps to install the Kodifitzwell repository on your Kodi app:
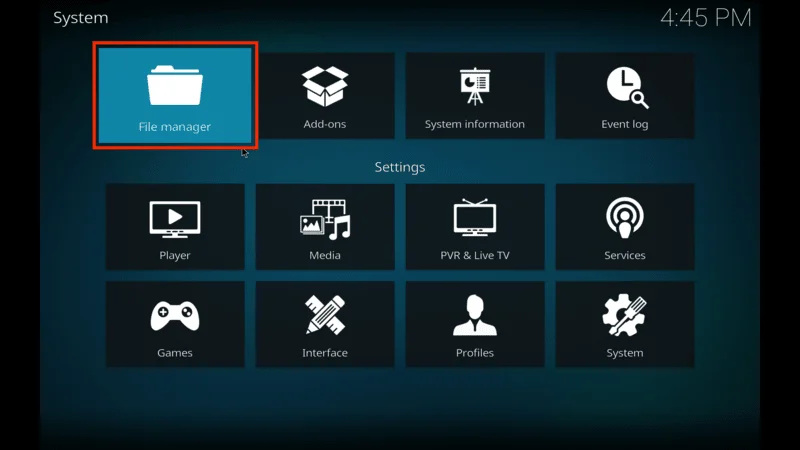
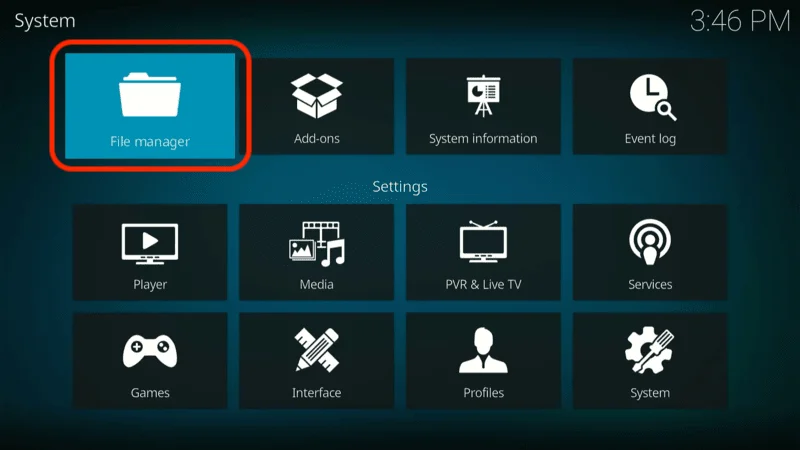
On your Kodi screen, click Settings icon.

Open File manager.
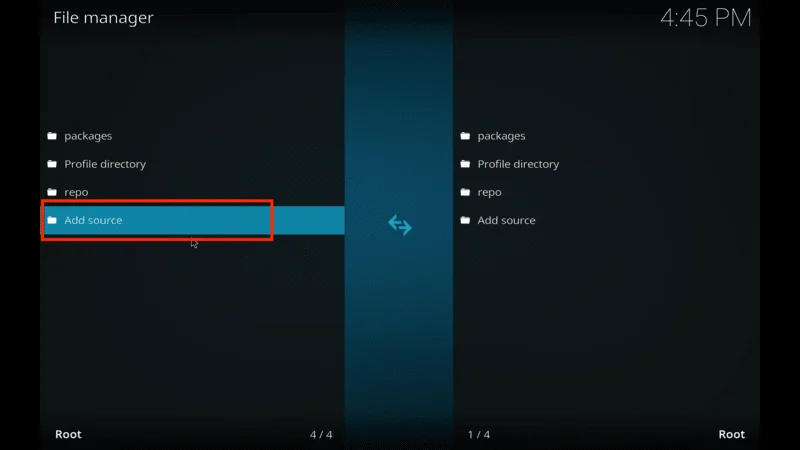
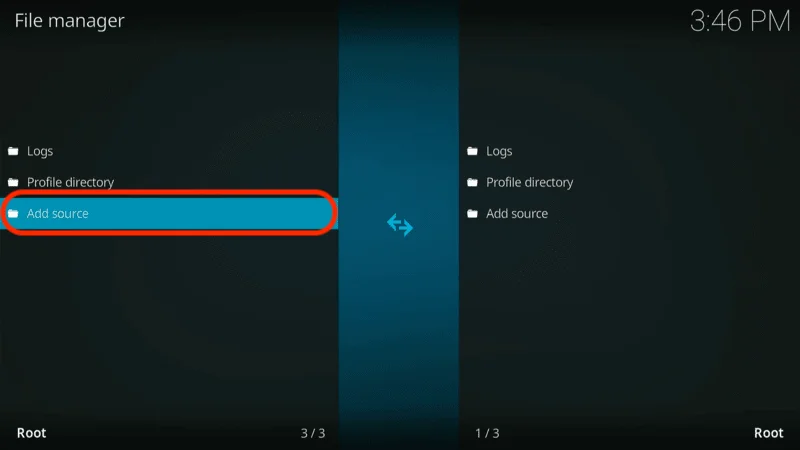
Select Add source.
Note: If you have many sources already added in File Manager, the Add source option will be at the end of the list.
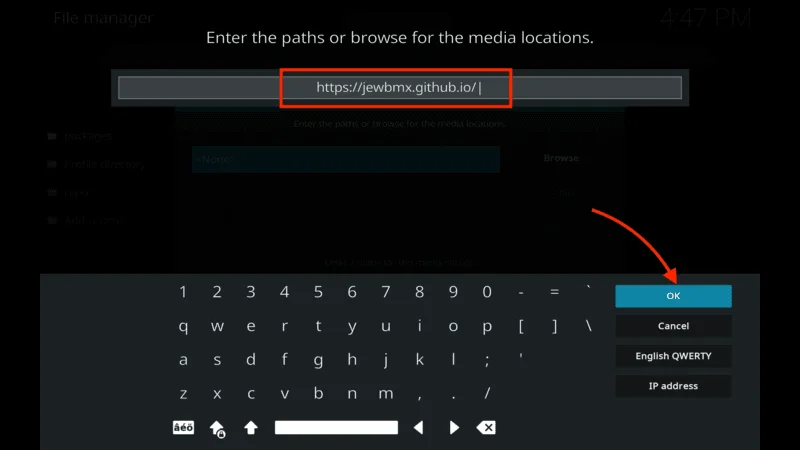
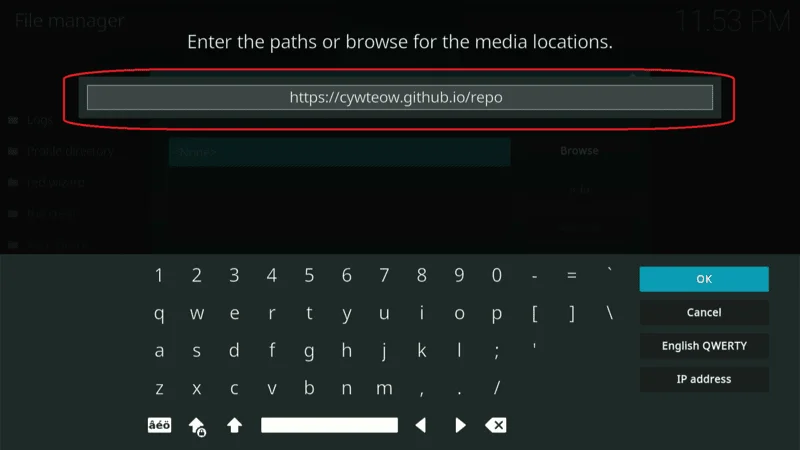
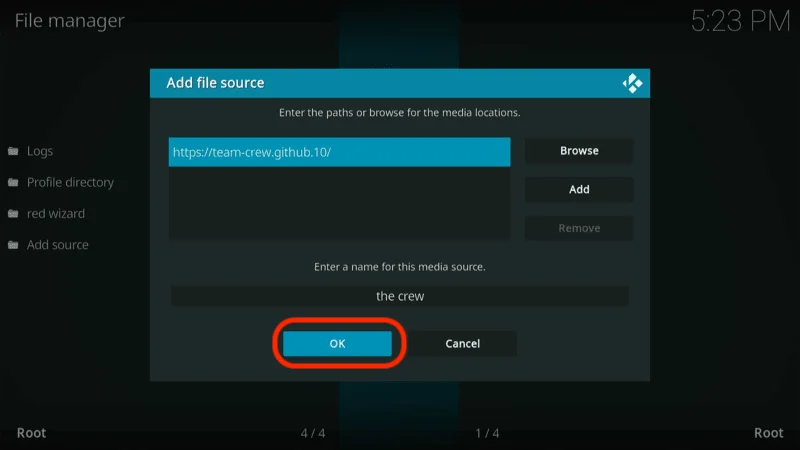
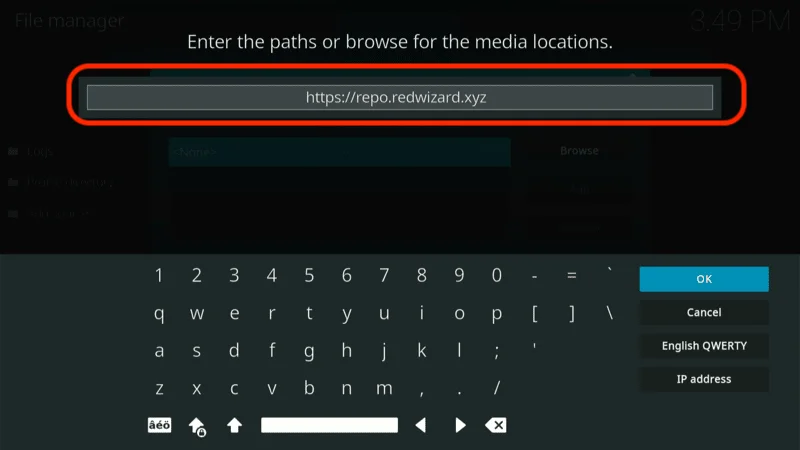
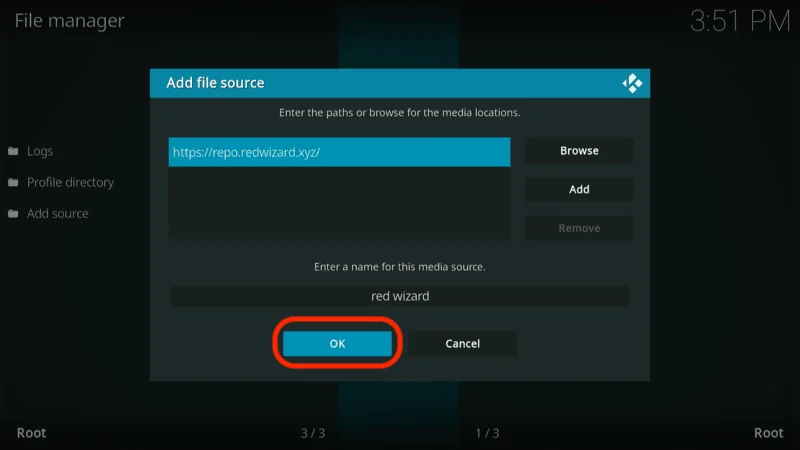
When the Add file source window appears, click on <None>.
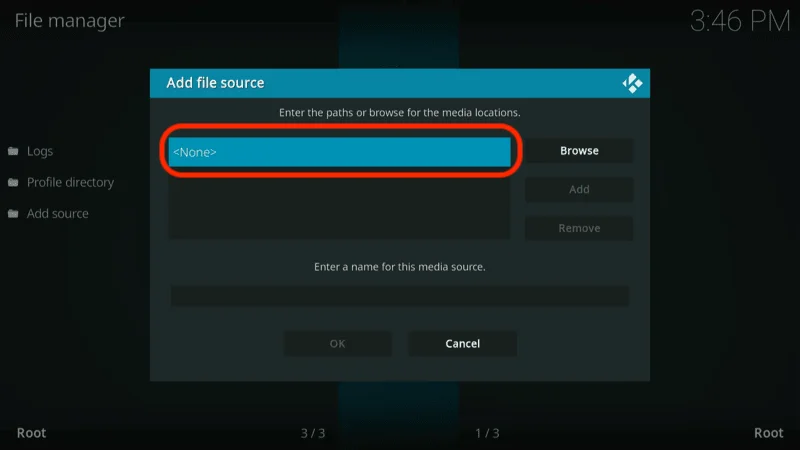
Enter the URL for the Kodifitzwell repository: https://tiny.one/kodifitzwell and click OK.
Note: I’ve shortened the official URL of Kodifitzwell for easier entry. However, we are not affiliated with the Kodifitzwell repository. This URL points directly to the original source.

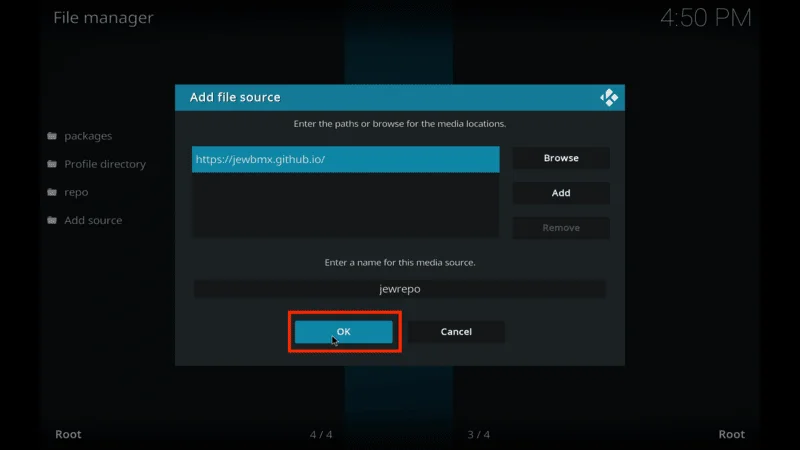
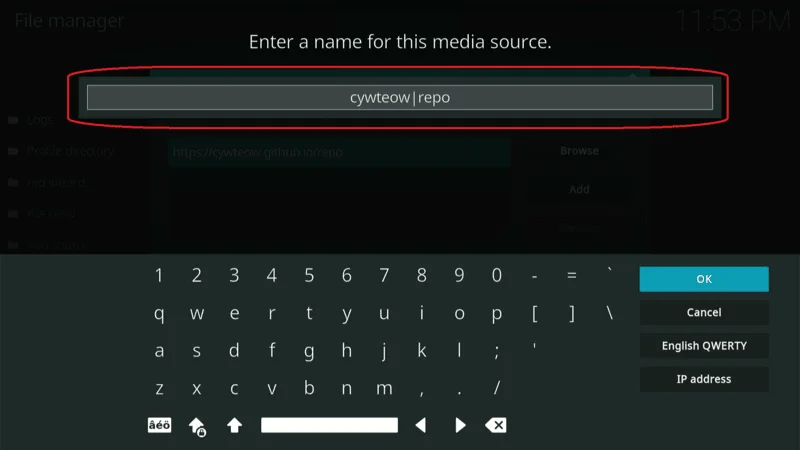
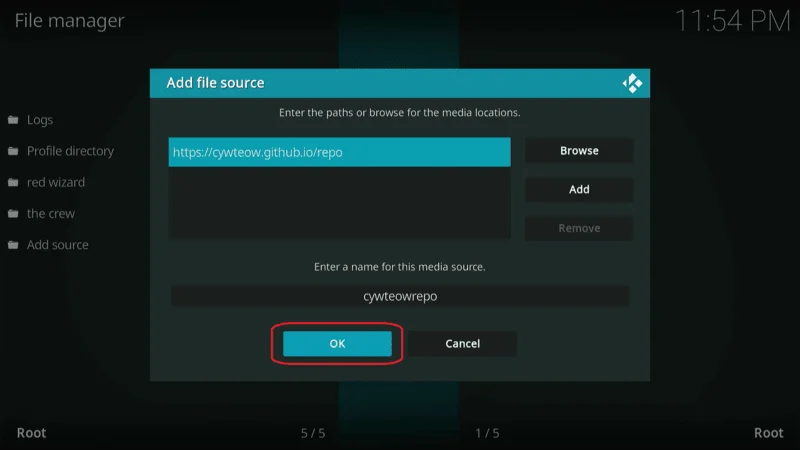
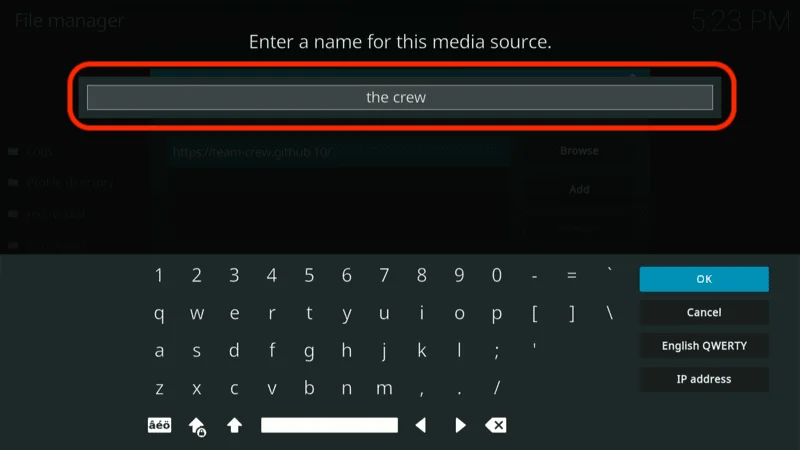
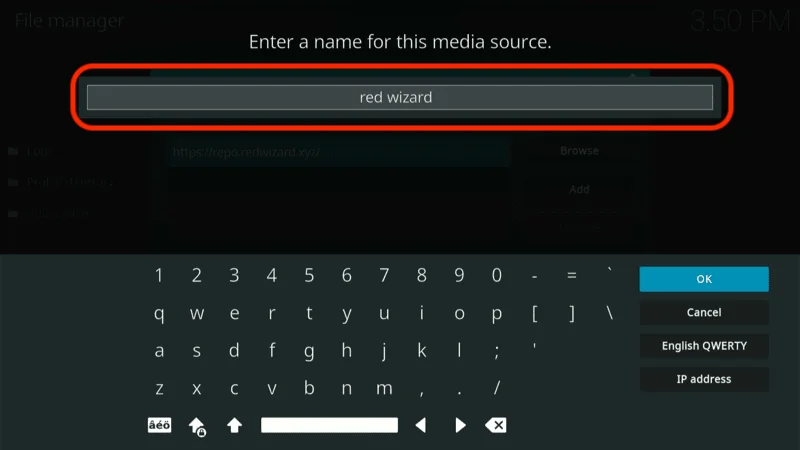
To name the source, select the input box under Enter a name for this media source.

Enter a name and click OK to continue.
Note: I’m using the default name kodifitzwell because it’s easy to remember.

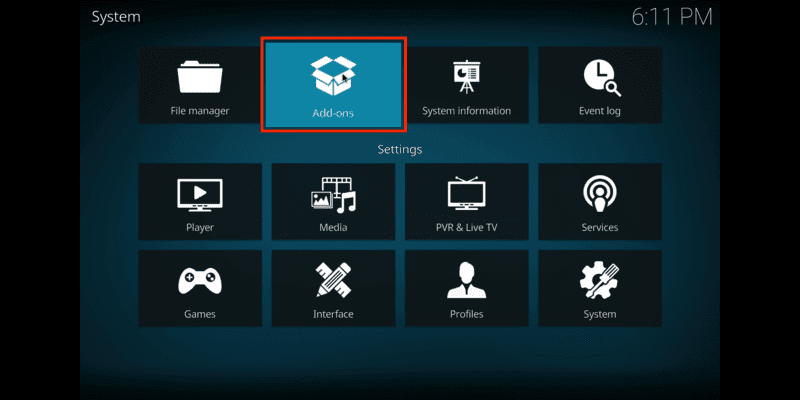
You’ll see the source has been added to the list, go back to the Kodi Settings page and select Add-ons.

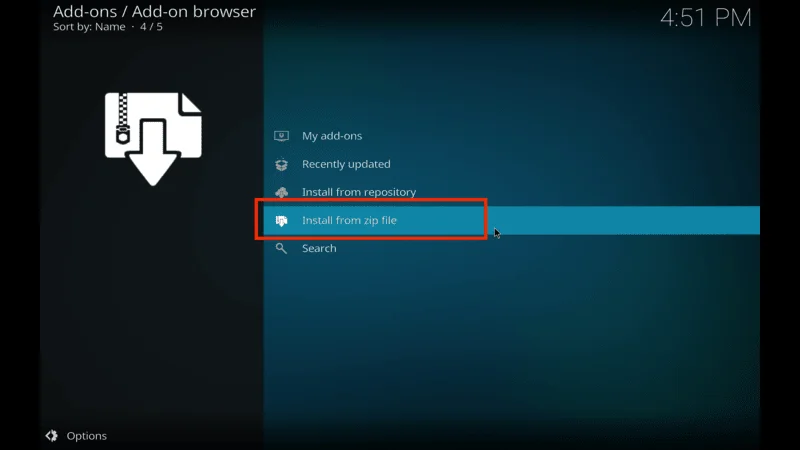
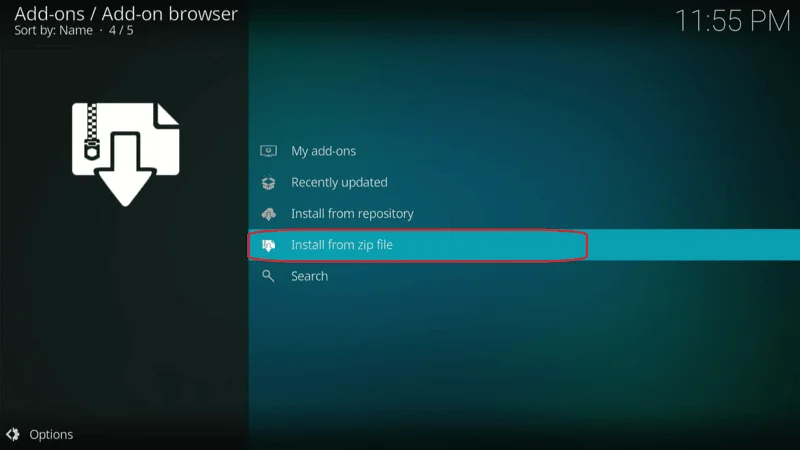
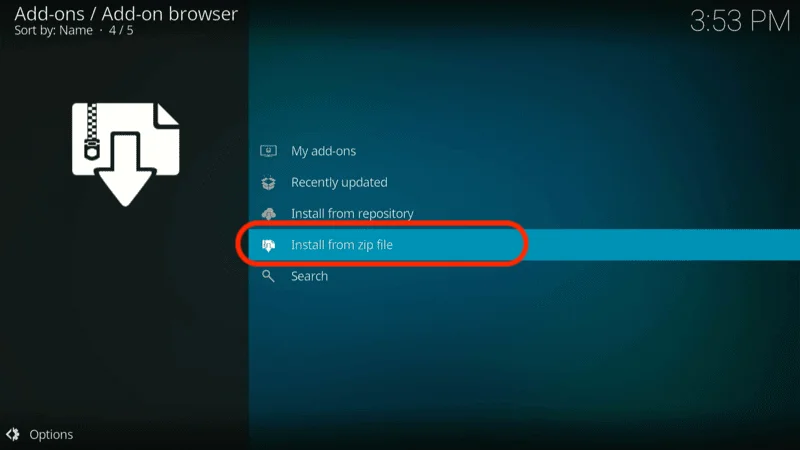
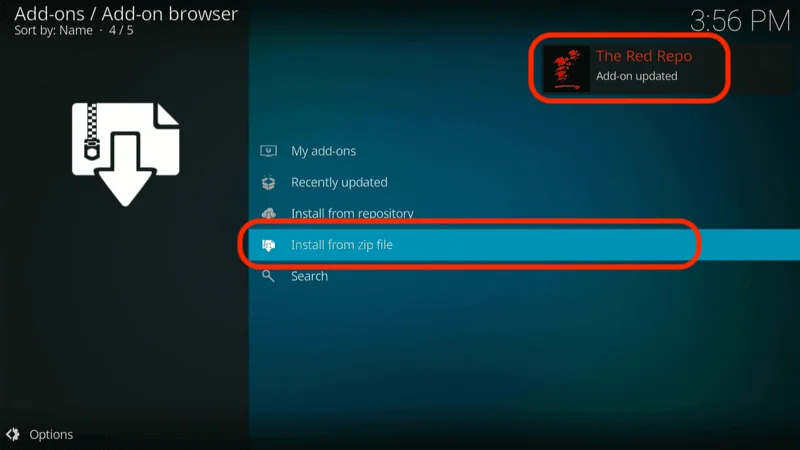
Choose the Install from zip file option.

A warning message about updates will appear on your screen; click Yes to proceed.
Note: This warning prompt appears only on Kodi 19 Matrix.
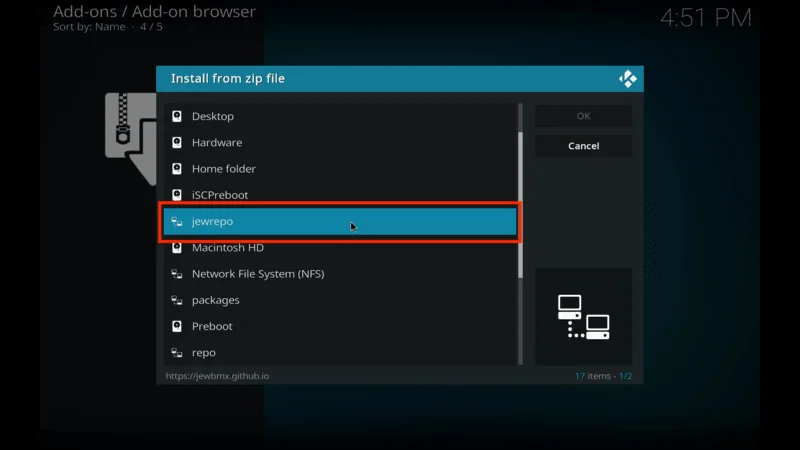
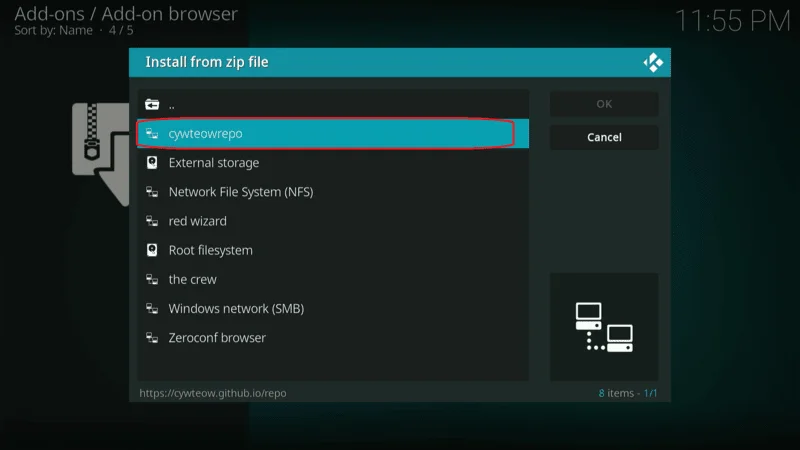
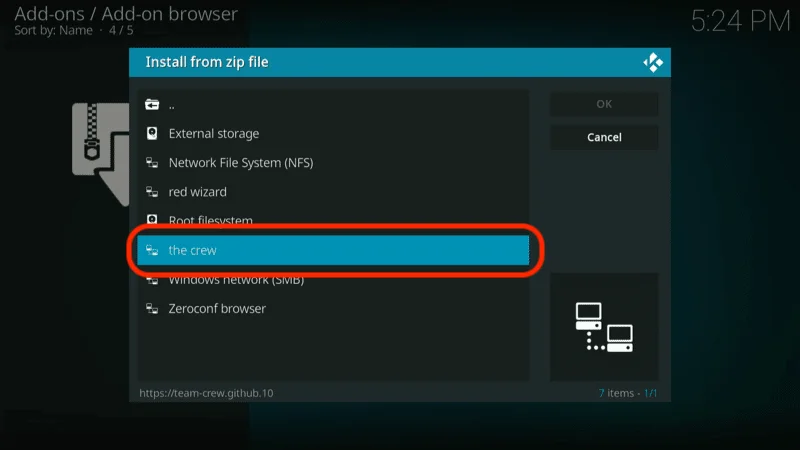
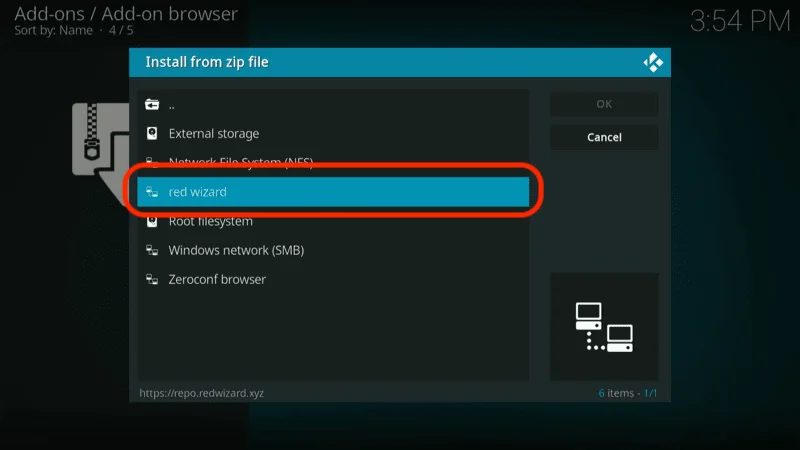
Select the repo name you’ve set from the Install from zip file list – in my case, it’s kodifitzwell.

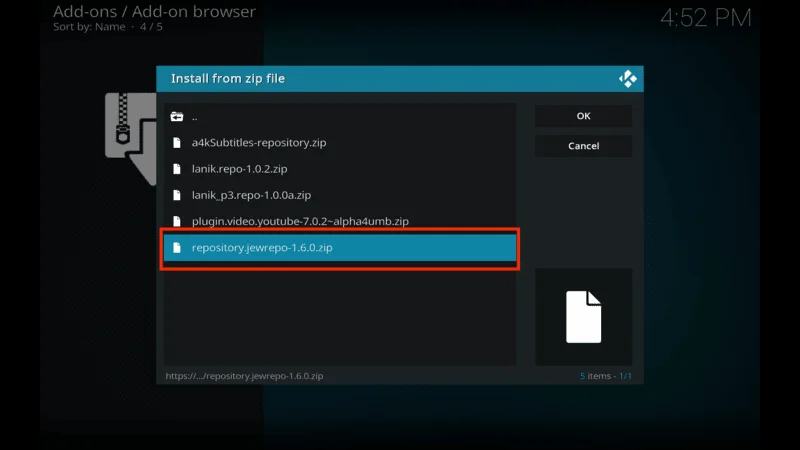
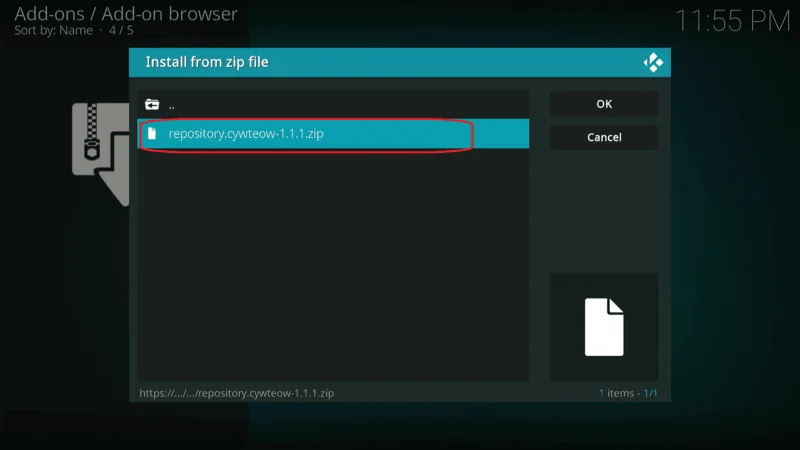
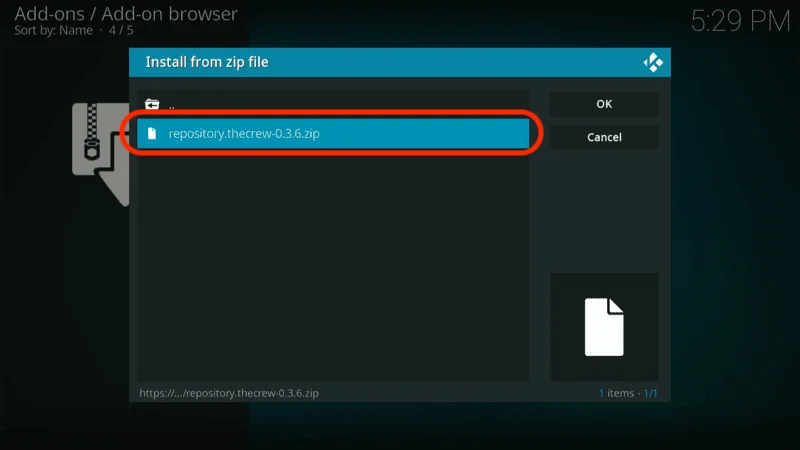
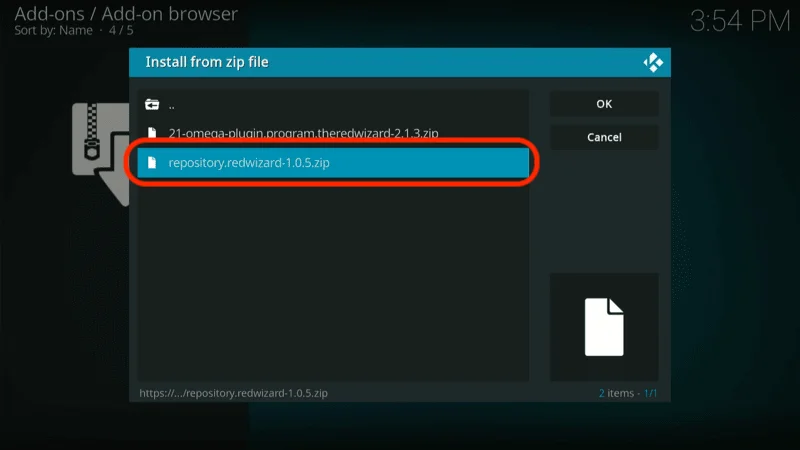
Click on repository.kodifitzwell-X.X.X.zip.
Note: X represents the version of the repository. Currently, the version is 0.0.1, but it may change in the future.

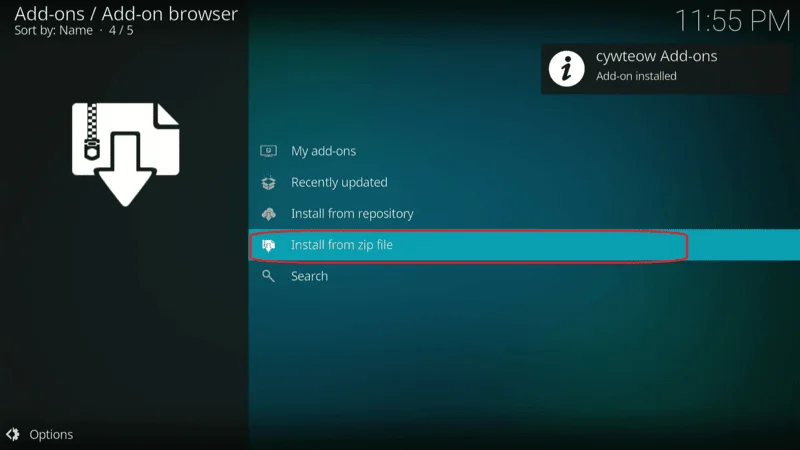
Once the installation is successful, you’ll receive a notification saying “kodifitzwell repository add-on installed.”

Section 3: Install POV
Now that the Kodifitzwell repository is installed, it’s time to use it to install the POV Kodi addon.
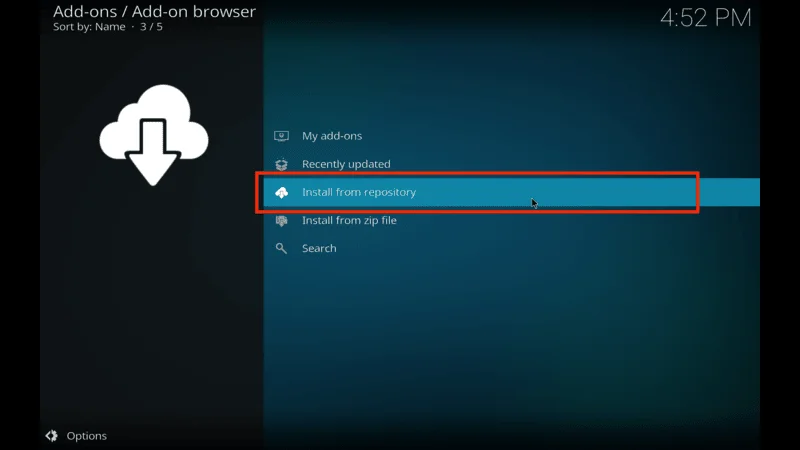
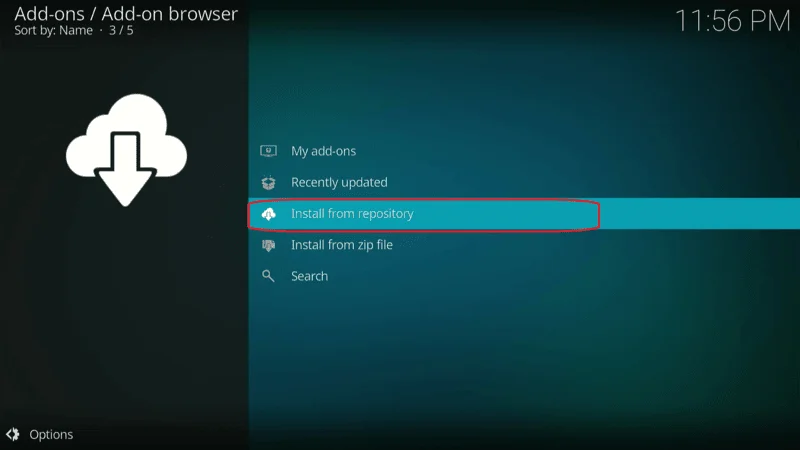
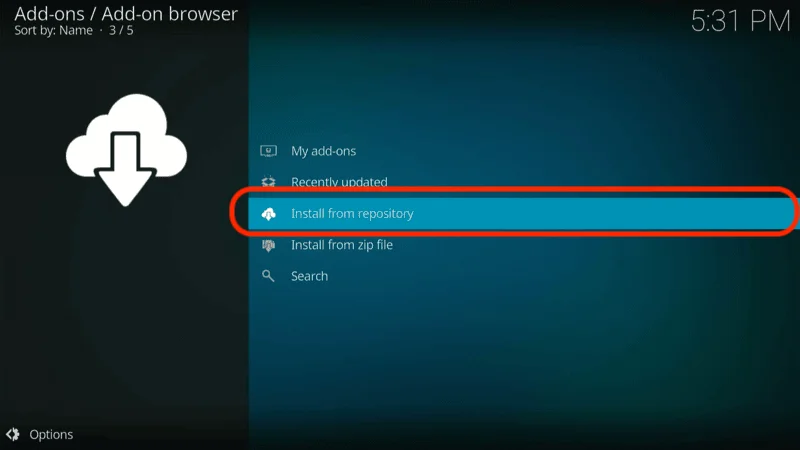
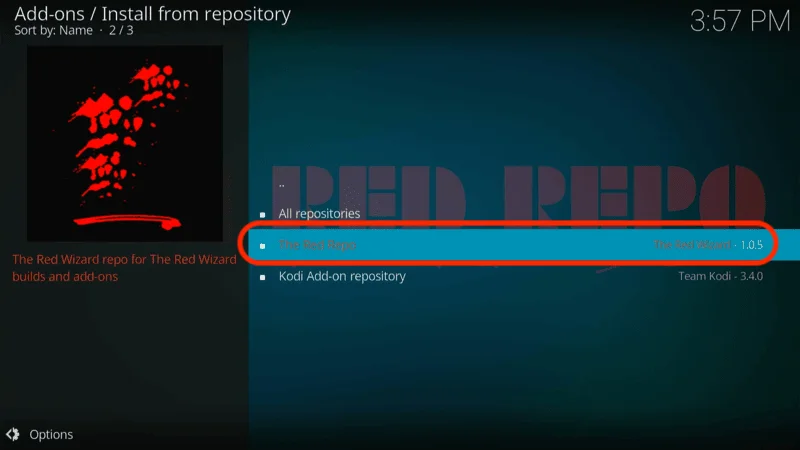
On the Add-ons page, select Install from repository.

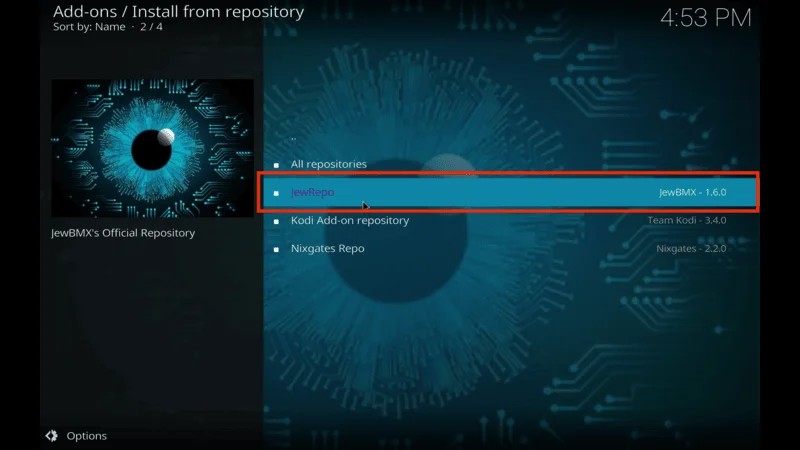
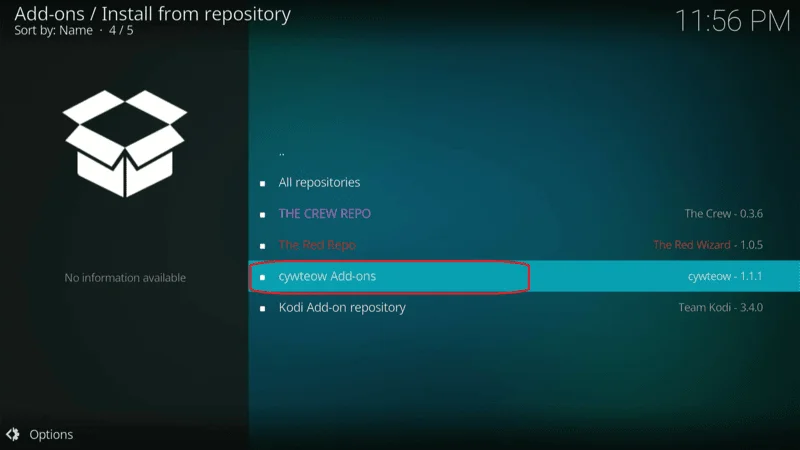
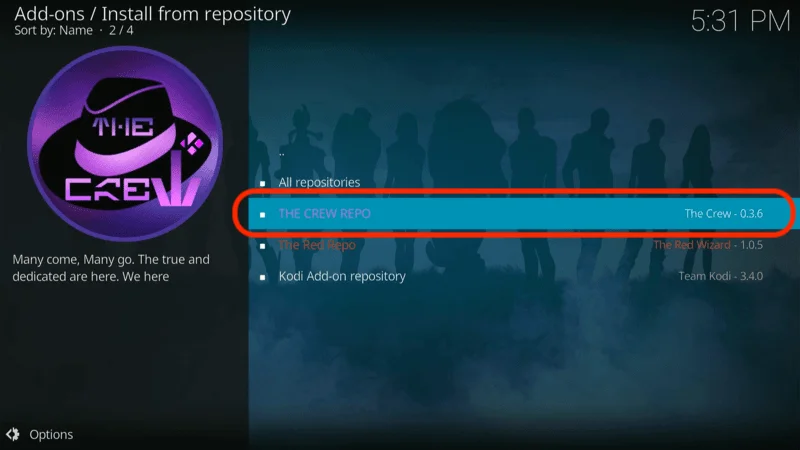
Scroll down and select kodifitzwell repository.

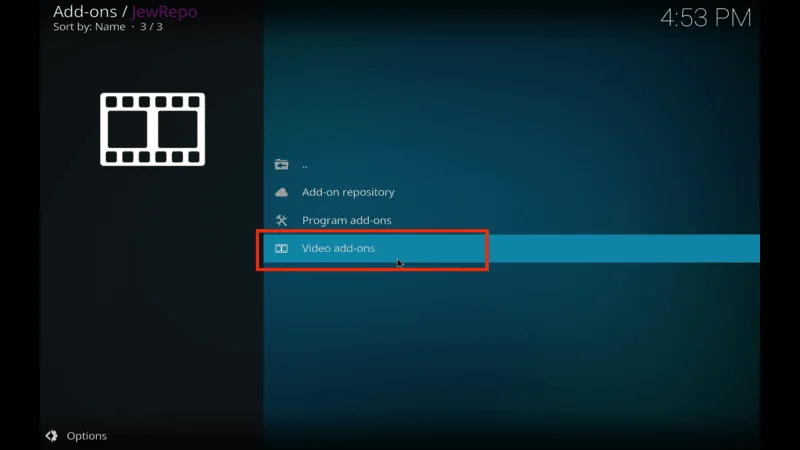
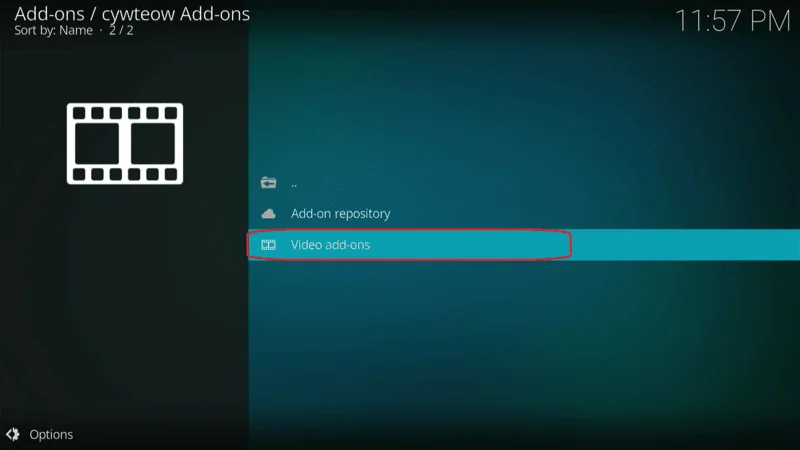
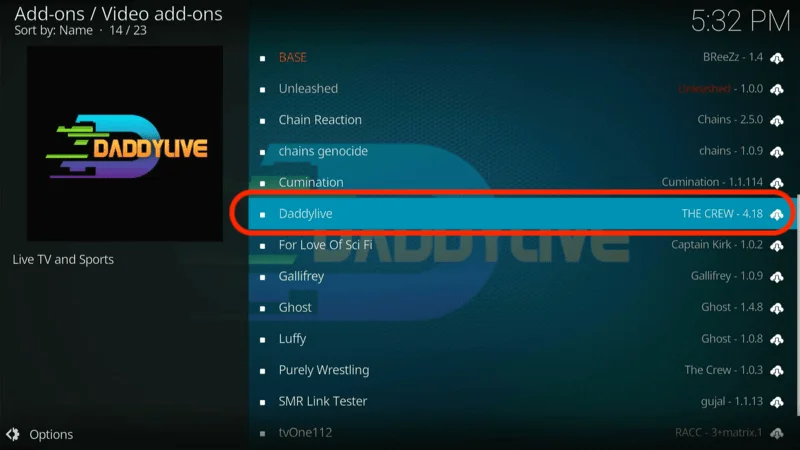
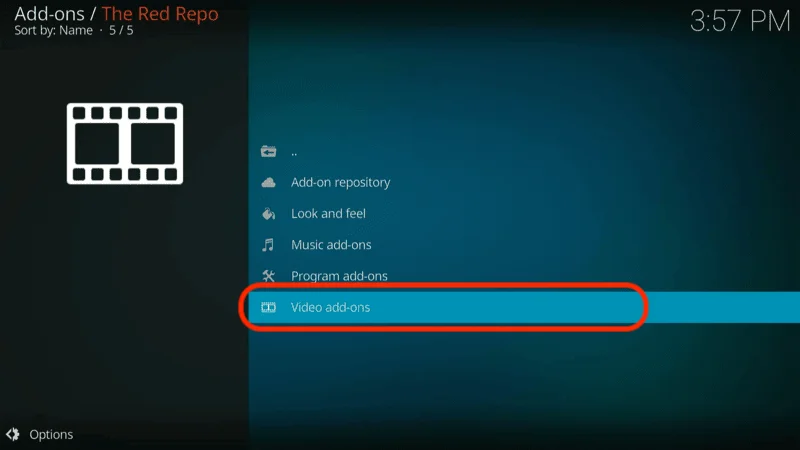
Click on Video add-ons.

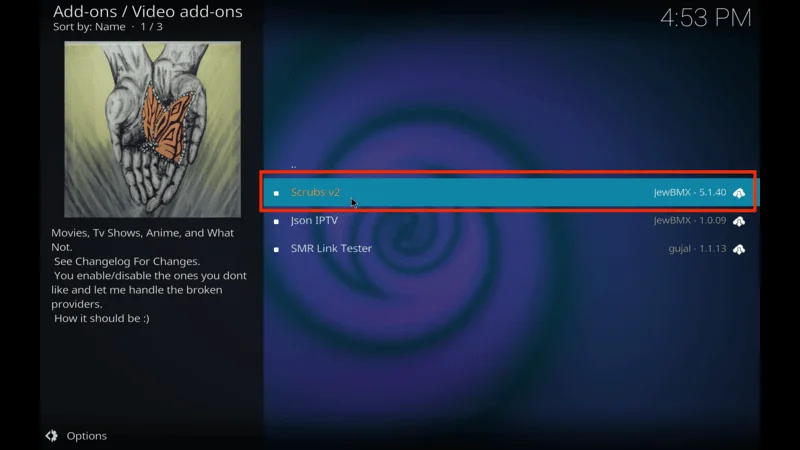
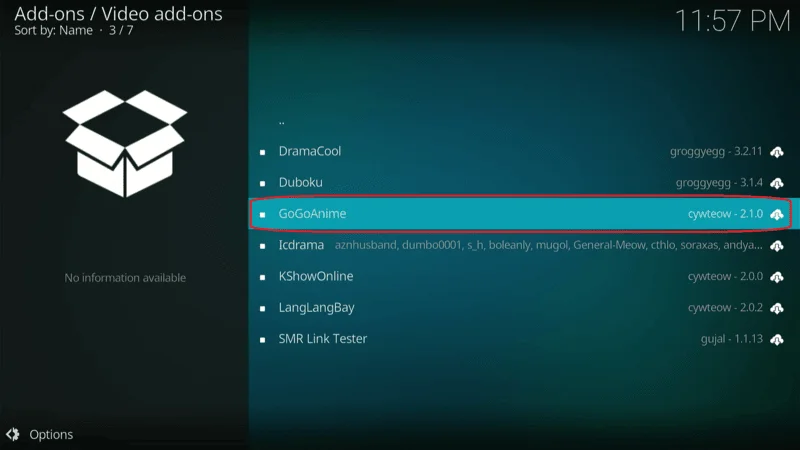
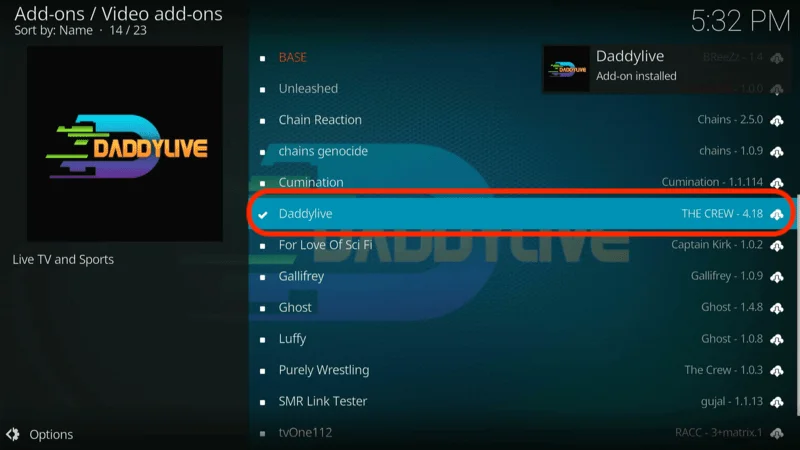
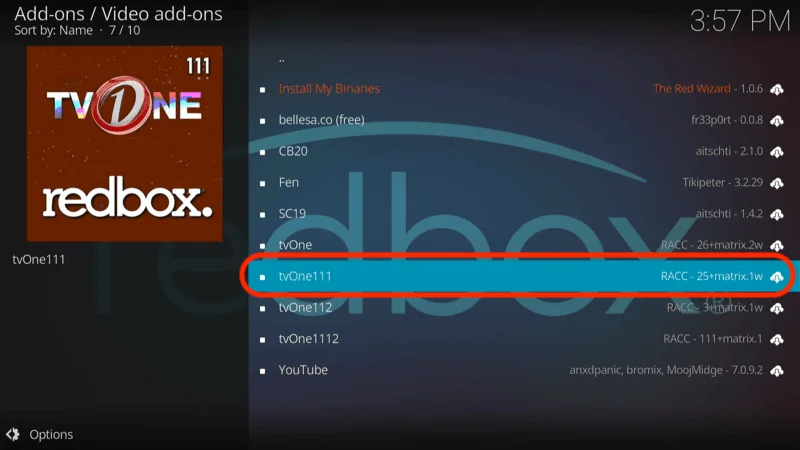
Choose POV from the list.

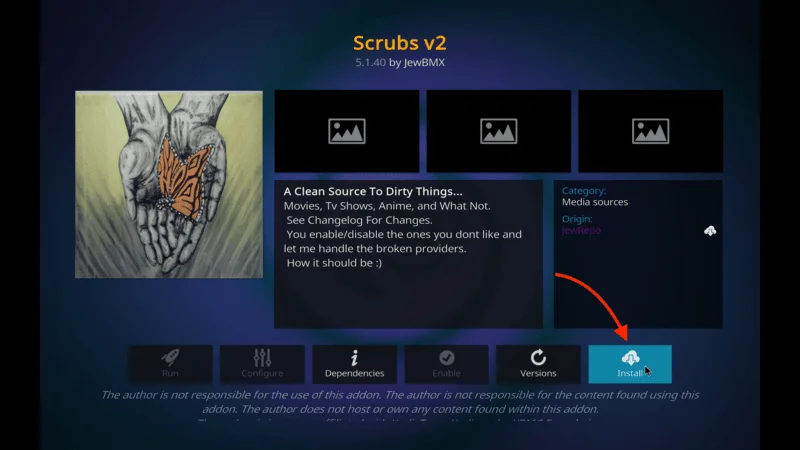
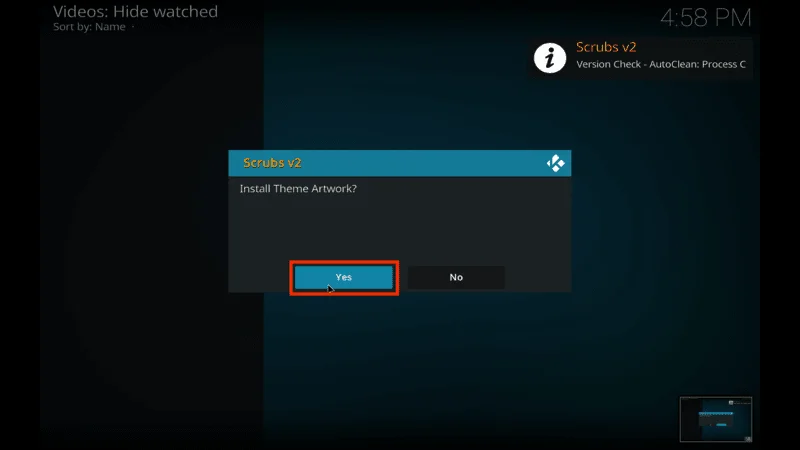
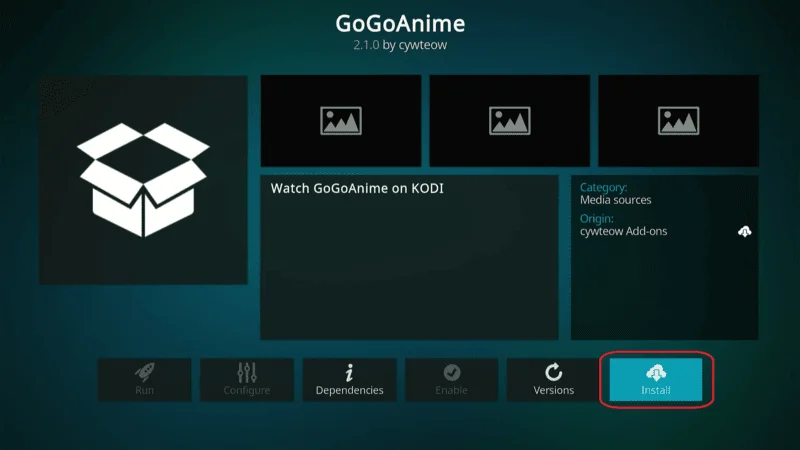
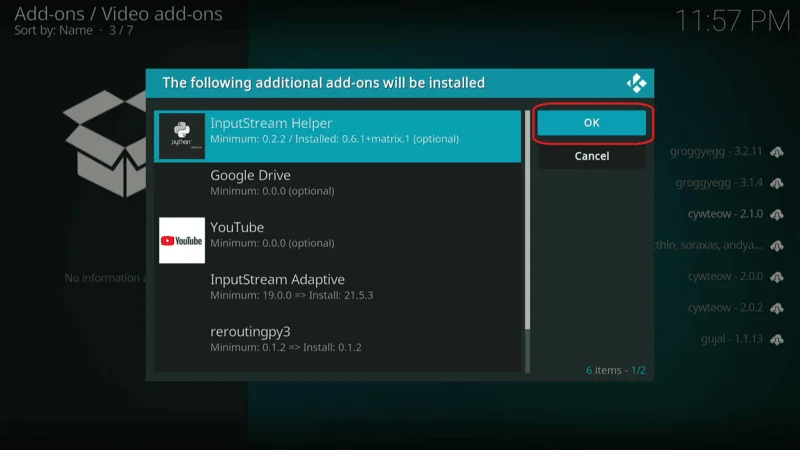
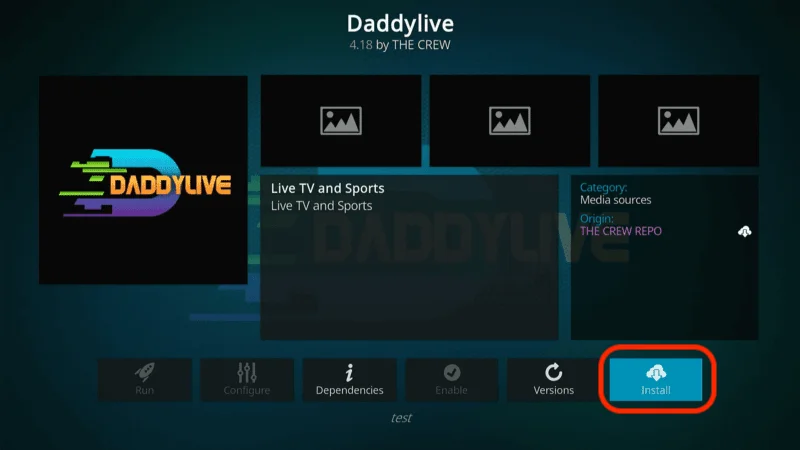
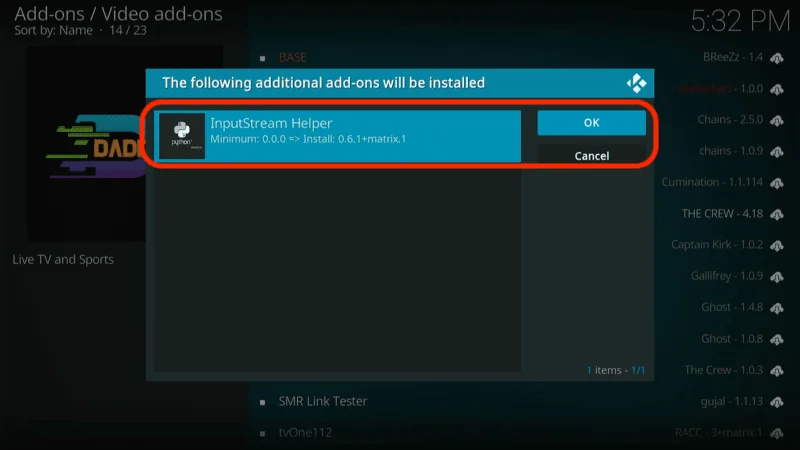
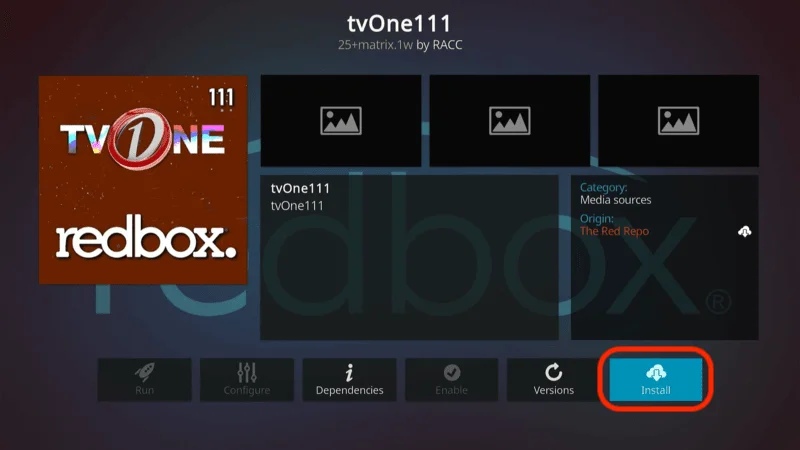
The POV dashboard will appear on your screen; click Install.

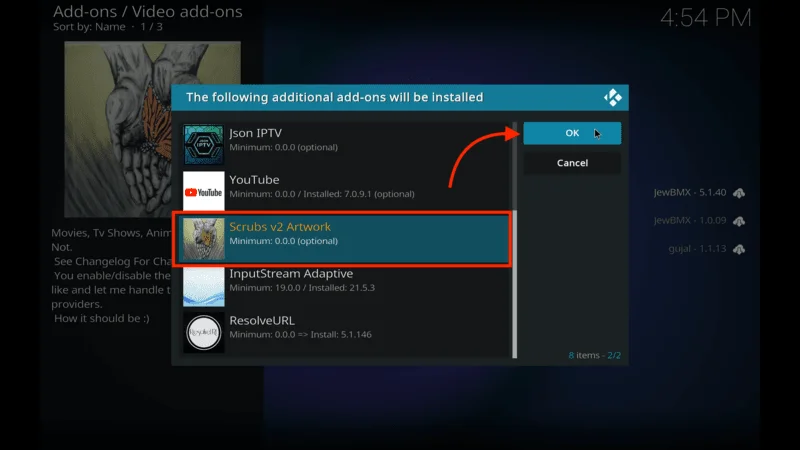
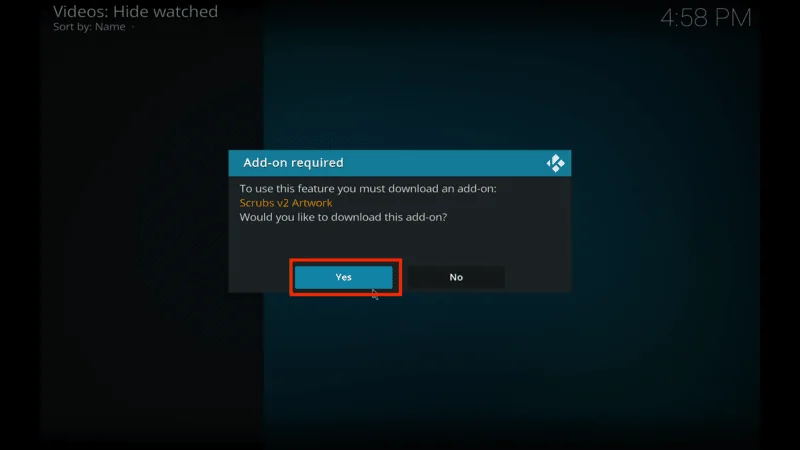
Wait for Kodi to download and install POV.

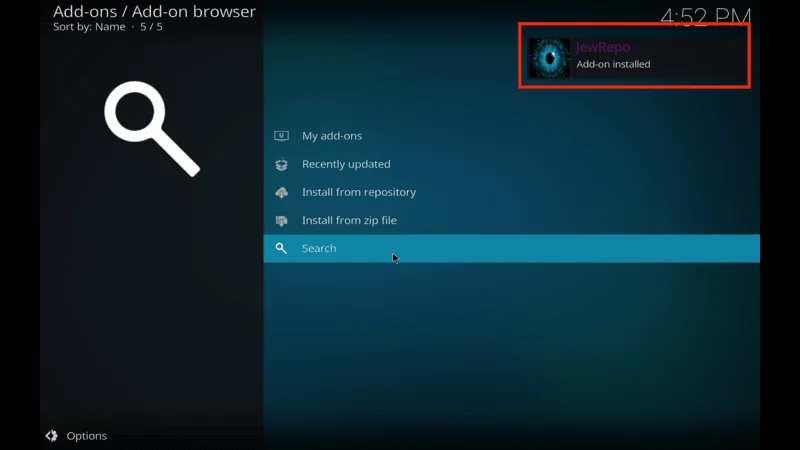
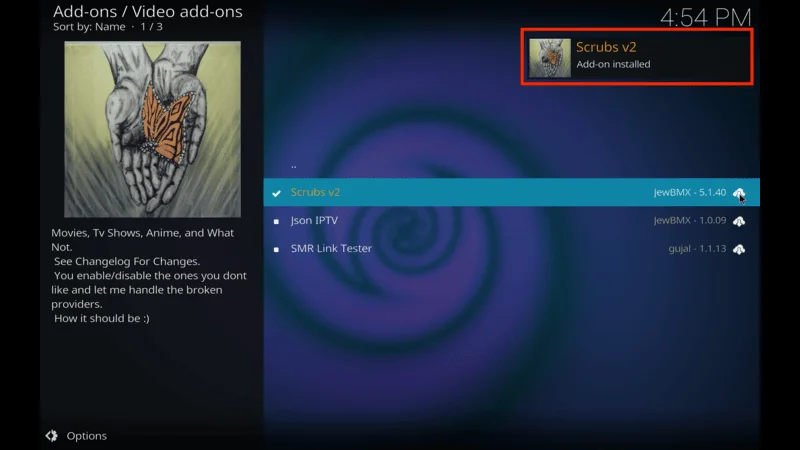
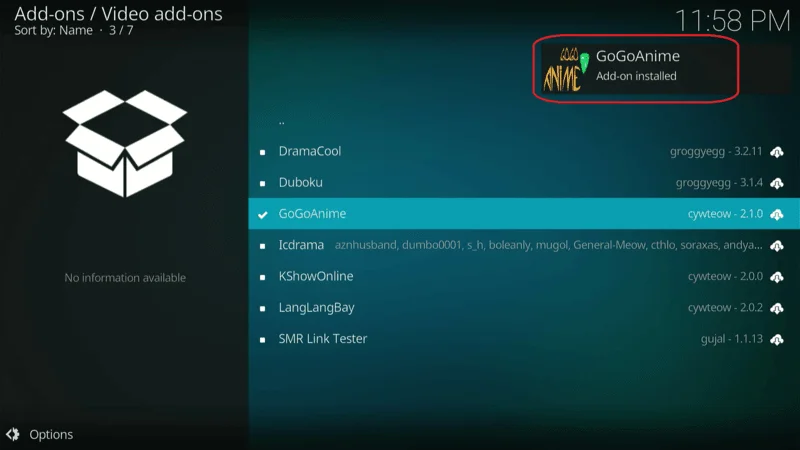
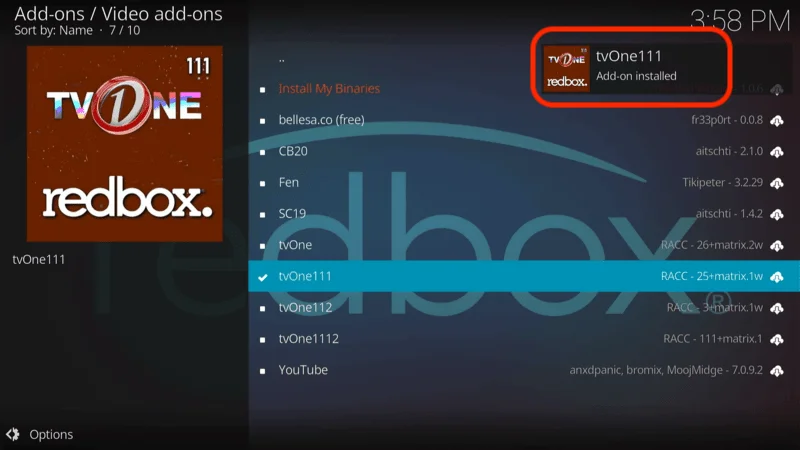
After a few seconds, you’ll receive a notification that the POV Add-on installed.

Congratulations! You have successfully installed the POV addon on your Kodi app.
Before you start watching with Kodi addons or builds, it’s crucial to understand that your streaming activities on Kodi are visible to your ISP and government authorities. This means that accessing copyrighted content such as free movies, TV shows, live TV, and sports could potentially lead to legal issues.
Fortunately, there is a reliable way to keep your streaming activities private. By using a good VPN for Kodi, you can ensure that your online activities are hidden from your ISP and the government. A VPN will mask your actual IP address, which is currently 2400:adc3:12c:e600:bcd3:880f:e0ab:5a62, helping you avoid online surveillance, ISP throttling, and content geo-restrictions.
I personally use and highly recommend NordVPN, which is known for being fast, secure, and compatible with all kinds of streaming apps and devices.
NOTE: We do not support or encourage the violation of copyright laws. However, sometimes it can be difficult to distinguish between legitimate and unauthorized sources. If you accidentally stream content from an illegitimate source, it could lead to potential legal issues.
Before you start streaming on Kodi, it’s essential to secure your online activities with a reliable VPN. Here’s how to set up NordVPN for Kodi in three easy steps:
Step 1: Subscribe to NordVPN HERE. NordVPN offers a 30-day money-back guarantee, allowing you to try the service risk-free. If you’re not satisfied within the first 30 days, you can request a full refund.
Step 2: Click HERE to download and install the NordVPN app on your streaming device. If you’re using a FireStick, specific installation instructions are available starting with Step 4 below.
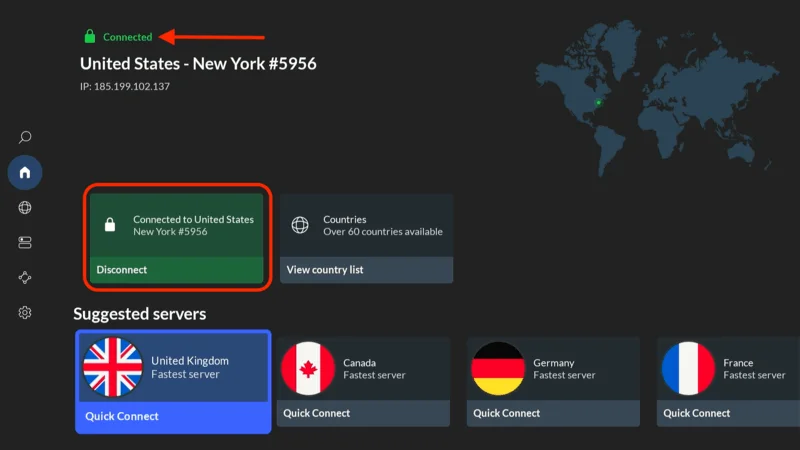
Step 3: Open the NordVPN app and click the Connect button to establish a VPN connection. Once connected, your streaming activities will be secure, providing you with privacy and access to content from around the globe.
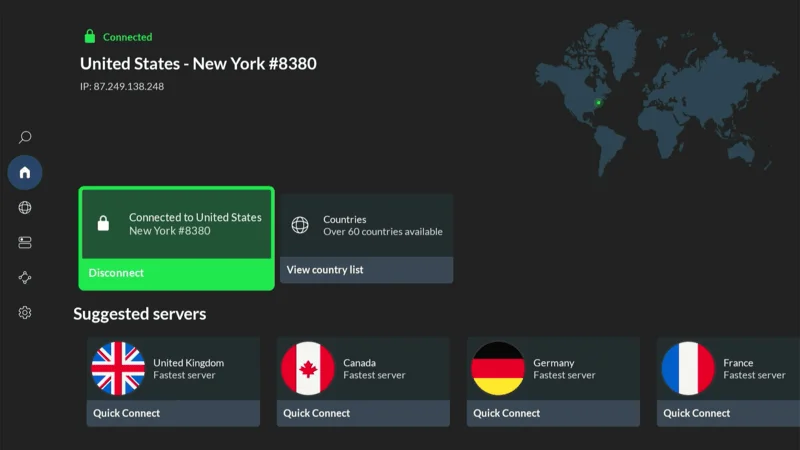
By using NordVPN, you’ll protect your online privacy and ensure a safe and unrestricted streaming experience. Enjoy your content with peace of mind!
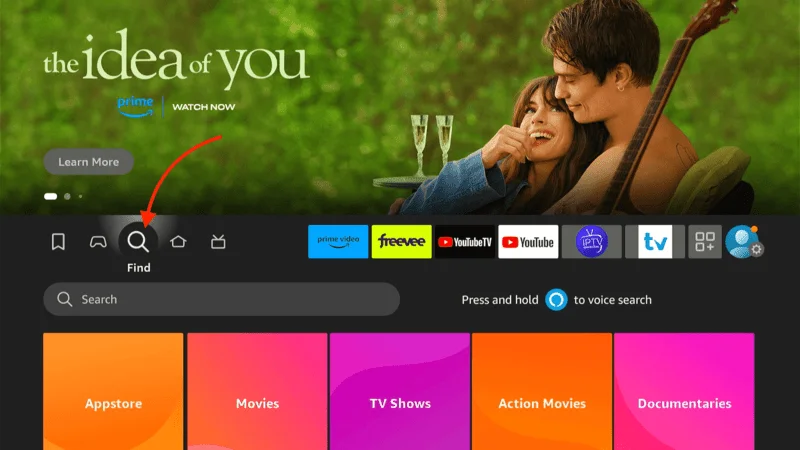
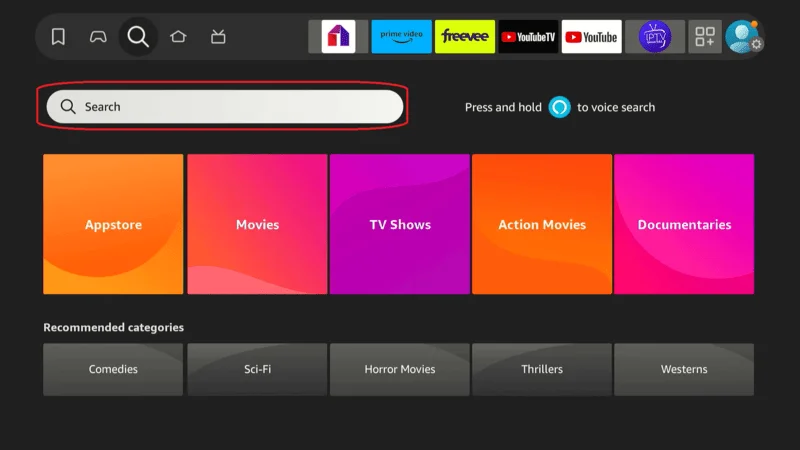
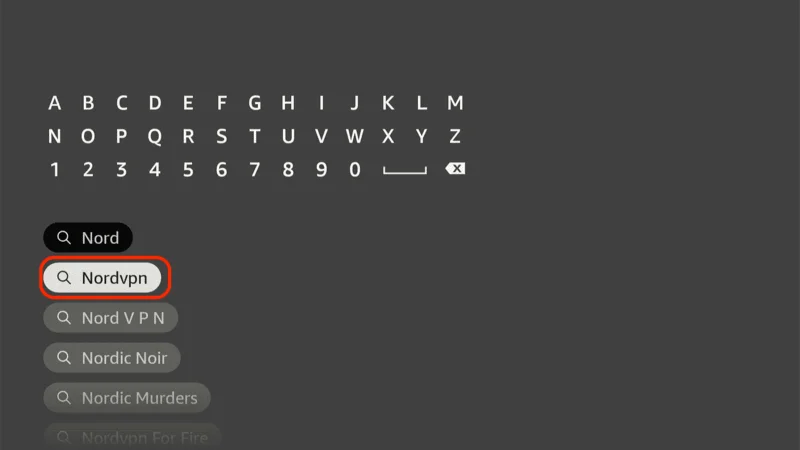
Step 4: Navigate to the home screen of your Fire TV Stick. Select “Find” from the menu.

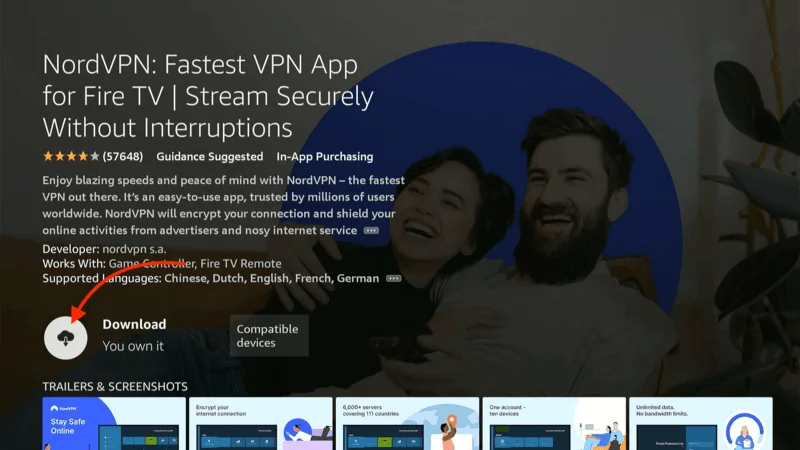
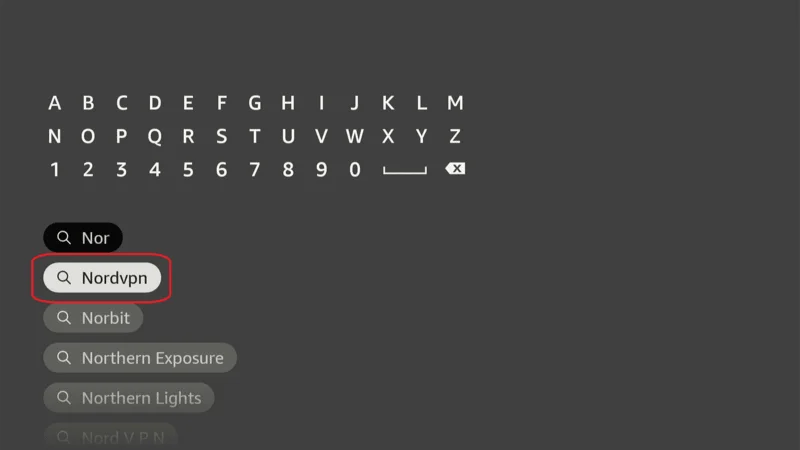
Step 5: In the search bar, type “NordVPN.”

Step 6: Select the Download
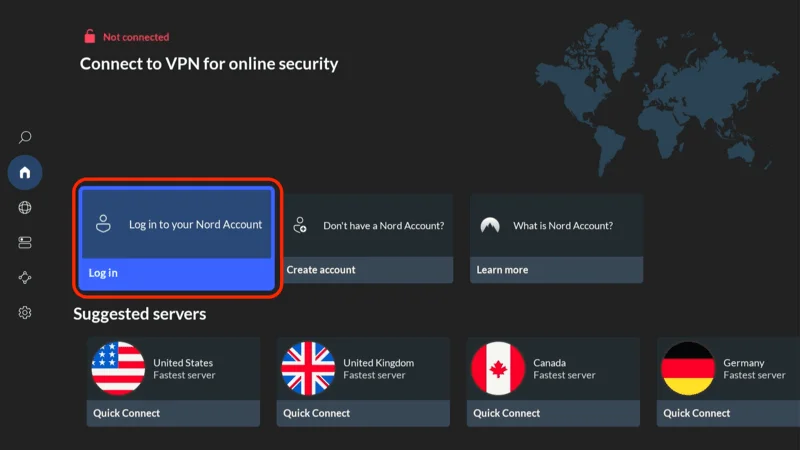
Step : Launch the NordVPN. Sign in using the email ID and password you used to create your NordVPN account. Once signed in, you can proceed to connect to a VPN server to secure your connection.

How to Use POV Kodi Addon
Now that you’ve completed the installation, here’s a brief overview of what the POV Kodi addon has to offer.
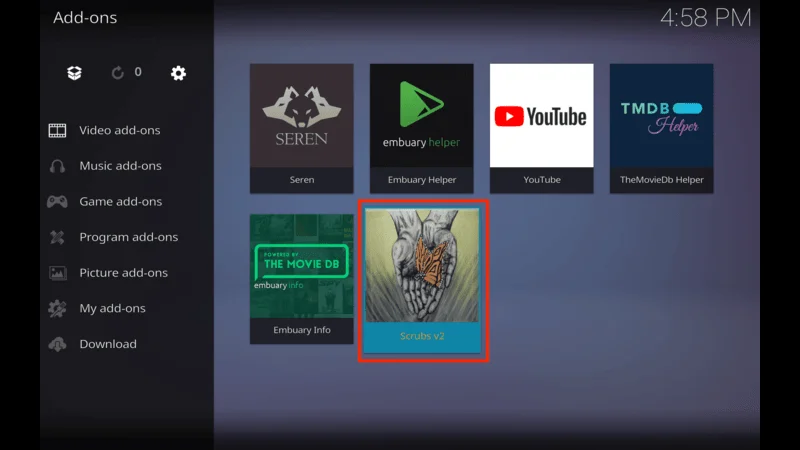
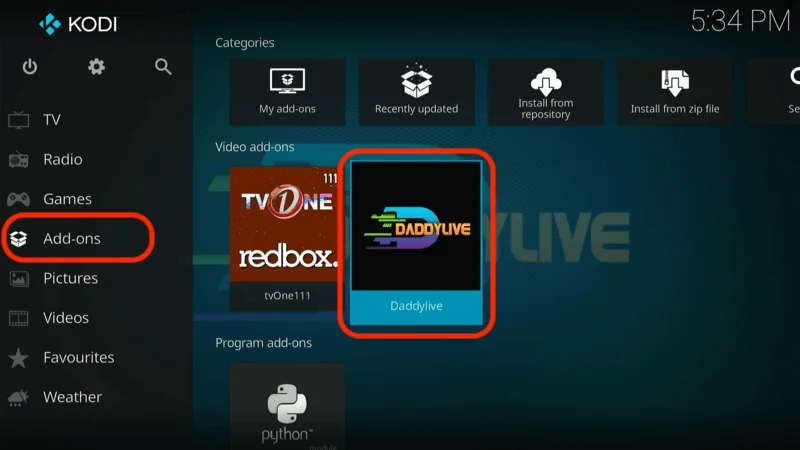
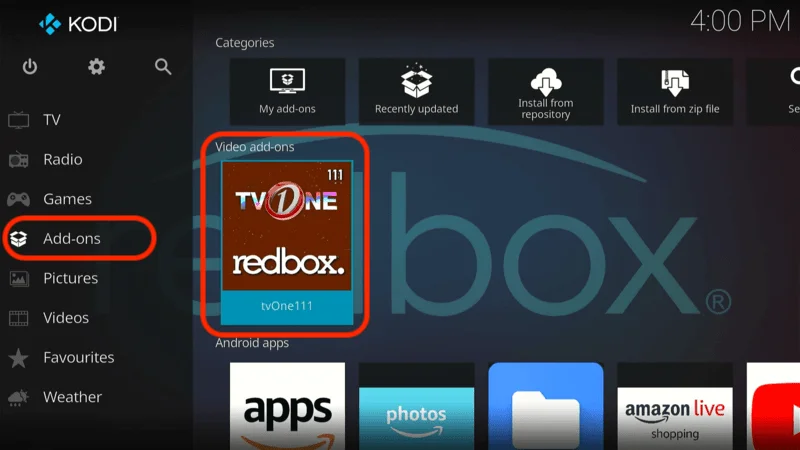
Start by going to the Kodi home screen, scrolling to Add-ons, and opening it, go to the Video add-ons tab and select POV.

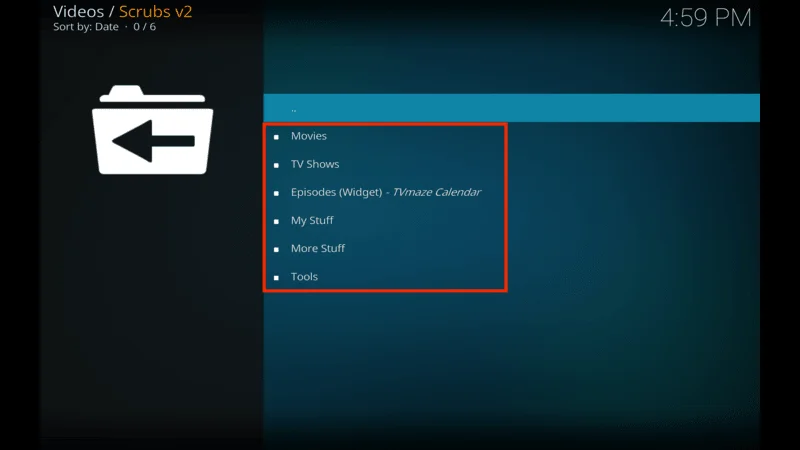
You’ll be taken to the home screen of the POV addon, where you’ll find the following sections:
- Movies
- TV Shows
- Search
- Discover
- Popular People
- Favorites
- Downloads
- My Lists
- My Services
- Settings

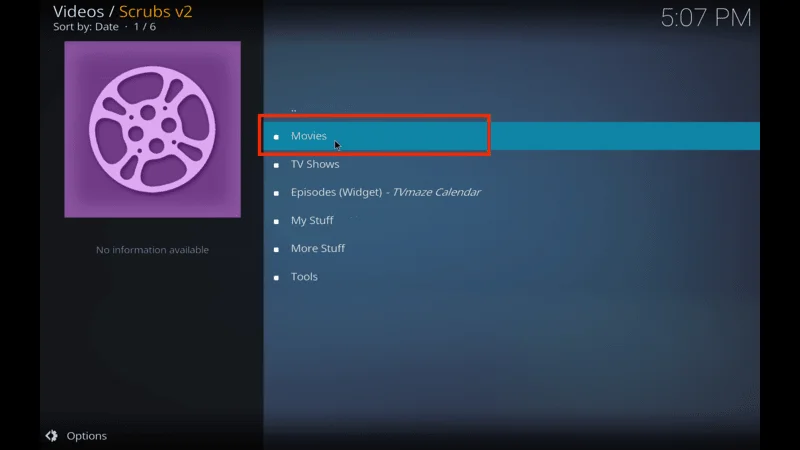
If you’re interested in watching movies, navigate to the Movies tab.

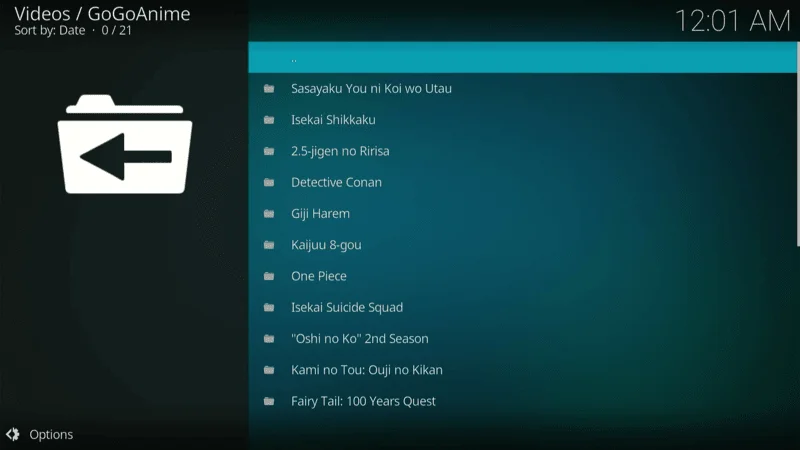
Inside the Movies section, you’ll find the content organized into various folders such as trending, popular, premieres, latest releases, and more.

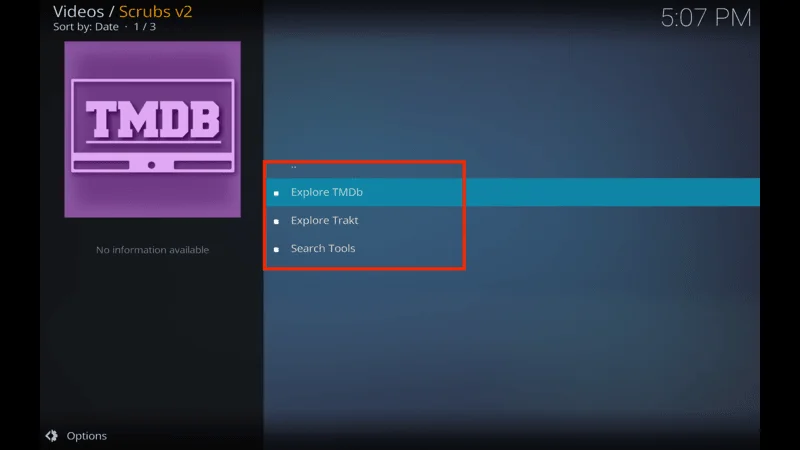
Select a folder like popular to browse through the relevant movies inside.

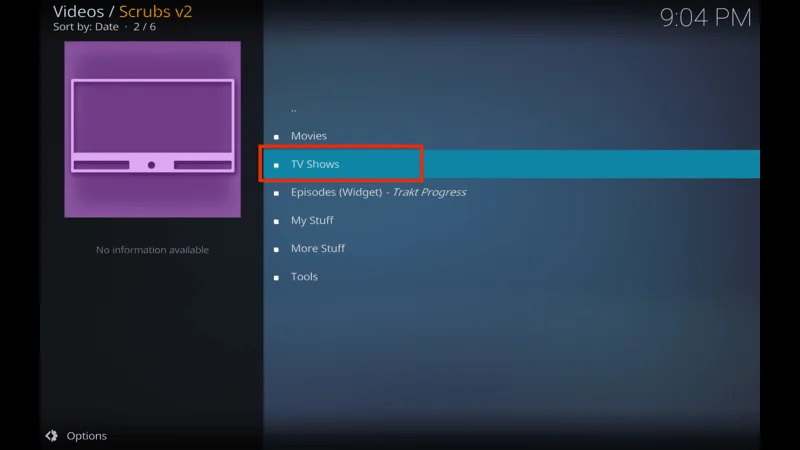
To catch up on your favorite TV series, head over to the TV Shows section.

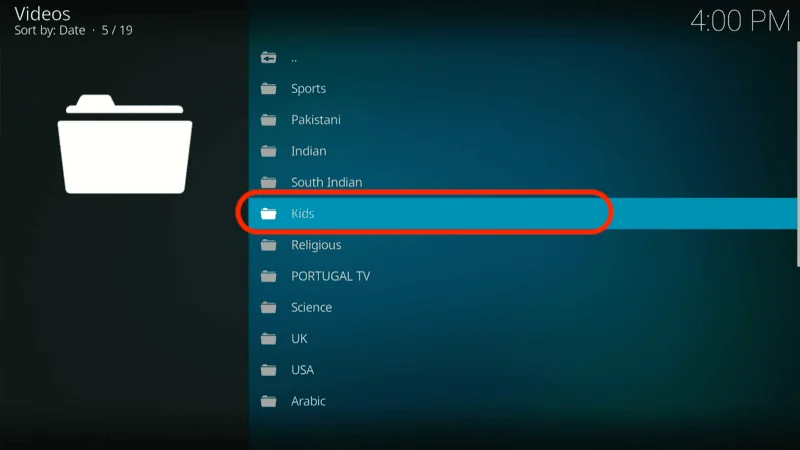
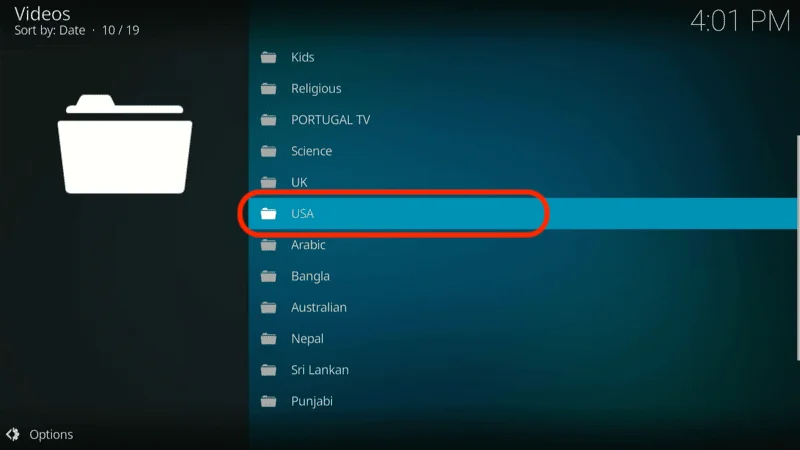
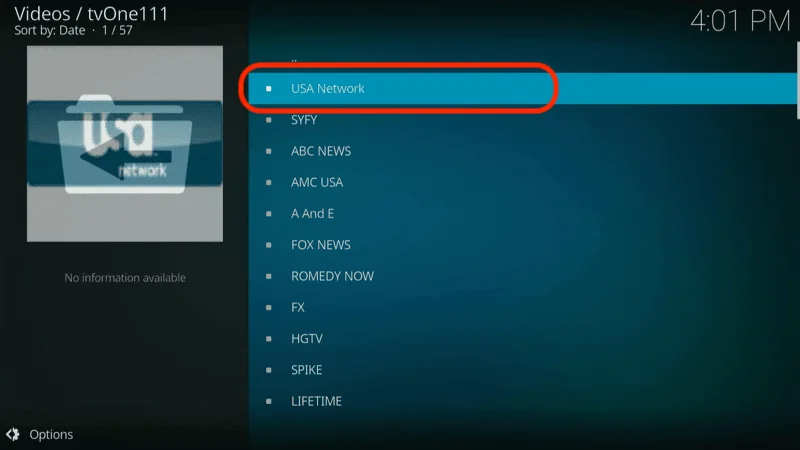
In the TV Shows section, much like the movies folder, you’ll find sub-folders categorized into trending, popular, genres, networks, and more.

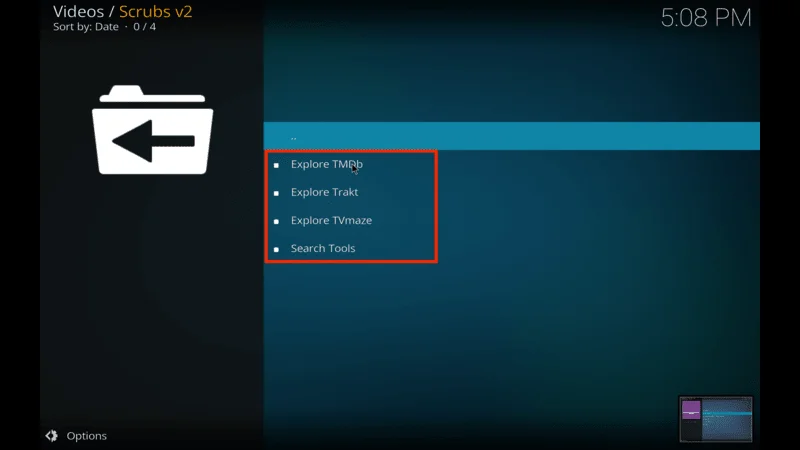
You can explore these sub-folders to access the content you’re interested in. For example, in the On the Air sub-section, you’ll find TV shows that are currently airing.

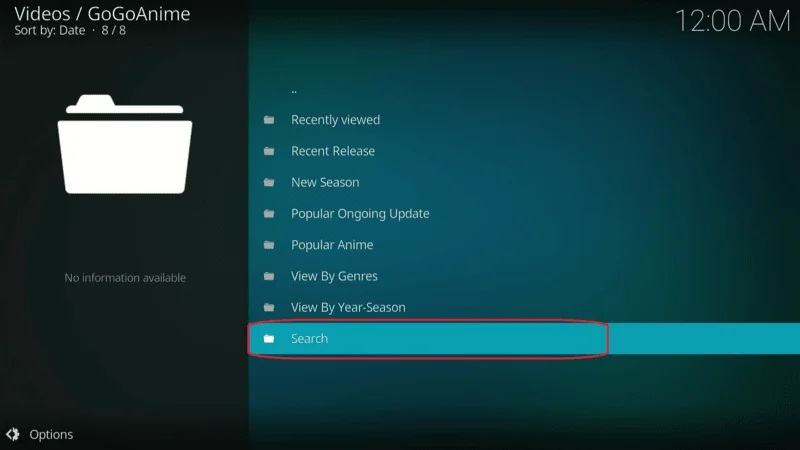
To quickly locate any specific content, head over to the Search section.

Once there, choose the appropriate search option to find what you’re looking for. For instance, selecting SEARCH: MOVIES will help you find a specific movie.

The POV Kodi addon also includes a Discover section designed to introduce you to new content.

Within Discover, you can select sub-options like DISCOVER: MOVIES to explore various types of movies.
Lastly, there’s the Settings menu, where you can adjust the addon’s configurations to suit your preferences.

Within the Settings menu, you’ll find options such as My Services, Set Views, Database Functions, and more.
Note: If you’re new to third-party Kodi addons, it’s recommended not to make changes in the Settings menu to avoid potential issues.
How to Set Up Real Debrid with POV
POV offers a wealth of free sources for users looking to enjoy a cost-free streaming experience. But for those who want to elevate their streaming quality, POV also supports premium services like Real Debrid, Premiumize, and others.
I’ll guide you through the process of signing into your Real Debrid account on POV. If you’re unfamiliar with Real Debrid or similar services, be sure to check out our detailed guide on the topic. You can also visit the official Real Debrid website to purchase a subscription. Here’s a step-by-step guide on how to connect your Real Debrid account with POV:
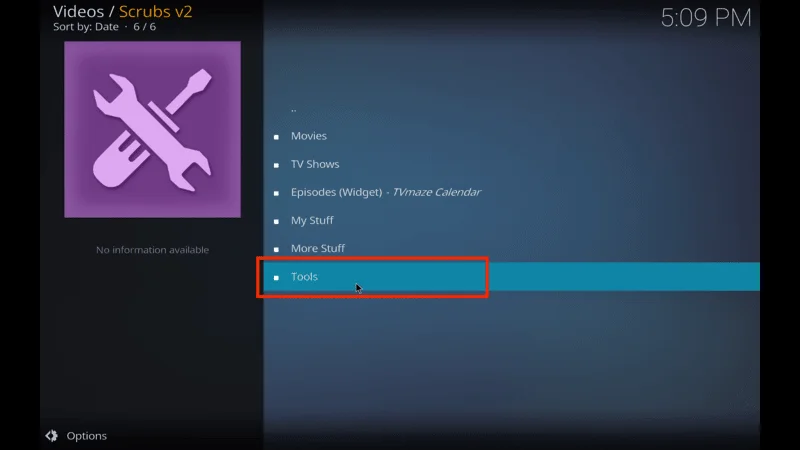
Open the Settings on the POV home screen.

Choose SETTINGS: My Services.

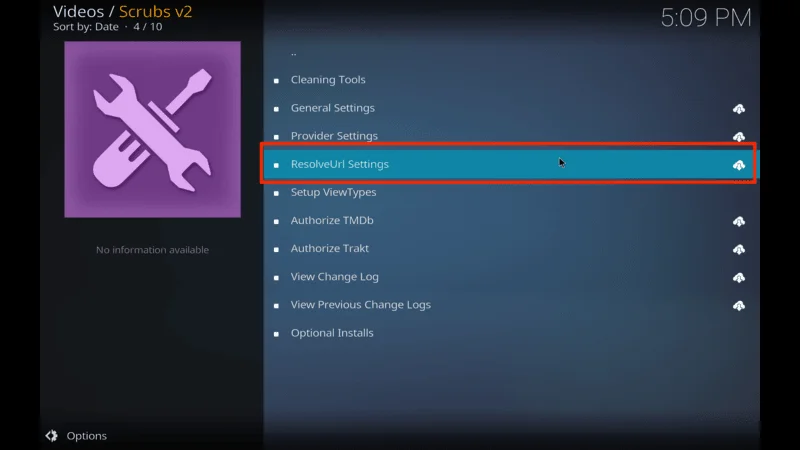
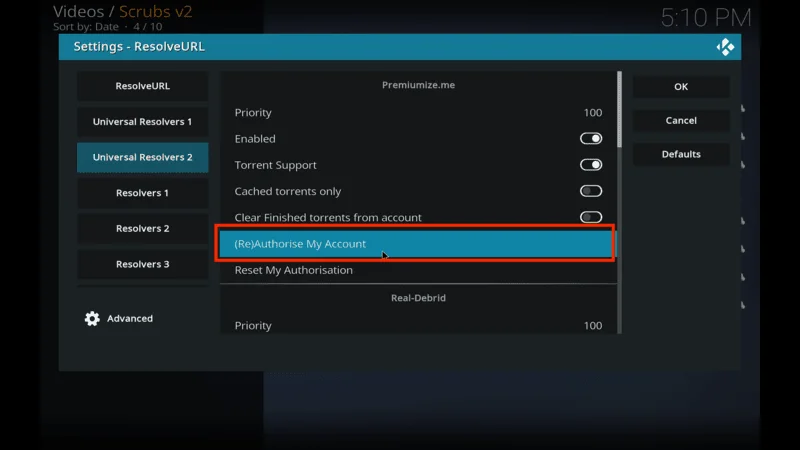
Select Debrid from left side

In the Real Debrid section on the right side, click Authorize.

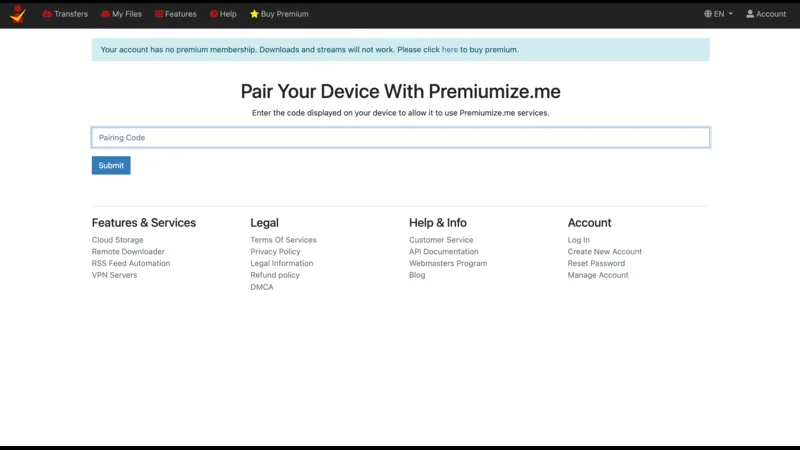
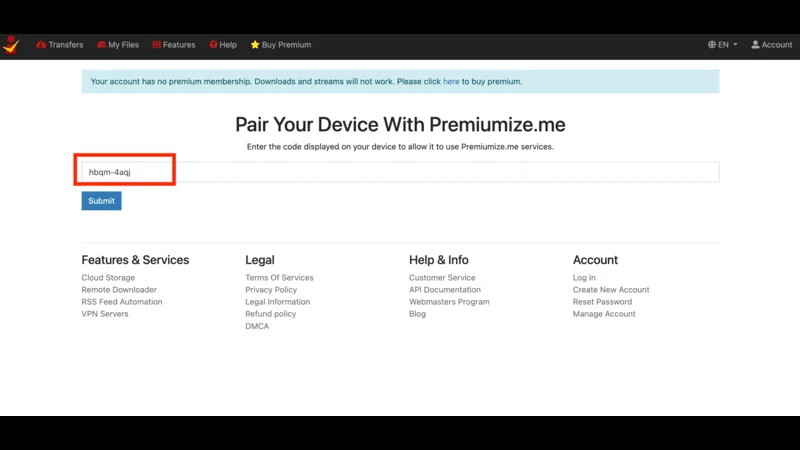
Open a web browser on your smart device, visit https://real-debrid.com/device and enter the code displayed on your screen.
Note: Real Debrid will prompt you to sign into your account. Simply follow the on-screen instructions to complete the sign-in process.

Once the setup is successful, a Success pop-up will appear.

Congratulations! You’re now ready to use Real Debrid with the POV Kodi addon.
Troubleshooting Issues
While the POV Kodi addon generally provides a seamless streaming experience, you may occasionally encounter some issues that disrupt your enjoyment. These problems can range from installation errors to buffering and playback issues.
In this section, we’ll cover some common problems users face with the POV addon and provide straightforward solutions to help you resolve them quickly and get back to streaming your favorite content without interruptions.
1. Installation Failed
- Cause: This might occur if the repository URL was entered incorrectly or if the repository is temporarily down.
- Solution: Double-check the repository URL to ensure it’s entered correctly. If the issue persists, try accessing the repository later or check if the repository has been moved or updated.
2. Unable to Connect to Repository
- Cause: This issue often stems from network problems, a misspelled URL, or the repository being offline.
- Solution: Verify your internet connection and ensure the repository URL is correct. If the repository is offline, you may need to wait for it to come back online or find an alternative repository.
3. No Stream Available
- Cause: This typically happens when the stream sources are either unavailable or blocked in your region.
- Solution: Try selecting a different stream source or consider using a VPN to bypass any regional restrictions that might be causing the issue.
4. Buffering Issues
- Cause: Buffering can result from a slow internet connection, overloaded servers, or high-quality streams that require more bandwidth.
- Solution: Ensure you have a stable and fast internet connection. Lower the stream quality if necessary, or switch to a different stream source. Using a VPN can also help if the server is overloaded.
5. Error: Check the Log for More Information
- Cause: This error might be due to corrupted files, incompatible addons, or configuration issues.
- Solution: Check the Kodi log file to identify the specific problem. You might need to reinstall the addon, clear the cache, or update Kodi to the latest version.
6. Real Debrid Authorization Issues
- Cause: Problems with authorizing Real Debrid can occur due to incorrect codes, network issues, or Real Debrid server problems.
- Solution: Ensure you are entering the correct code at https://real-debrid.com/device. Verify your internet connection and try again. If the problem persists, check the Real Debrid status or contact their support.
7. Addon Crashes or Freezes
- Cause: Crashes or freezes might occur due to corrupted addon files, conflicts with other addons, or low device memory.
- Solution: Try clearing the cache, reinstalling the addon, or disabling other addons that might be conflicting. If your device is low on memory, try closing other apps or restarting the device.
FAQs: POV Kodi Addon
This FAQ section addresses some of the most common questions and concerns users might have about the POV Kodi addon. Whether you’re new to using Kodi addons or just looking for more information, these answers should help clarify things for you.
Q: What is the POV Kodi addon?
A: The POV Kodi addon is a third-party addon available through the Kodifitzwell repository. It offers a wide range of free movies, TV shows, and other video content for streaming.
Q: Is the POV Kodi addon legal?
A: The legality of the POV Kodi addon is uncertain, as it provides access to content from various sources. It’s recommended to use a VPN to protect your privacy when using such addons.
Q: How do I install the POV Kodi addon?
A: To install the POV Kodi addon, you need to enable unknown sources in Kodi, add the Kodifitzwell repository, and then install the addon from the repository. Detailed installation steps are provided in our guide.
Q: Can I use the POV Kodi addon on any device?
A: Yes, the POV Kodi addon can be installed on any device that supports Kodi, including FireStick, Nvidia Shield, Android phones, Windows PCs, and more.
Q: What should I do if the POV Kodi addon is not working properly?
A: If you experience issues with the POV Kodi addon, such as installation errors, buffering, or no streams available, refer to the troubleshooting section of our guide for solutions.
Q: Does POV support premium services like Real Debrid?
A: Yes, POV supports premium services like Real Debrid, Premiumize, and others. These services enhance your streaming experience by providing higher-quality streams and faster links.
Q: How do I sign into my Real Debrid account on POV?
A: To sign into your Real Debrid account, go to the POV settings, select “My Services,” and authorize your account by entering the code displayed on the screen at https://real-debrid.com/device.
Q: Is it safe to use the POV Kodi addon?
A: While the POV Kodi addon appears safe based on initial tests, we recommend using it with a VPN to protect your privacy and avoid potential risks associated with third-party addons.
Conclusion
Installing the POV Kodi addon opens up a world of streaming possibilities, offering a vast selection of TV shows and movies at your fingertips. Whether you’re using free sources or enhancing your experience with premium services, POV is a top choice for Kodi users. Give it a try and enjoy a richer streaming experience. If you have any feedback or questions, feel free to share them in the comments below.