Welcome to Kodi-Expert! In this guide, we’ll take you step-by-step through installing the Chains Kodi Fork, a feature-rich version of Kodi that offers users even more control and customization than the original.
Whether you’re working with a FireStick, an Android device, a MacBook running macOS, or any other Android-based system, this guide will walk you through the process with instructions that work seamlessly on any platform. By the end, you’ll be able to fully optimize your streaming setup with the Kodi Fork Omega.
Before jumping into the setup process, let’s take a moment to introduce Kodi Fork Chains and explain why it’s worth considering for your setup.
What Is Kodi Forks?
A Kodi Fork is essentially a duplicate or modified version of the original Kodi app. The advantage of using a Fork is that it allows you to have more than one version of Kodi on your device without causing any conflicts between them.
There are several reasons why you might want to use multiple versions of Kodi:
- Keeping What Works: You might have a particular Kodi version that runs flawlessly with your favorite Build or addon, and you don’t want to risk losing that by updating.
- Experimenting with New Features: If you’re curious about new updates or ‘stable’ releases, a Fork allows you to try them out without affecting your current setup.
With a Kodi Fork, you can install and use it just like the original Kodi—add your favorite addons, Builds, and more. Some Forks even come with pre-installed addons or Builds, so you can get started right away without having to set everything up from scratch.
⚠️ Attention, Kodi Users!
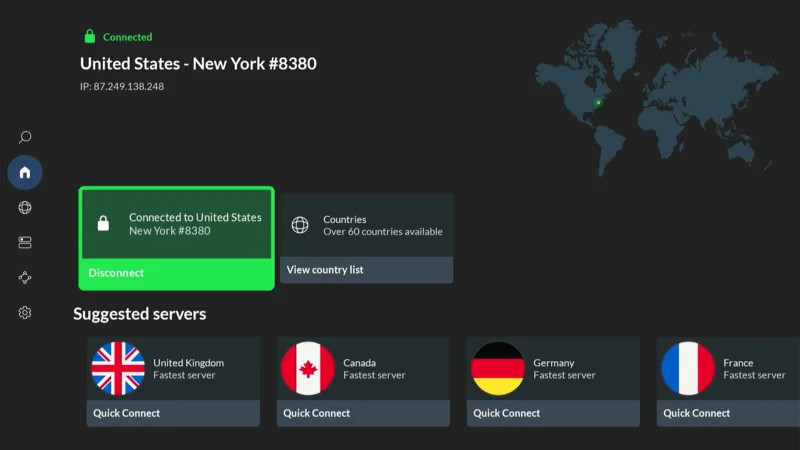
Kodi Addons and builds offer unlimited streaming content, but they could also get you into trouble if you’re caught streaming free movies, TV shows, or sports. Currently, your IP 2400:adc3:12c:e600:bcd3:880f:e0ab:5a62 is visible to everyone. Kodi users are strongly advised to always connect to a VPN while streaming online. Kodi VPN hides your identity plus bypasses government surveillance, geo-blocked content, and ISP throttling (which also helps in buffer-free streaming).
I personally use NordVPN, which is the fastest and most secure VPN. It is easy to install on Amazon FireStick and any other device. You get 3 months free and save 49% on its annual plans. Also, it comes with a 30-day money-back guarantee. If you are not satisfied, you can always ask for a refund.
Is Kodi Fork Chains Legal to Use?
Yes, it’s totally legal to install and use Kodi Forks. The concern, however, lies in the addons and Builds you might choose to add afterward. Many of these third-party addons may not have the rights to distribute the content they provide.
If that’s the case, you could unknowingly stream copyrighted material without permission, which could get you into trouble.
To avoid any potential risks, it’s wise to use a VPN when dealing with unofficial addons or Builds. A VPN ensures your online activity is encrypted and anonymous, allowing you to stream safely without worrying about your privacy or potential legal issues.
How to install Chains Kodi Fork
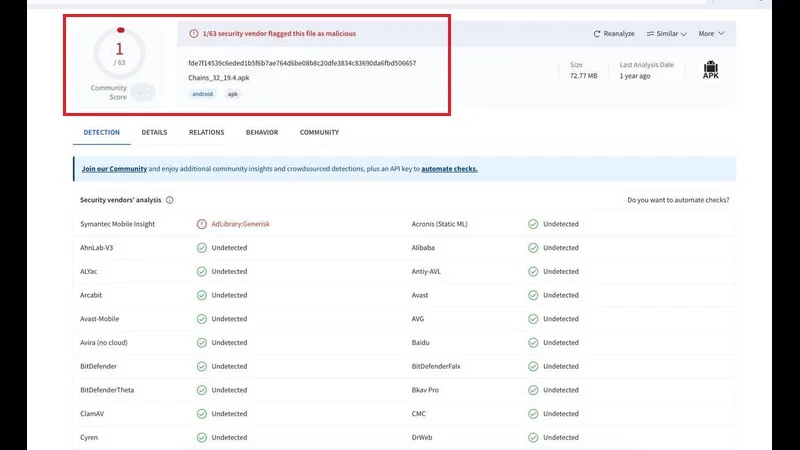
Kodi Forks aren’t typically found in mainstream app stores, but you can still install them through sideloading. To do this, you need to enable your device to allow apps from unknown sources. After that, you’ll be able to download and install Kodi Forks from my Downloads page without any issues.
Legal Disclaimer: This tutorial is intended solely for educational purposes. KodiExpert.org does not own, host, operate, resell, or distribute any streaming apps, addons, websites, IPTV services, or similar platforms. The content on this page may include some unverified services, and we cannot confirm whether they possess the necessary legal licenses to distribute the content they offer.
KodiExpert.org does not verify the legality of each app or service in every region. It is your responsibility to conduct your own due diligence if you choose to use any unverified apps or services. Please ensure that you only stream content that is legally available in the public domain. The end-user is solely responsible for any media accessed.
For FireStick users, I’ve split this guide into two sections for easier navigation.
Note: If you’re not using a FireStick, you’ll need to install the Downloader app first. Once that’s set up, simply launch the Downloader app and enter the URL I’ll provide below to complete the installation process.
Part 1: How to Install the Downloader App on Firestick
Follow these steps to install Kodi Fork on your device:
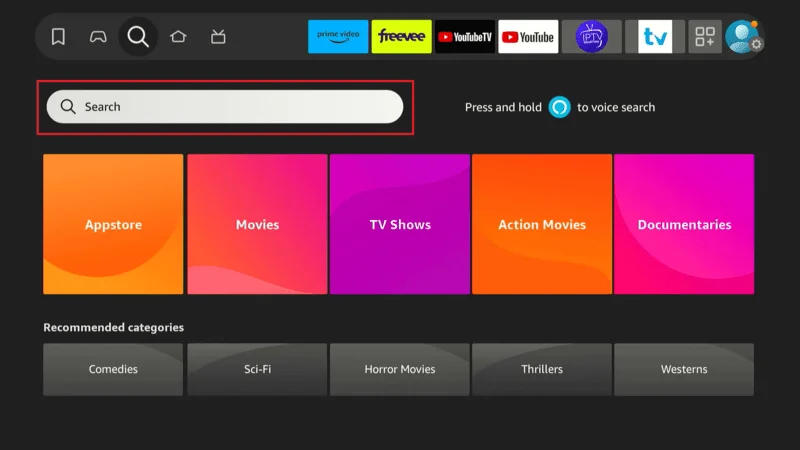
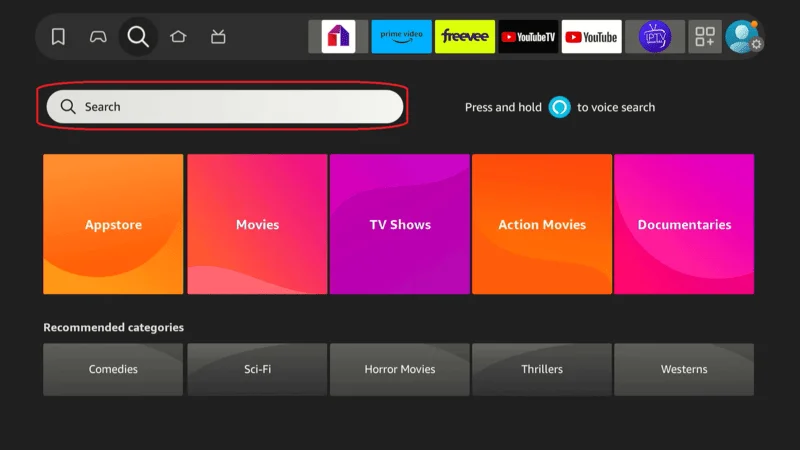
From the Firestick Home screen, go to the Find option in the menu and click on the Search button.

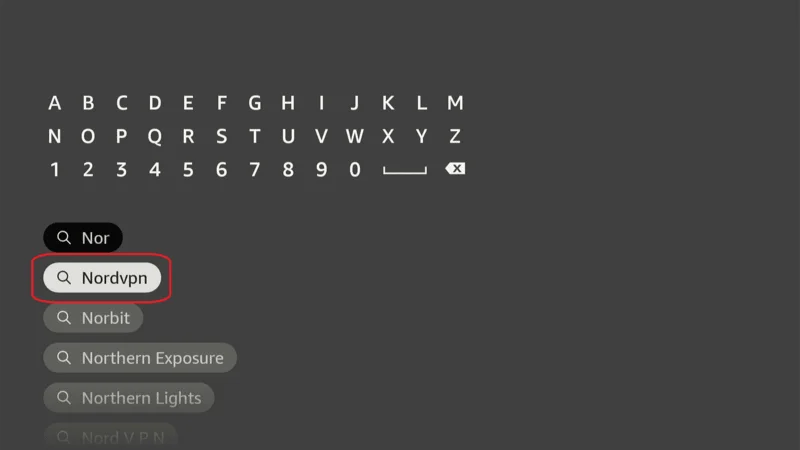
Use the on-screen keyboard to type “Downloader.”

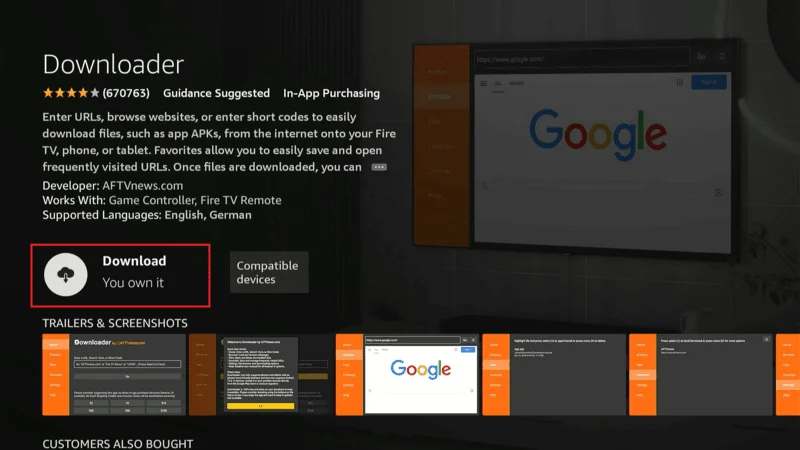
In the search results, select the Downloader app.
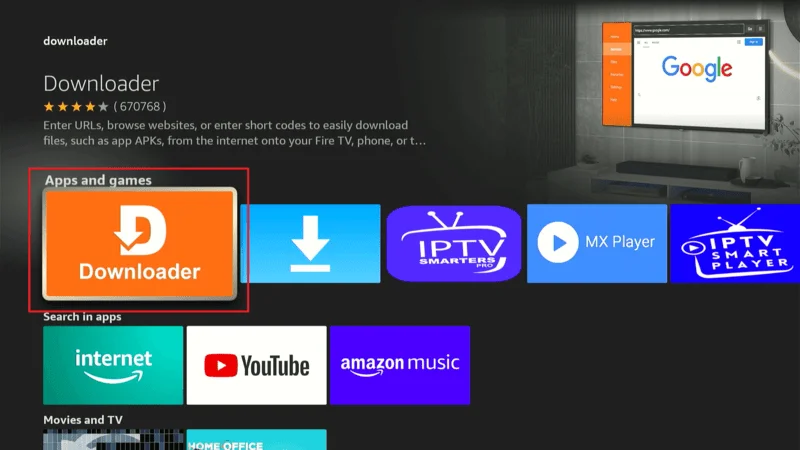
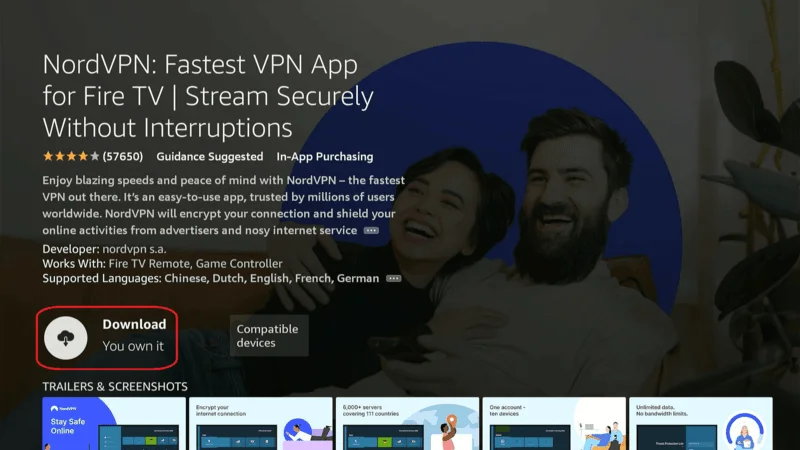
Click on Download or Get to install the app.

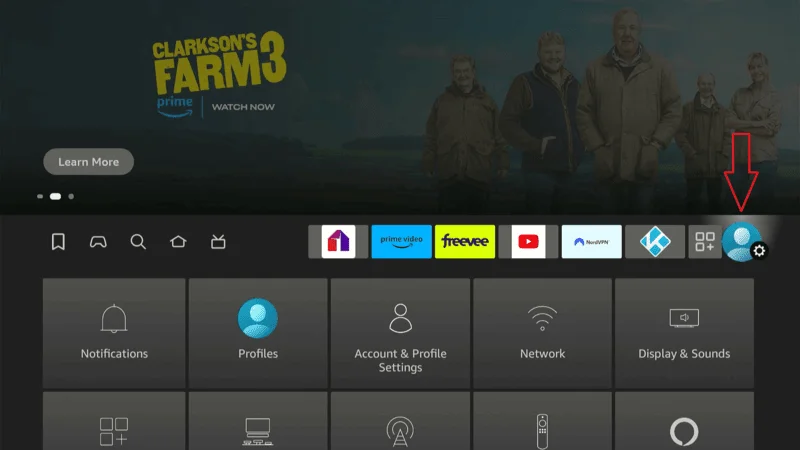
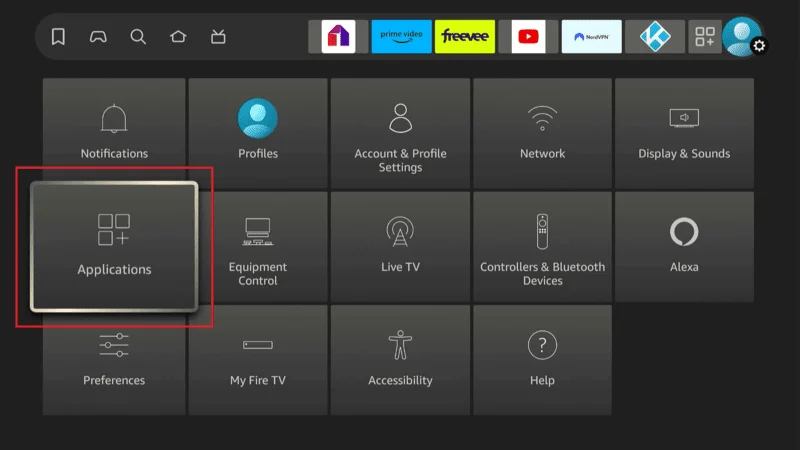
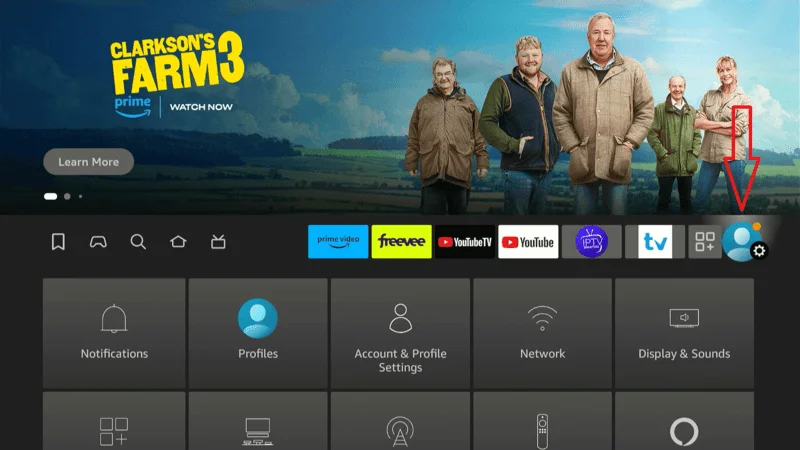
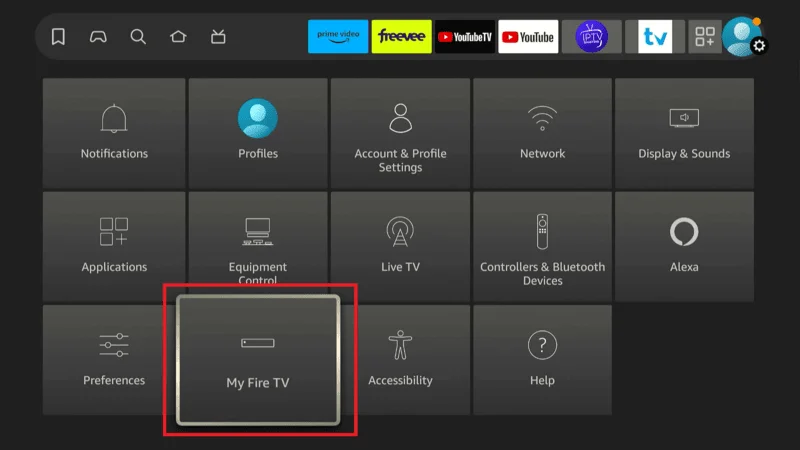
After installation, return to the Firestick Home screen and navigate to the Settings (gear icon) located on the far right.

Scroll down and select My Fire TV or Device & Software, depending on the version of your Firestick.

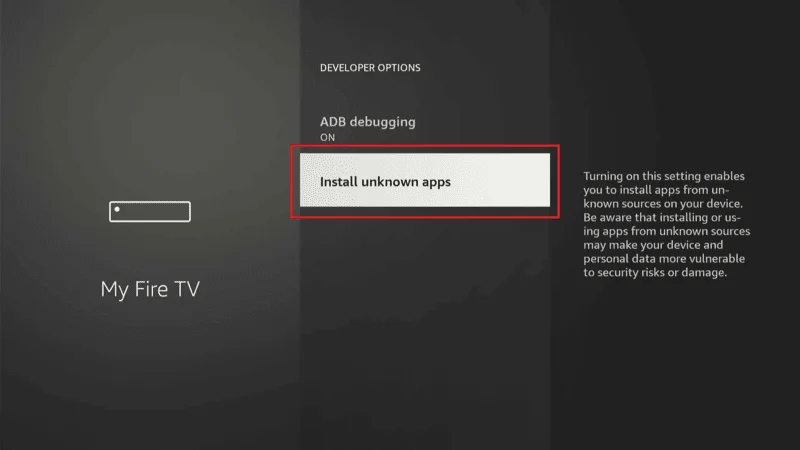
Choose Developer Options.
Note: If you don’t see Developer Options, follow these steps:
- Go to About.
- Click on your Firestick’s name (e.g., Fire TV Stick, Firestick 4K, Firestick 4K Max) eight times. This action will enable Developer Options on your device.
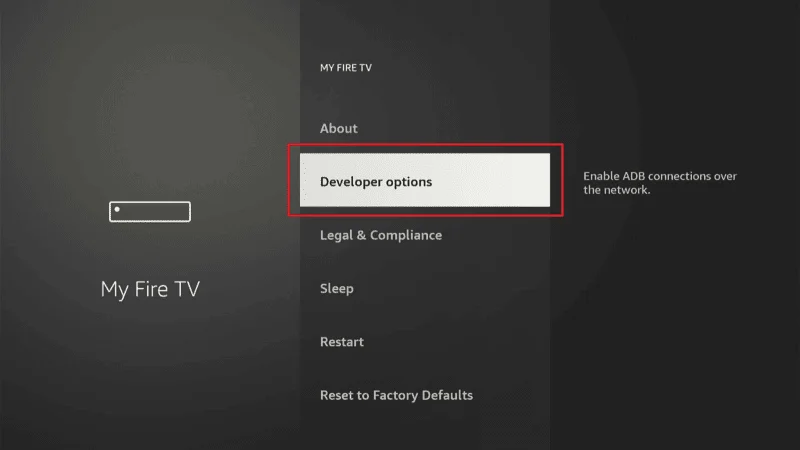
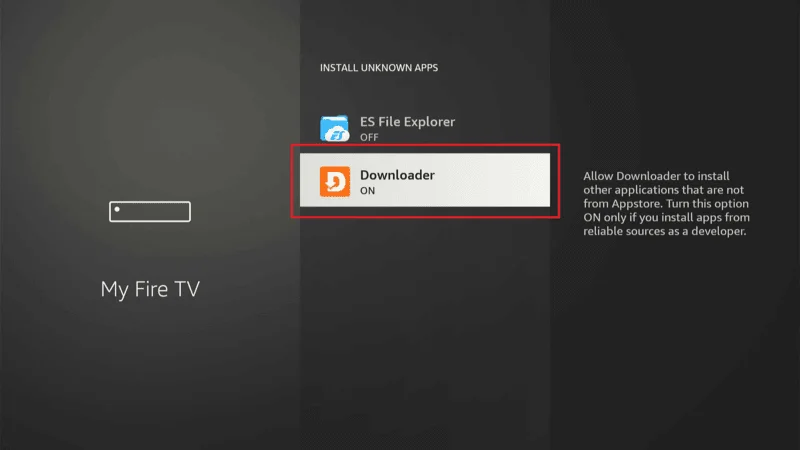
Once Developer Options are visible, find Downloader in the list and toggle it to ON. This will allow the Downloader app to install apps from sources outside the Amazon Appstore.

Now that the Downloader app is ready, you can use it to sideload the Kodi Fork.
Part 2: Installing the Kodi Fork on Your Firestick Device
In this section, I’ll walk you through installing the Kodi Fork on your Firestick. If you’re not using a Firestick, no problem! Simply enter the provided URL into your browser, and the Kodi Fork will download directly to your device.
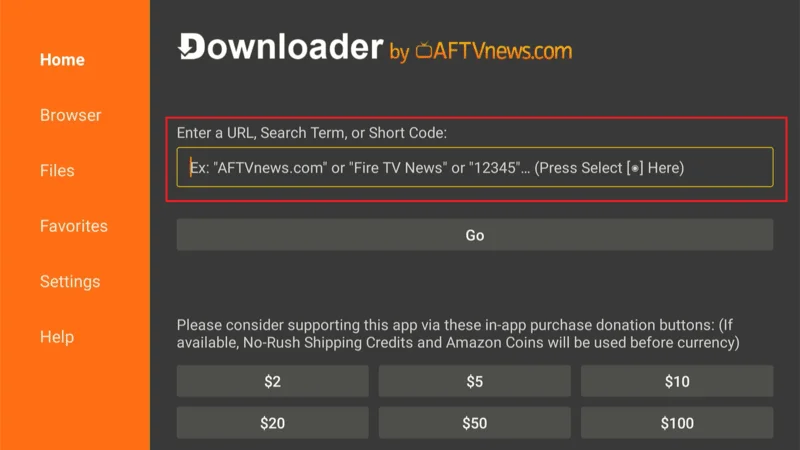
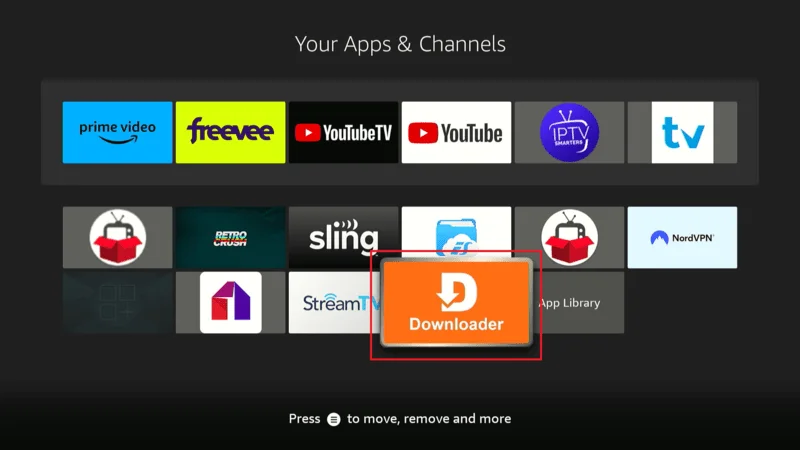
From the Firestick home screen, go to Your Apps and find the Downloader app press the select button on your remote to launch the app.
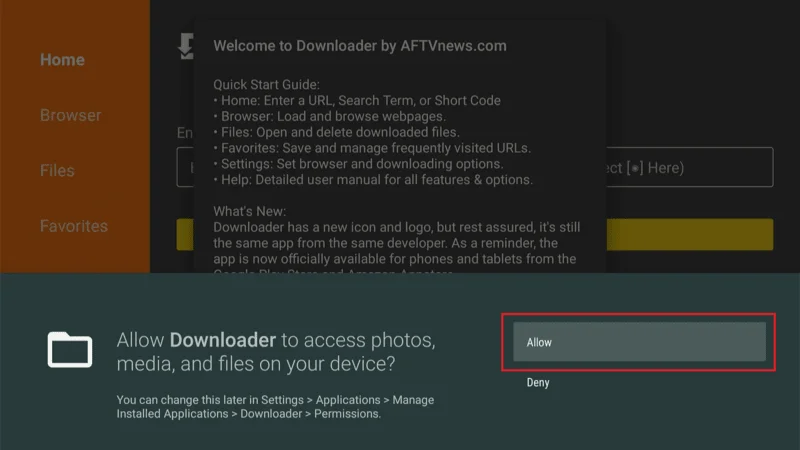
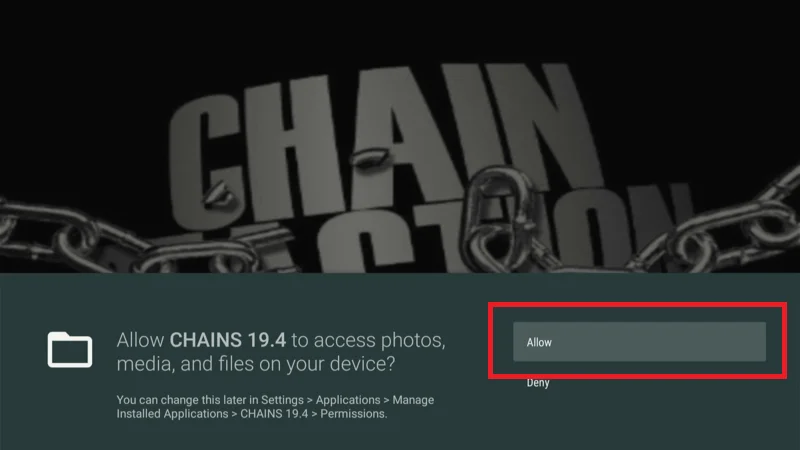
If it’s your first time using the Downloader app, it will ask for permission to access files on your device. Click Allow to proceed.
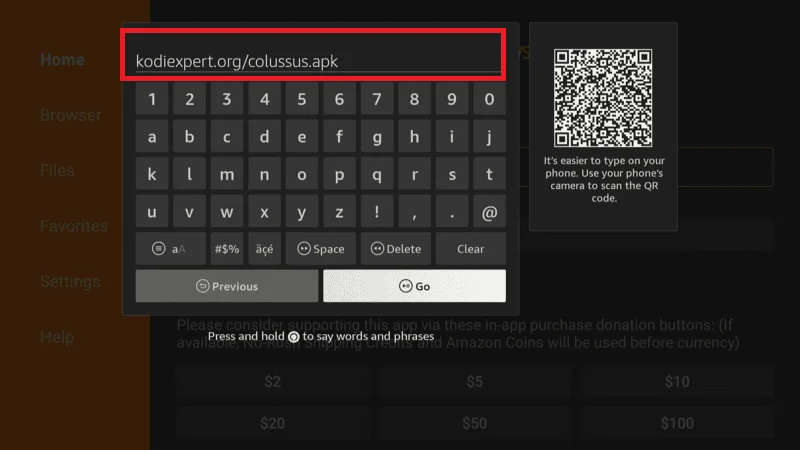
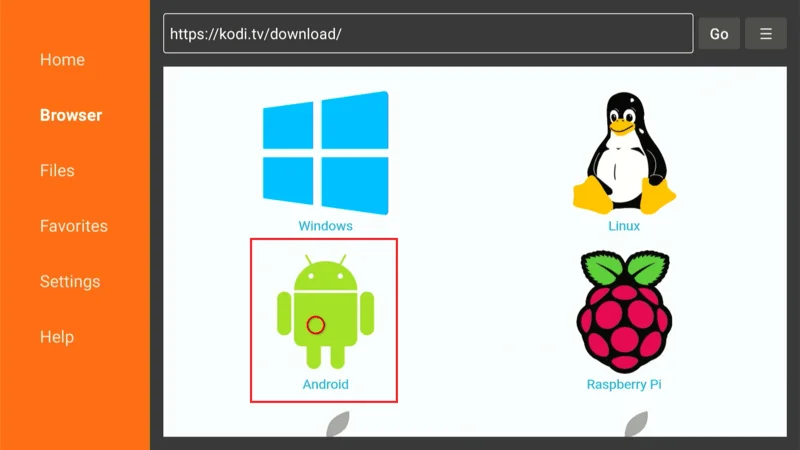
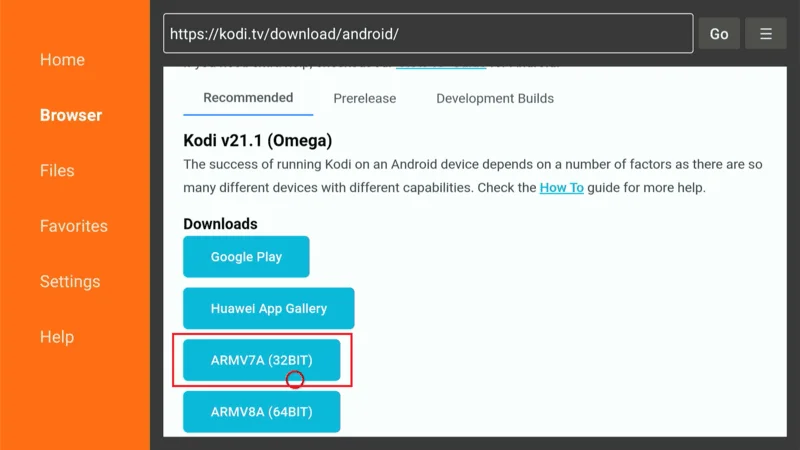
Navigate to the search bar within the Downloader app.

Type the URL: kodiexpert.org/chains.apk and press enter the app will begin downloading the Kodi Fork file. Wait for the download to complete.

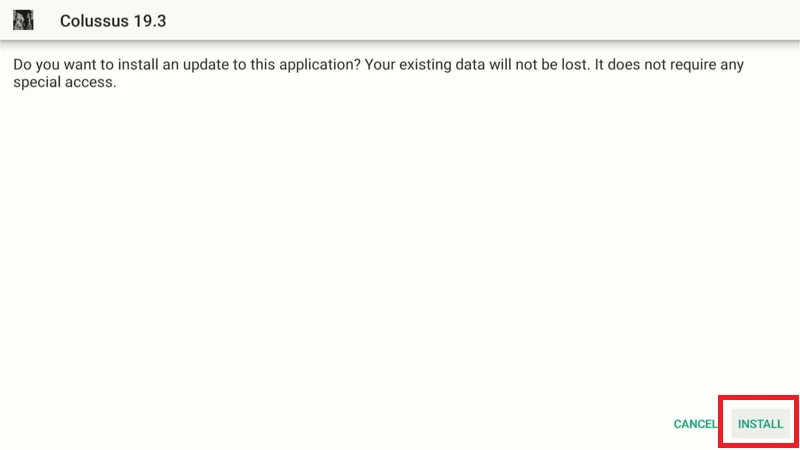
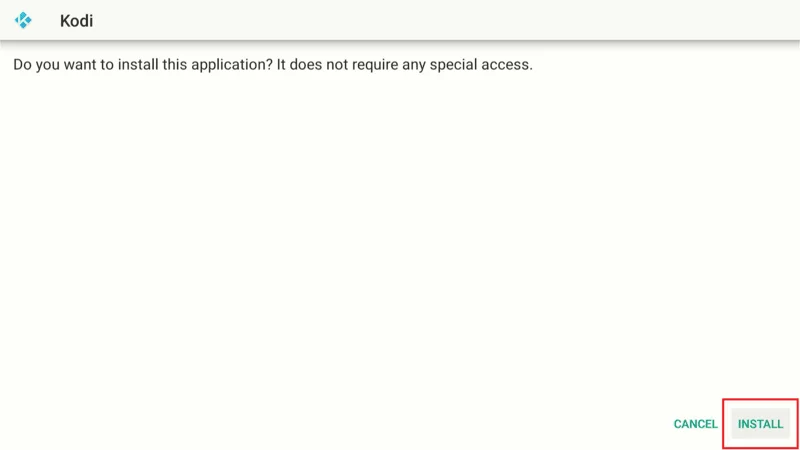
Once the download is finished, a prompt will appear asking if you want to install the app. Click Install.
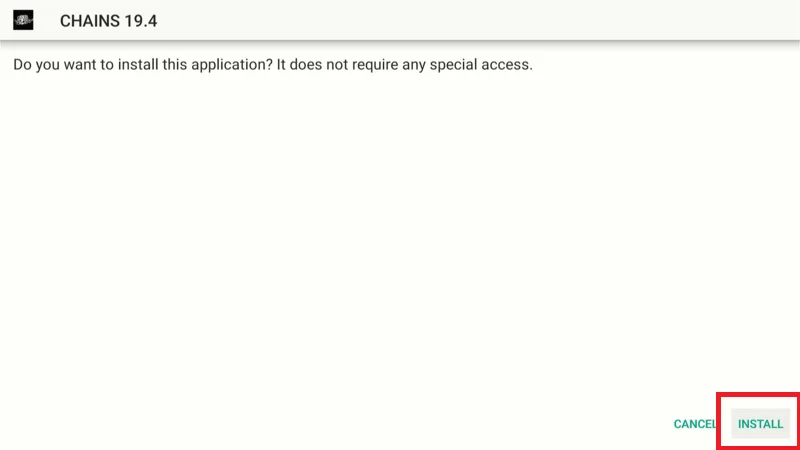
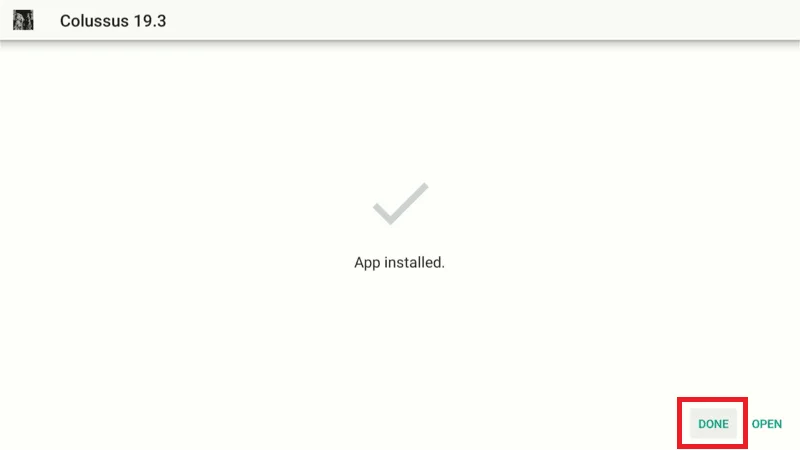
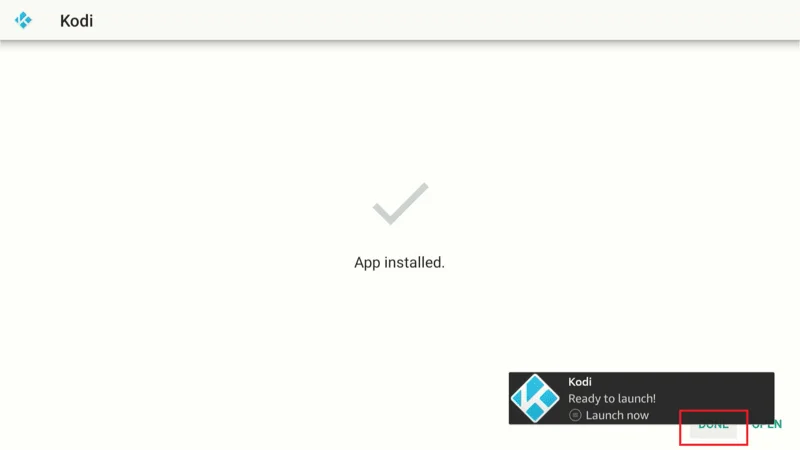
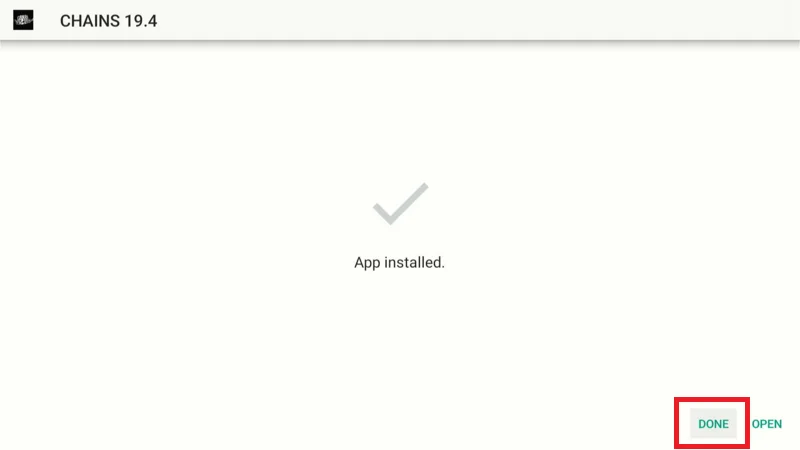
Wait for the installation to finish, then click Done.
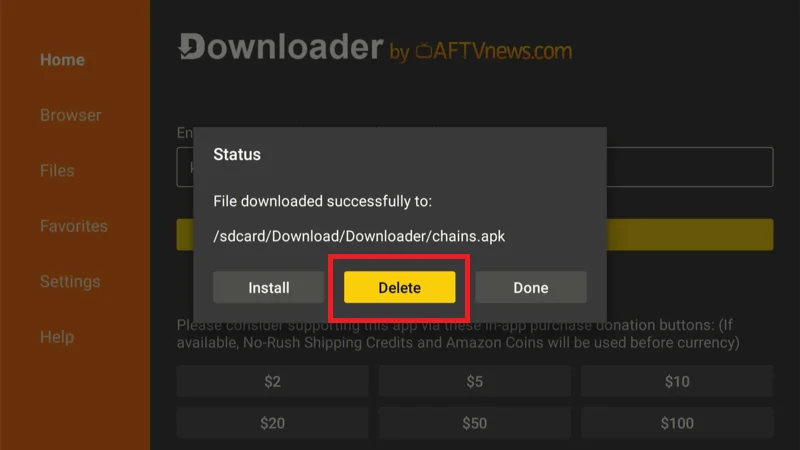
After installing, you’ll have the option to delete the downloaded APK file to free up storage. Select Delete to remove the backup file.
You’re all set! The Kodi Fork is now installed and ready to use on your Firestick.
Before you begin streaming with Kodi Addons or Builds, it’s essential to recognize that your online activities are more visible than you might realize. Both your Internet Service Provider (ISP) and government agencies can track what you’re streaming. This can potentially lead to legal consequences if you’re streaming copyrighted content, such as movies, TV shows, live events, or sports, without proper authorization.
However, there’s a simple solution to keep your streaming private: using a trustworthy VPN. A VPN hides your real IP address (currently 2400:adc3:12c:e600:70cc:3c05:496d), ensuring your online activities remain anonymous and shielded from prying eyes.
I recommend NordVPN for its speed, strong security features, and seamless compatibility with various streaming platforms and devices. It helps you bypass any ISP throttling, restrictions, or government monitoring, providing a safer and smoother streaming experience.
Important: While we do not encourage or support the illegal streaming of copyrighted content, it’s not always easy to tell if the material you’re accessing is from a legitimate source. To safeguard your privacy and ensure anonymous streaming, follow these three simple steps to set up a VPN before using Kodi:
Step 1: Subscribe to NordVPN using this link. It includes a 30-day money-back guarantee, so you can try it out completely risk-free. If, for any reason, you’re not satisfied within the first 30 days (though that’s highly unlikely), you can request a full refund.

Step 2: Download and install the NordVPN app on your streaming device by clicking here. If you’re using a FireStick, jump ahead to
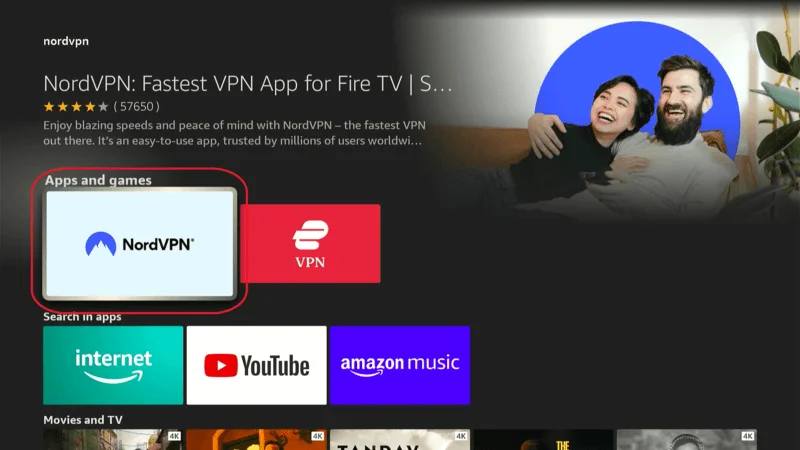
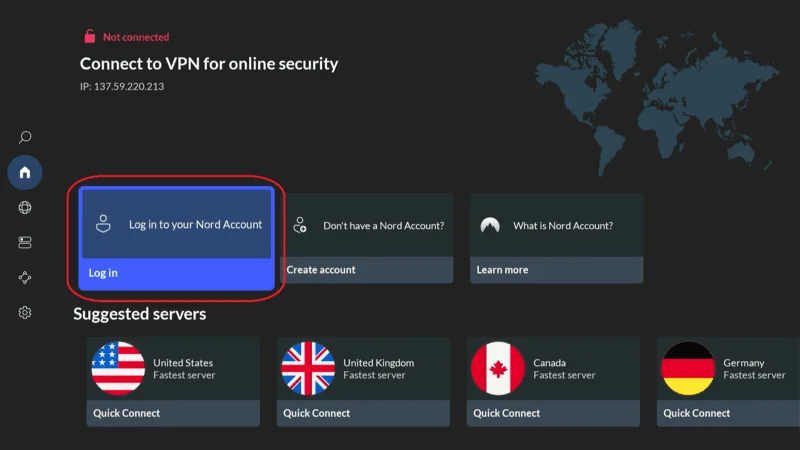
Step 3: After installing the app, open it and simply click the Power icon to connect to a secure VPN server. That’s all there is to it! Your connection is now protected by one of the fastest and most reliable VPN services available, perfect for safe and seamless Kodi streaming.

How to Use Chains Kodi Fork on Any Device
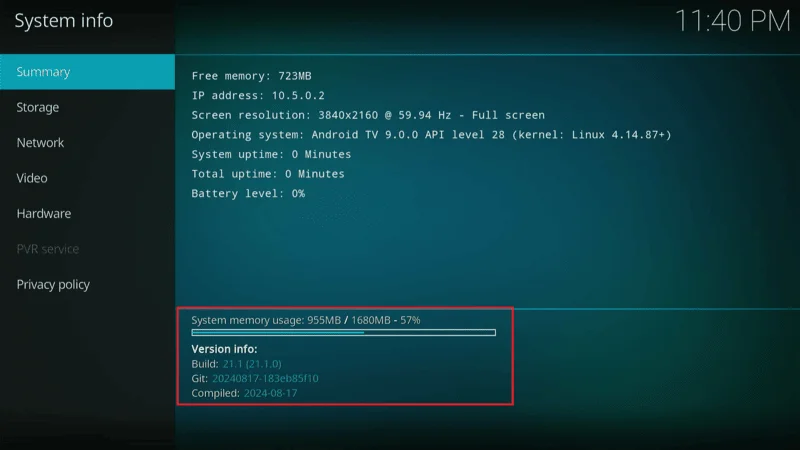
Once you’ve installed the Chains Kodi Fork, you might notice that it comes with a preinstalled Build, app, or additional features. Each Fork can provide a unique setup depending on the version you’re using. When you first open Kodi, follow these steps to get started:
When launching it for the first time, you’ll be prompted to allow some permissions—simply click “Allow.”
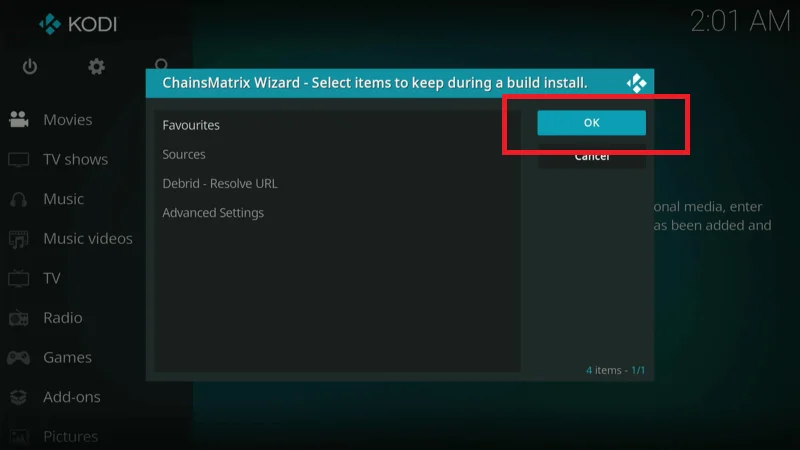
Next, a pop-up will appear on your screen asking you to install the Chains Wizard. Click “OK.”
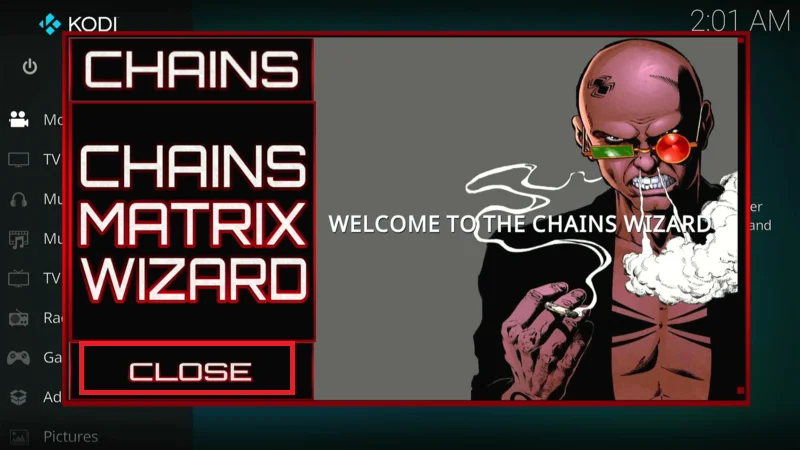
After that, you’ll see a prompt for the Chains Matrix Wizard. Just click “Close.”
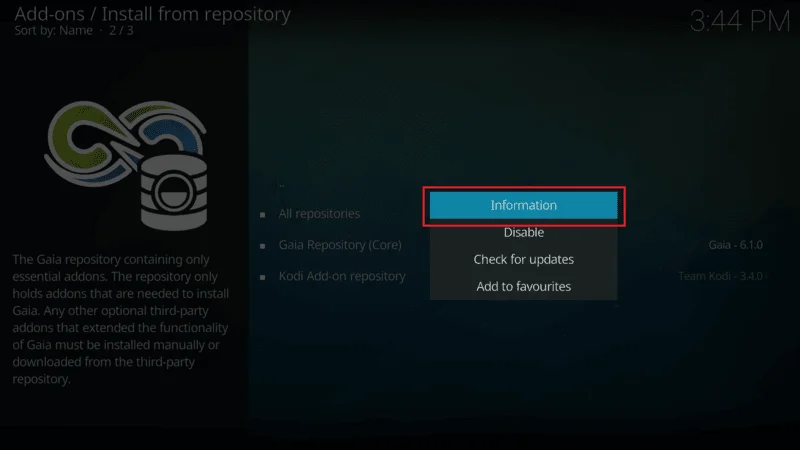
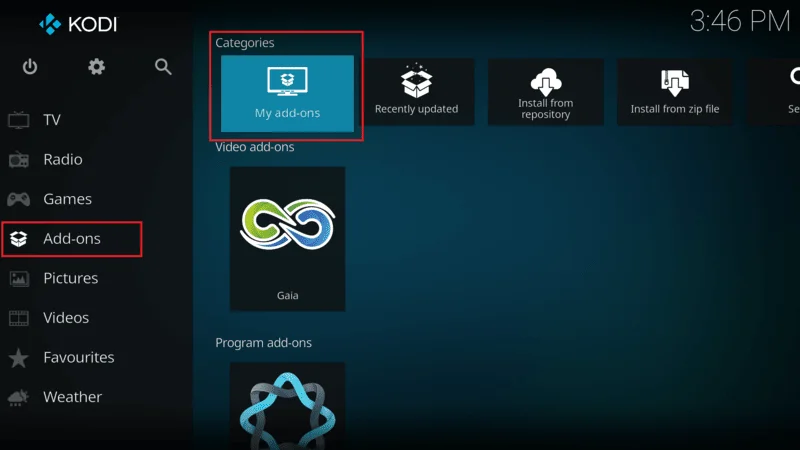
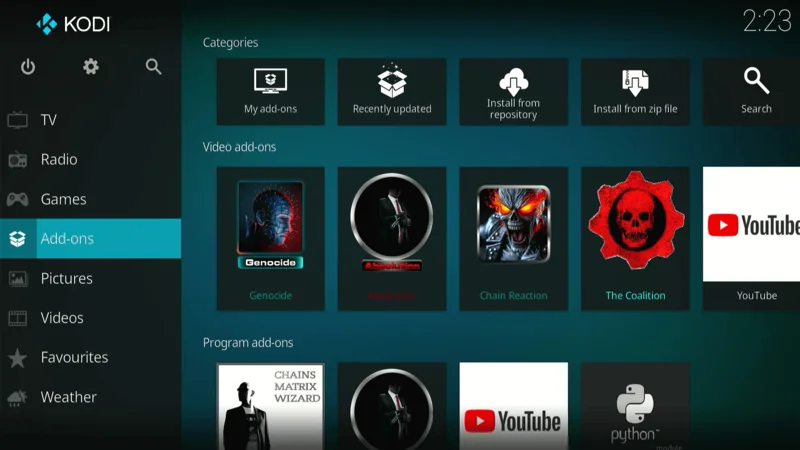
Now, you’ll be on an interface similar to Kodi. Scroll down and select “Add-on.”
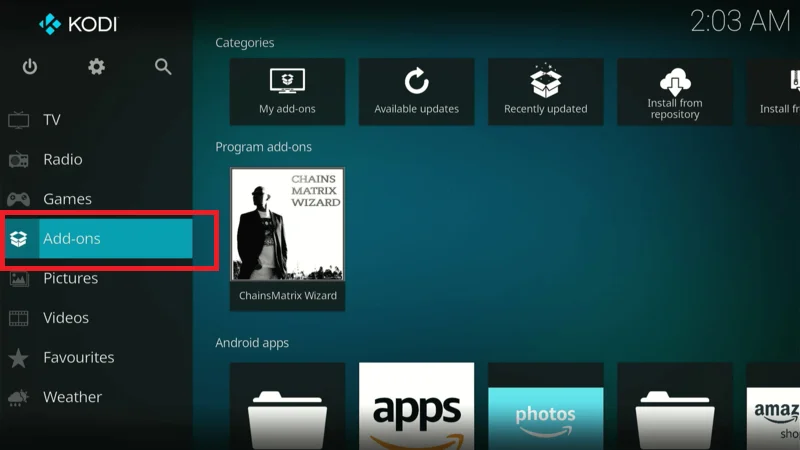
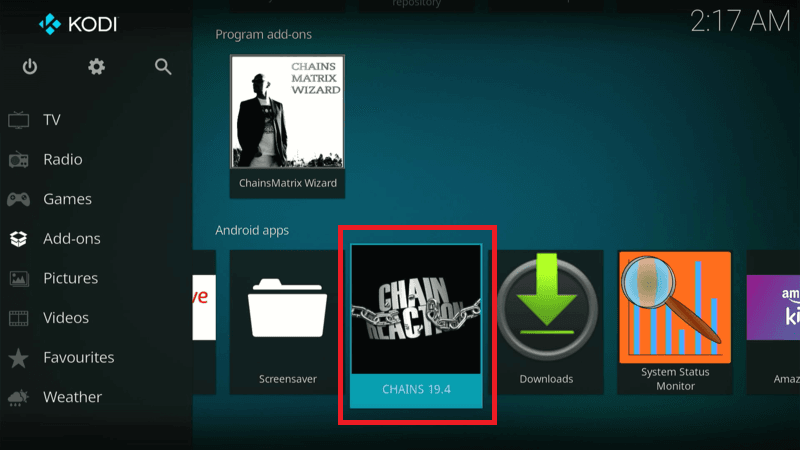
At this point, you’ll notice some pre-installed apps from Chains, along with a fully loaded Kodi Fork.

Click on “Build” and then choose “Chains Builds.”
Next, select “Chains Build Installer”
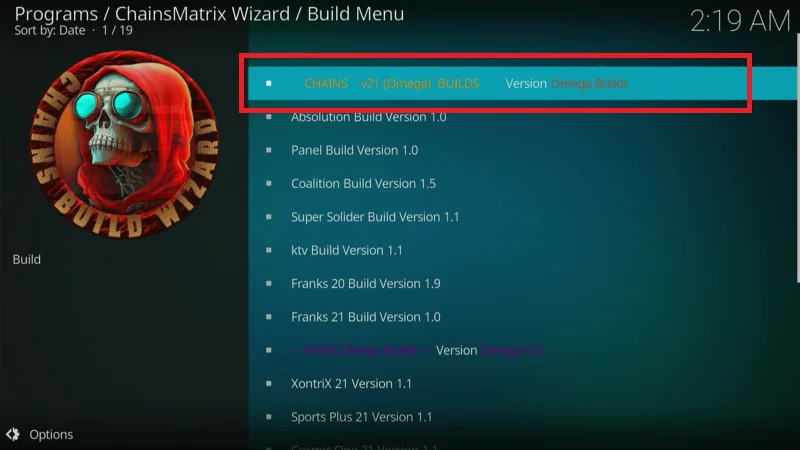
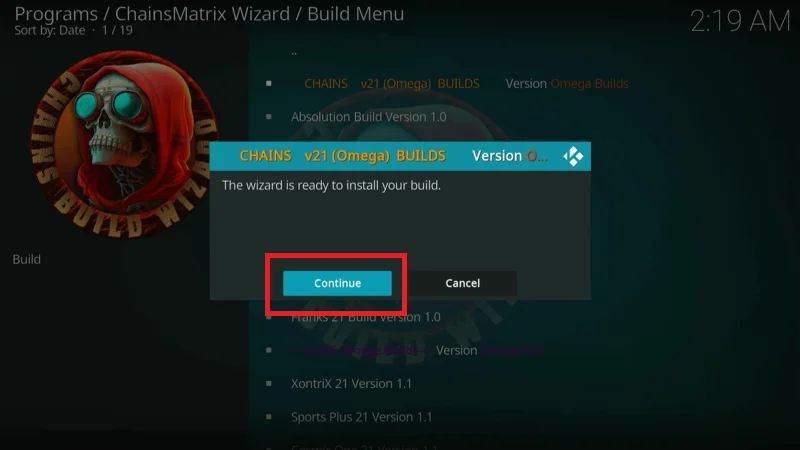
And click “Continue.”
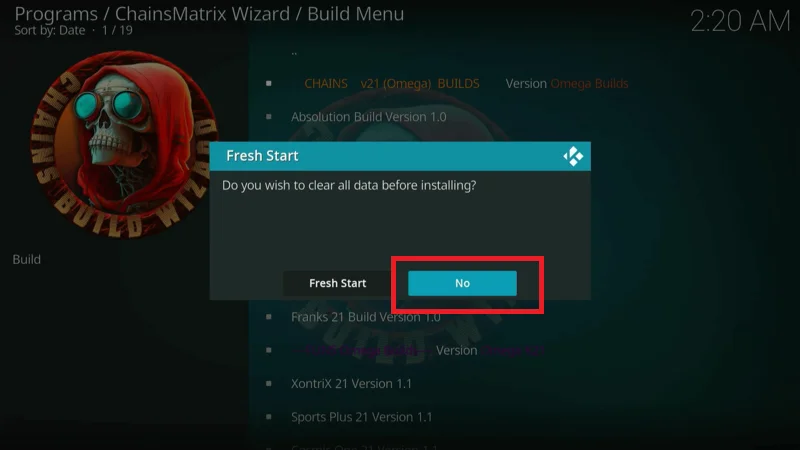
When prompted with the options to “Fresh Start” or “No,” make sure to choose “No.”
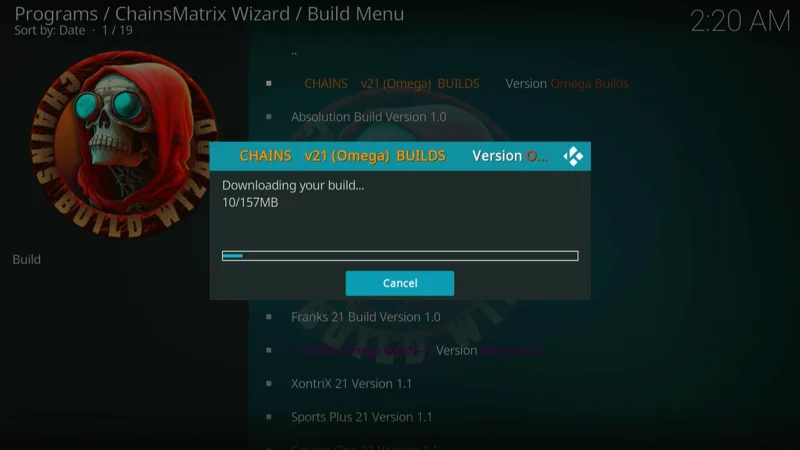
Wait for the Fork to install.
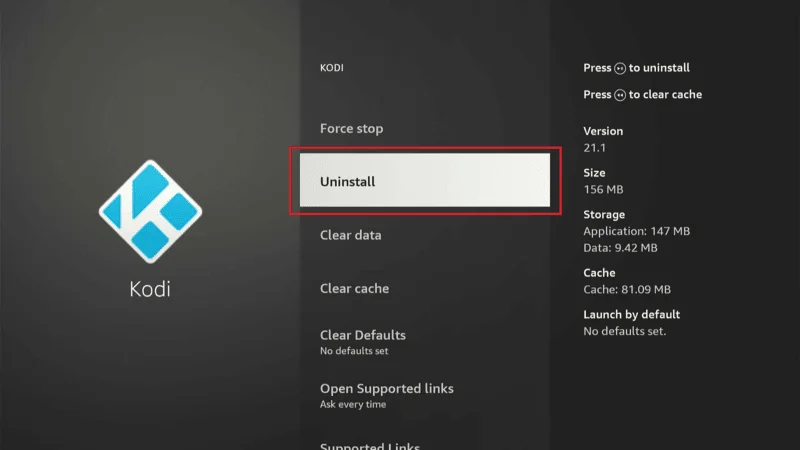
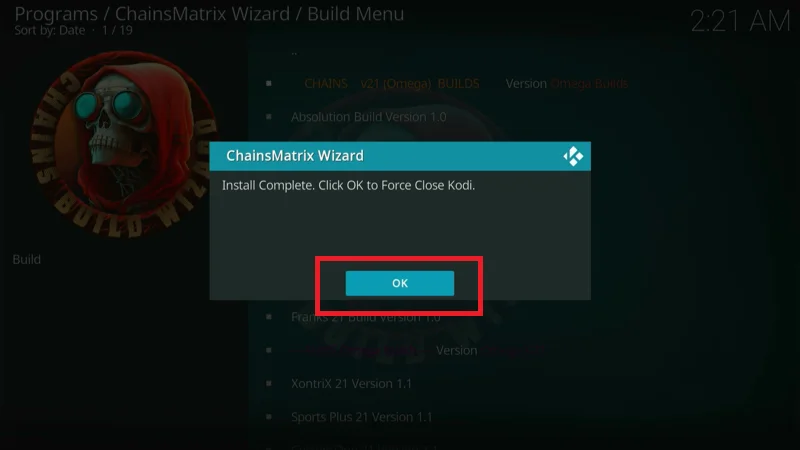
Once the Chains Fork is installed, click “OK” and then “Force Stop.”
Relaunch the app.
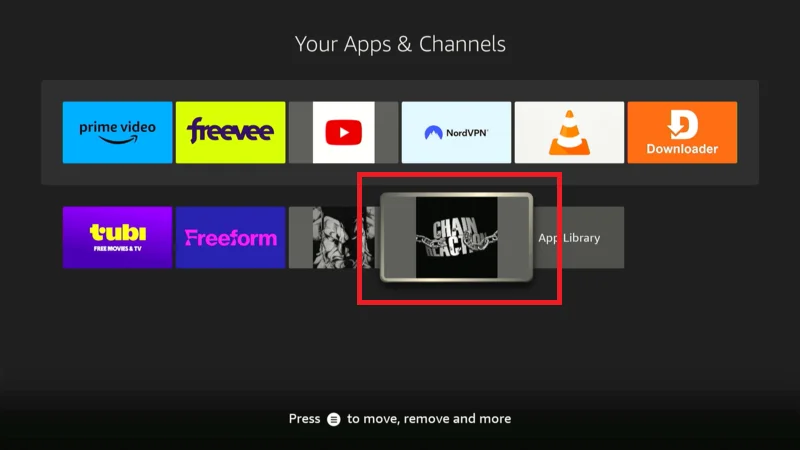
That’s it! You now have a fully loaded Kodi Fork on your Firestick, ready for use.
Enjoy your customized Kodi Fork experience on any device!
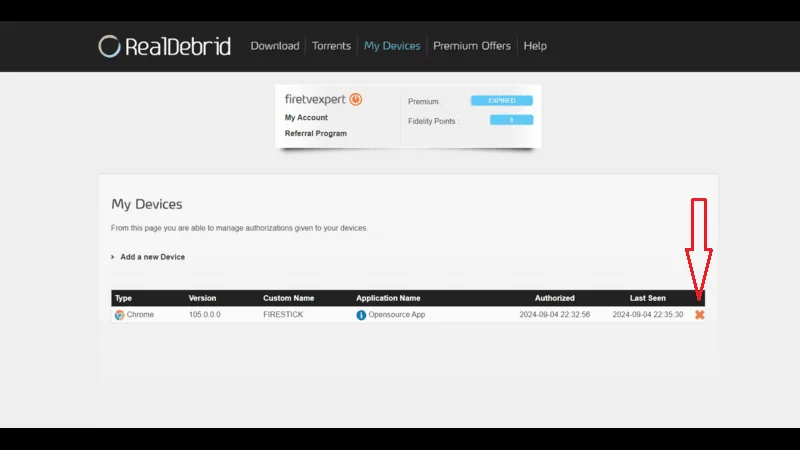
How to Connect Kodi Fork with Real Debrid
Real Debrid is a premium service designed to improve your streaming experience by offering high-quality, fast-loading links. If you’re using a Kodi Fork, integrating Real Debrid will give you access to a broader selection of streaming sources and improve overall performance.
Here’s a step-by-step guide to connect your Kodi Fork with Real Debrid:
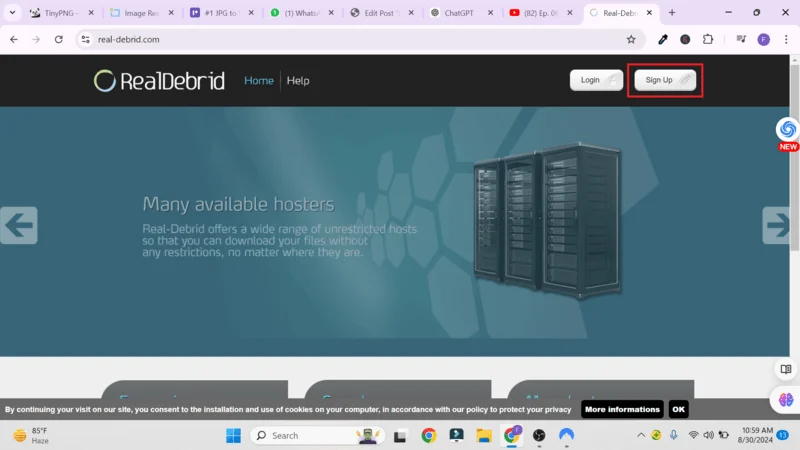
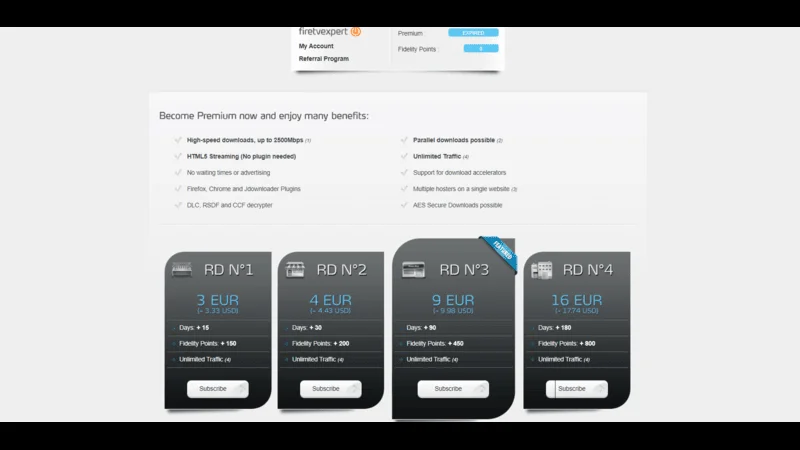
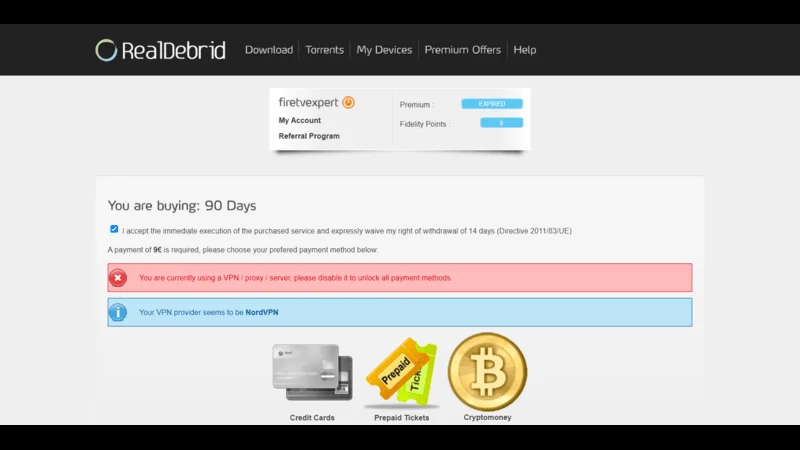
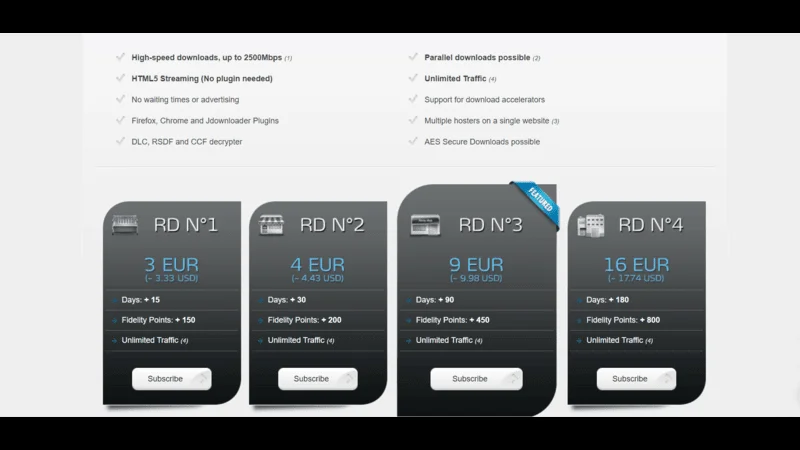
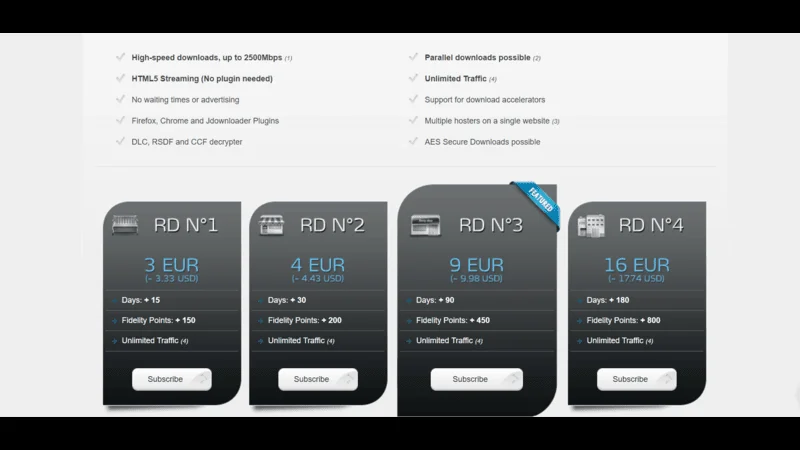
Go to the Real Debrid website and create an account.
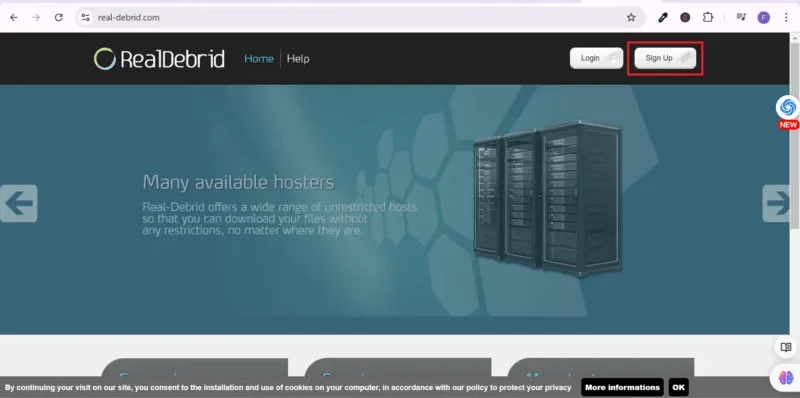
Choose a subscription plan that fits your needs and complete the registration process.
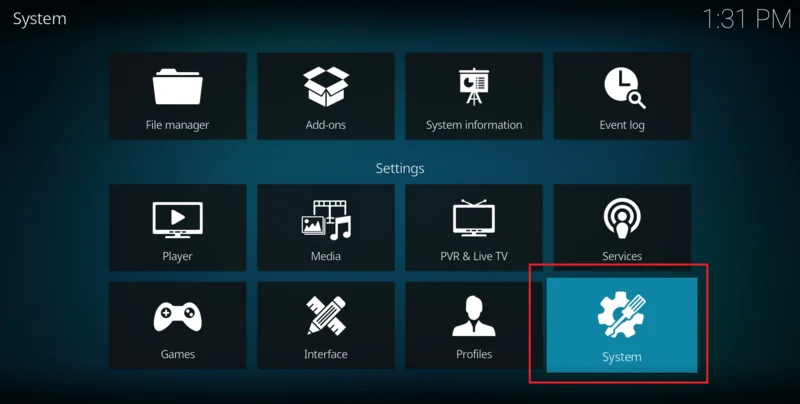
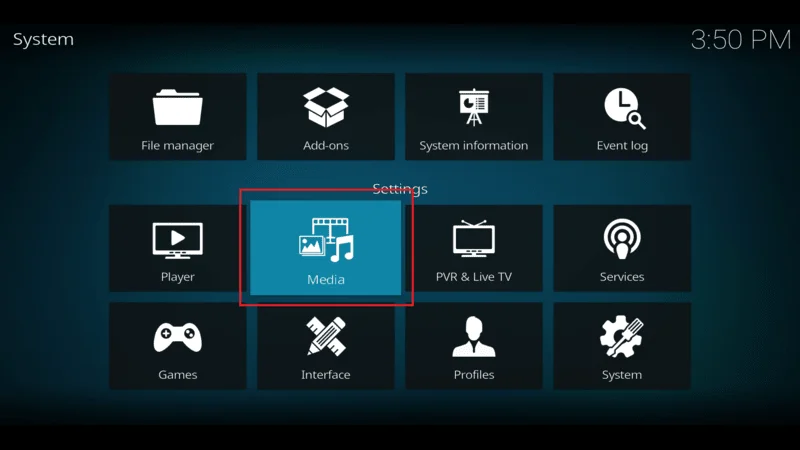
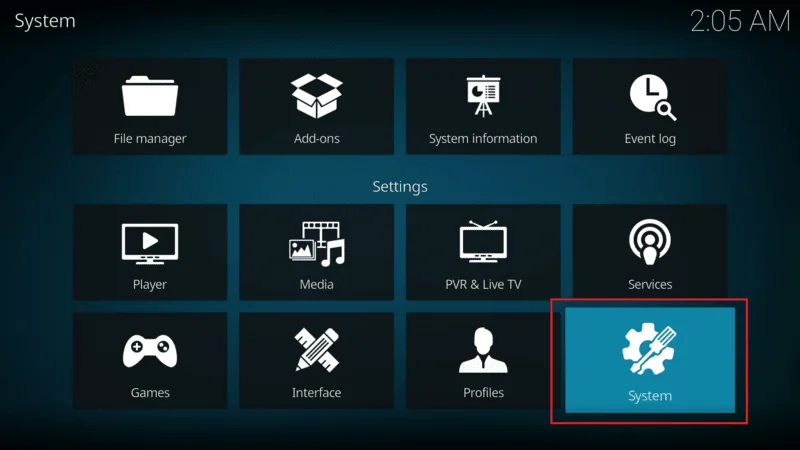
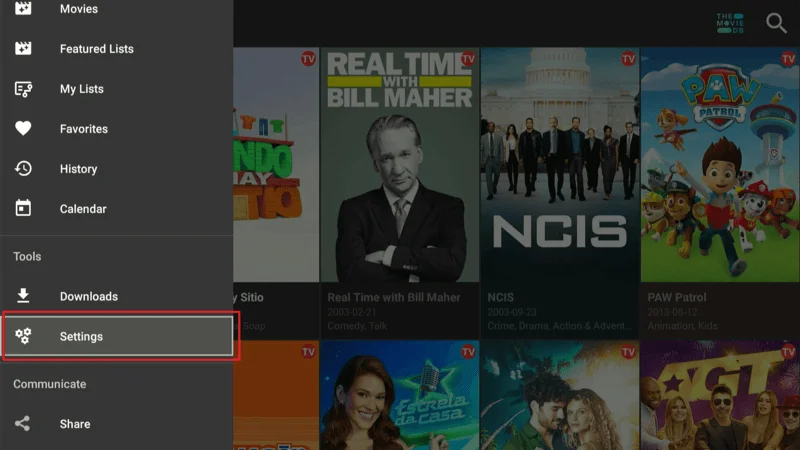
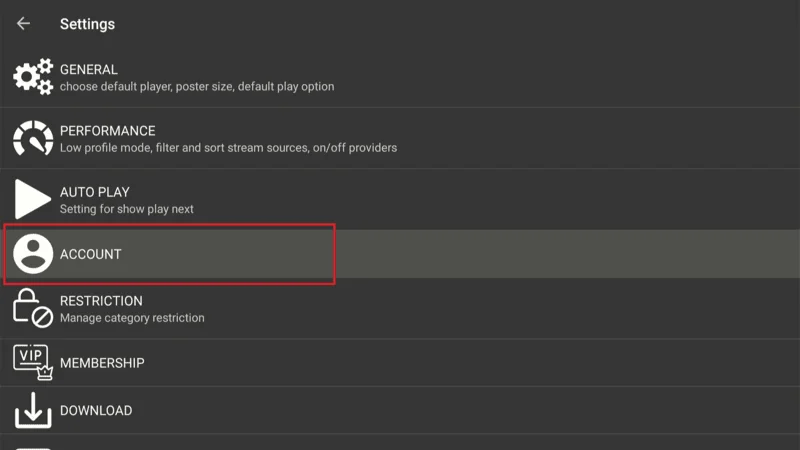
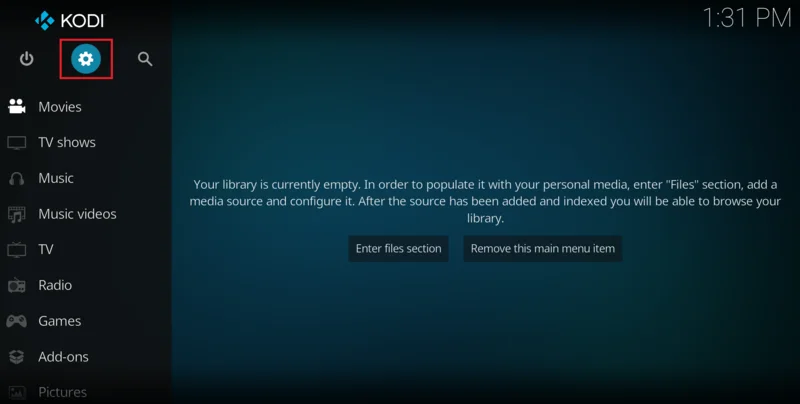
Launch your Kodi Fork from the home screen, go to Settings (usually represented by a gear icon).
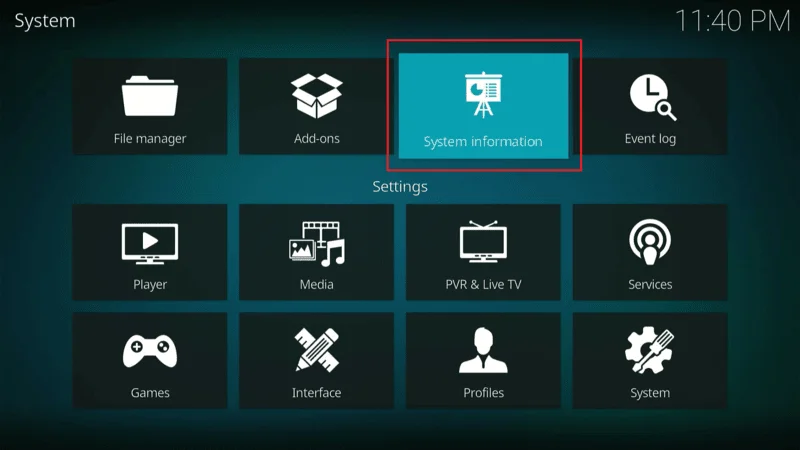
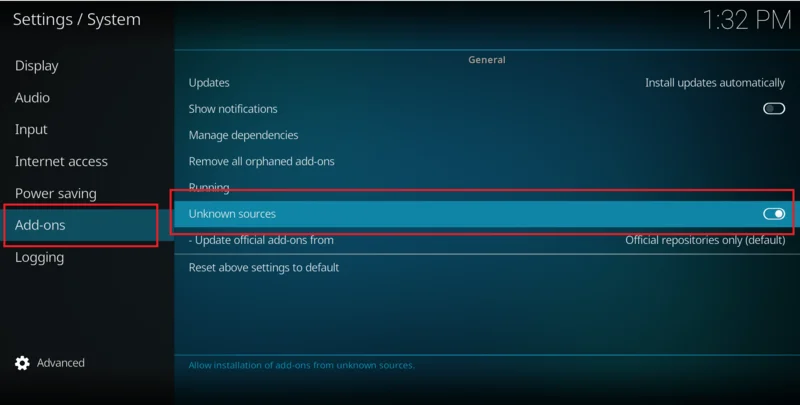
Scroll down and select System.

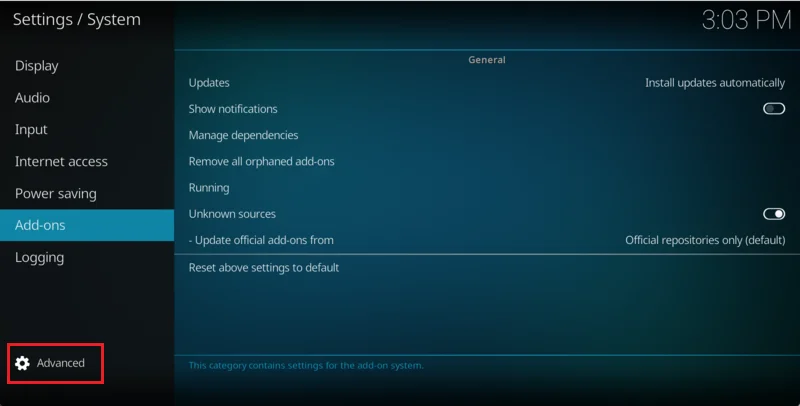
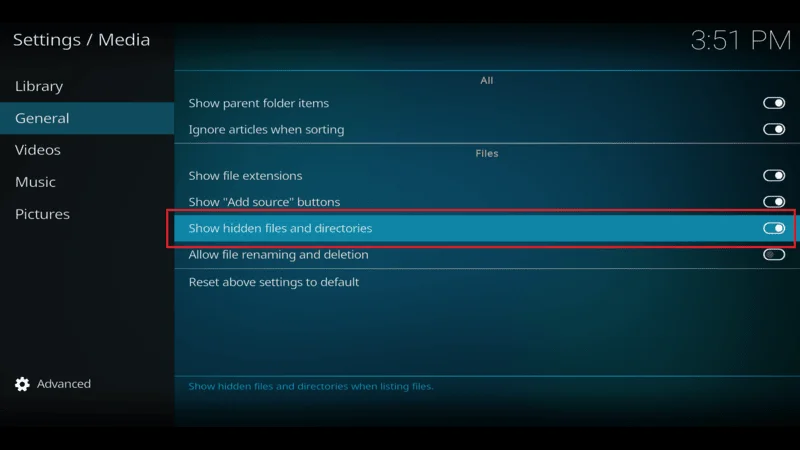
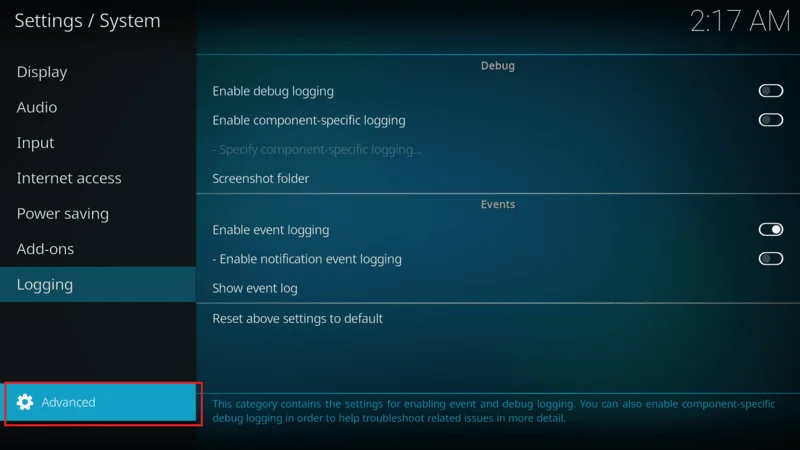
In System Settings, select Add-ons toggle the Unknown Sources option to ON. This will allow you to install third-party services like Real Debrid.
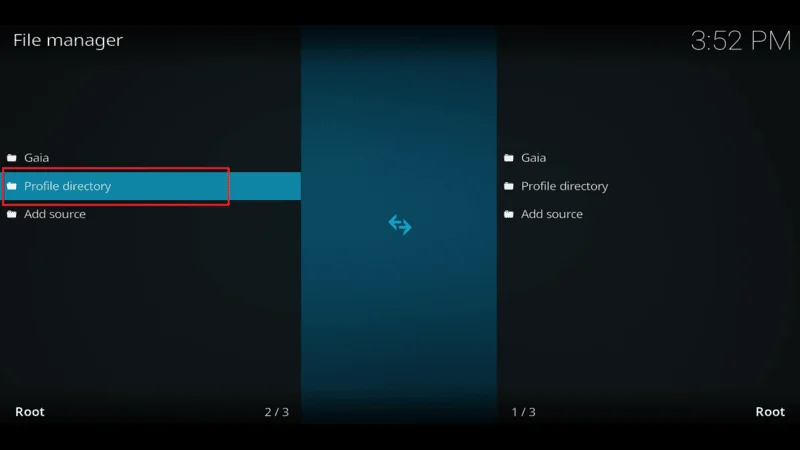
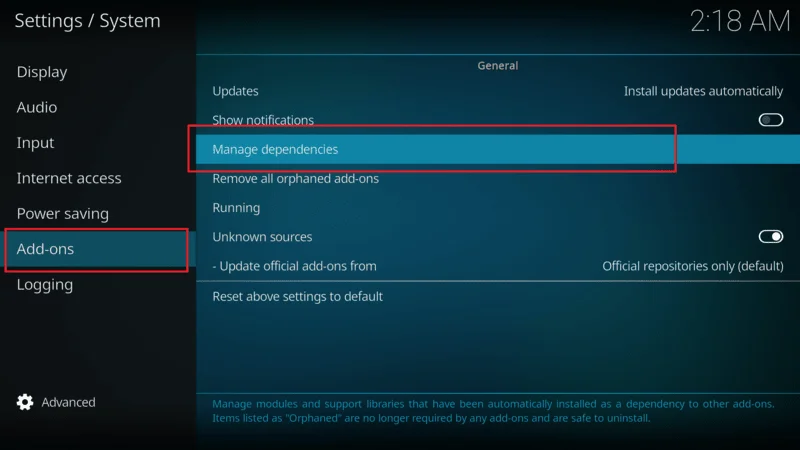
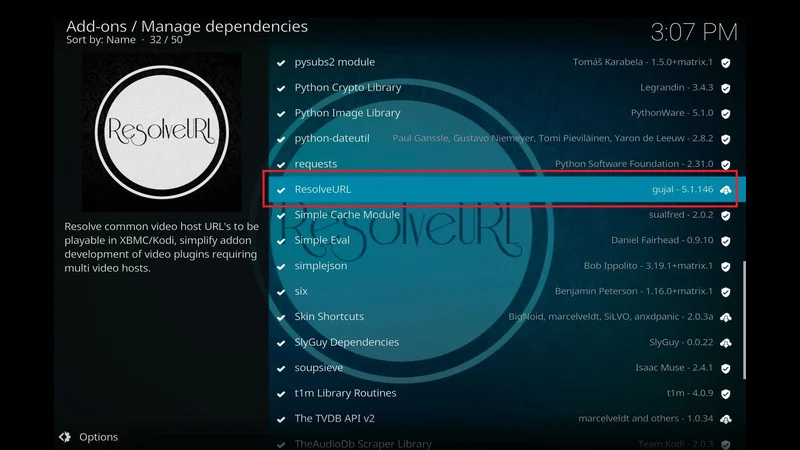
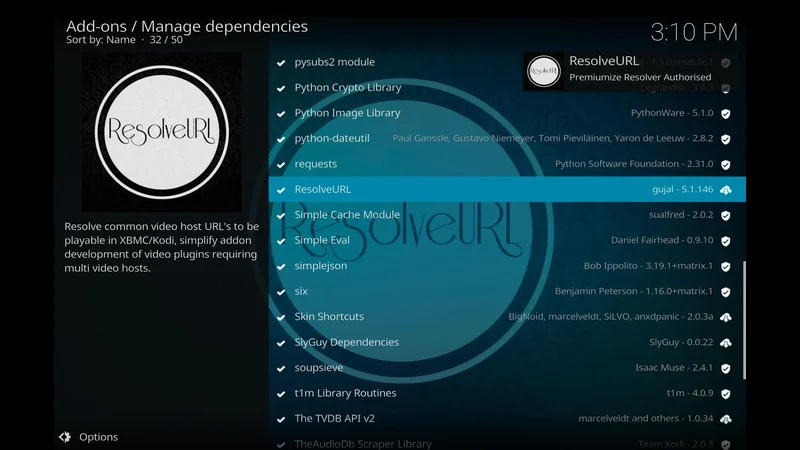
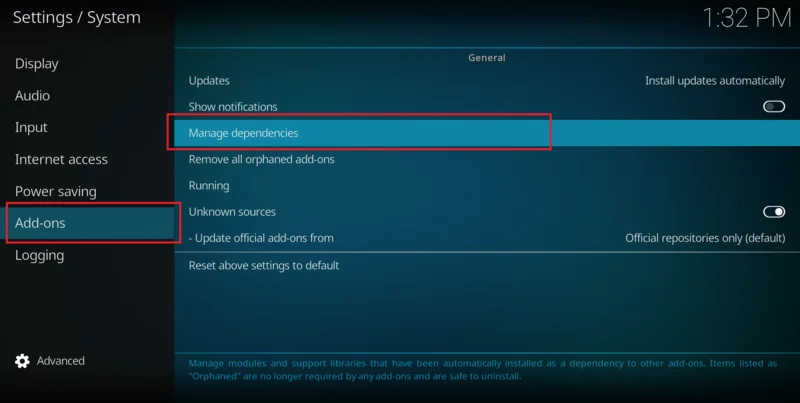
Go back to the Settings menu and select System scroll to Add-ons and select Manage Dependencies.
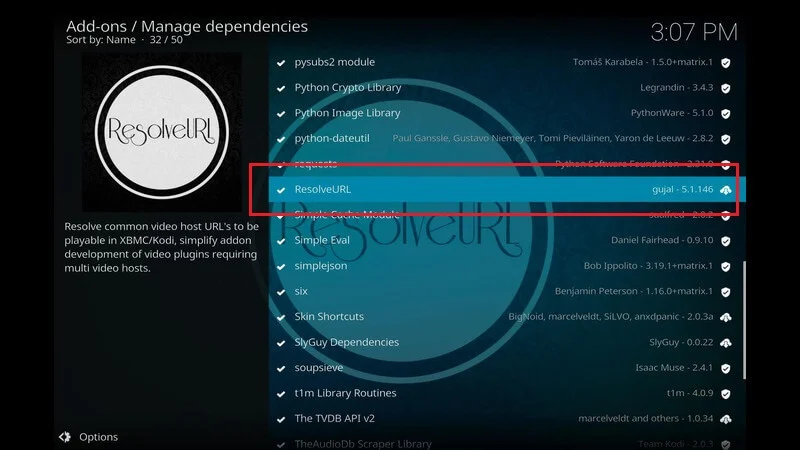
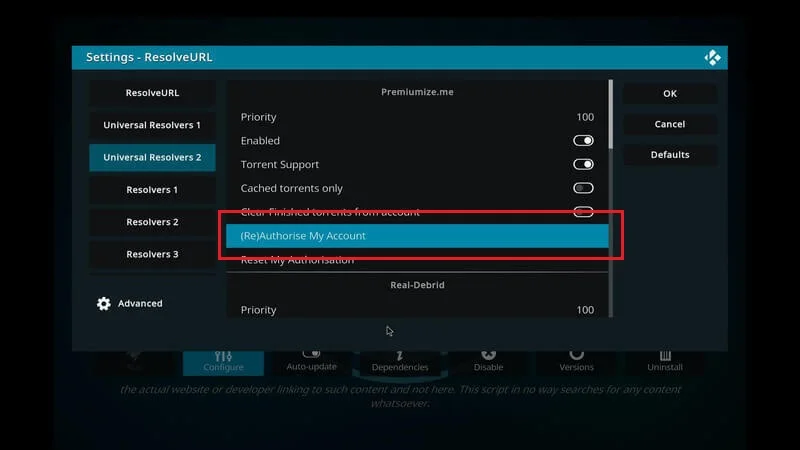
Find and select ResolveURL or URLResolver, depending on the Build/Fork you’re using.

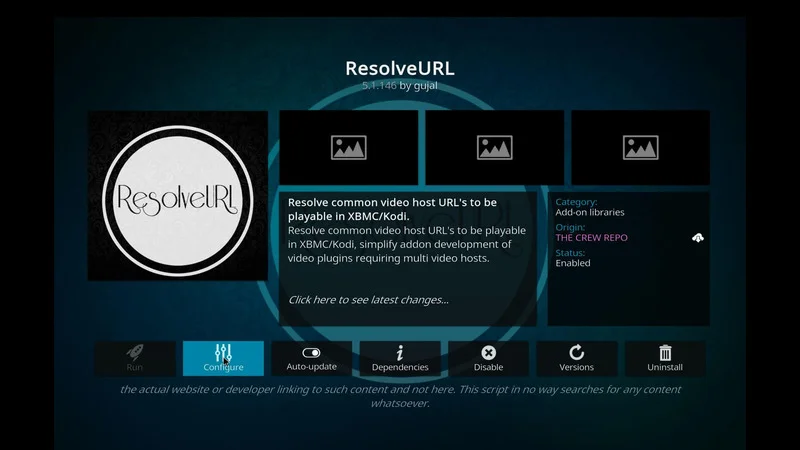
Choose Configure
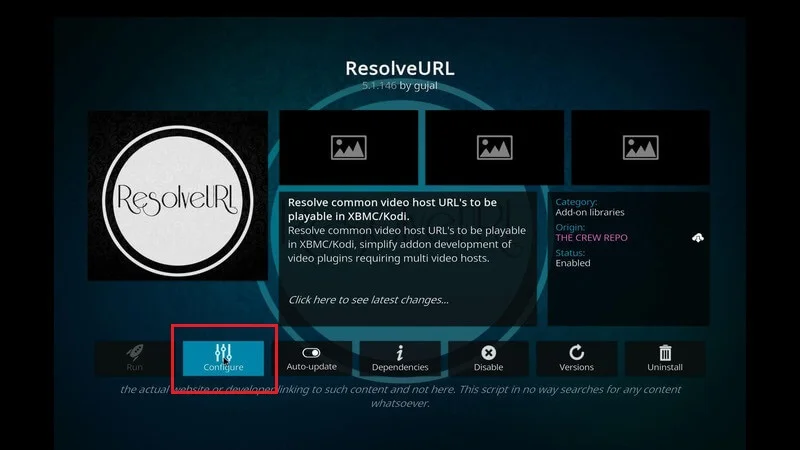
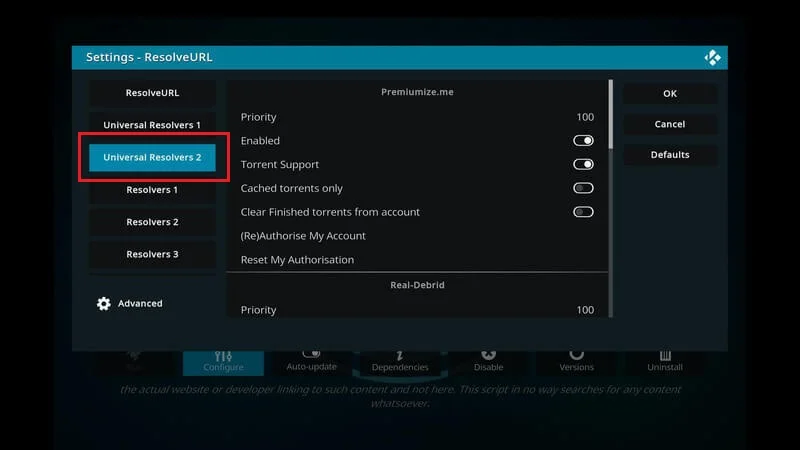
And then click on Universal Resolvers.

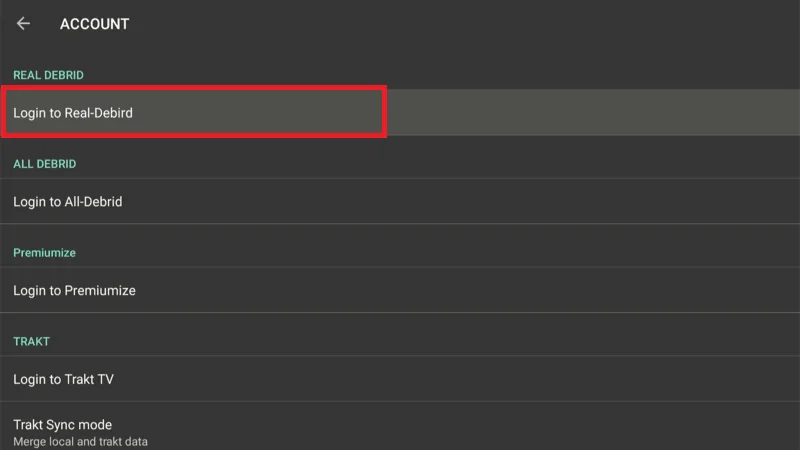
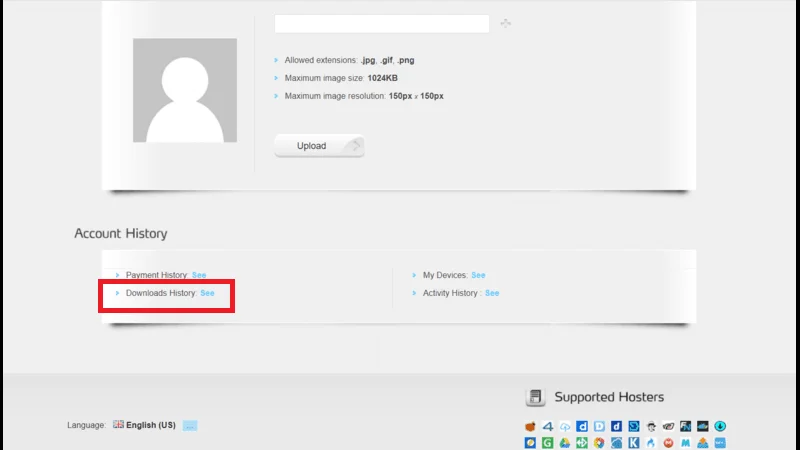
Scroll down to the Real Debrid section and select (Re)Authorize My Account.

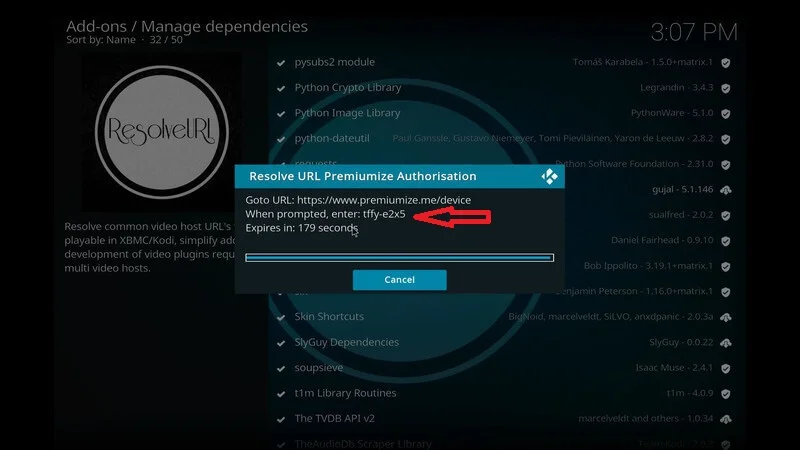
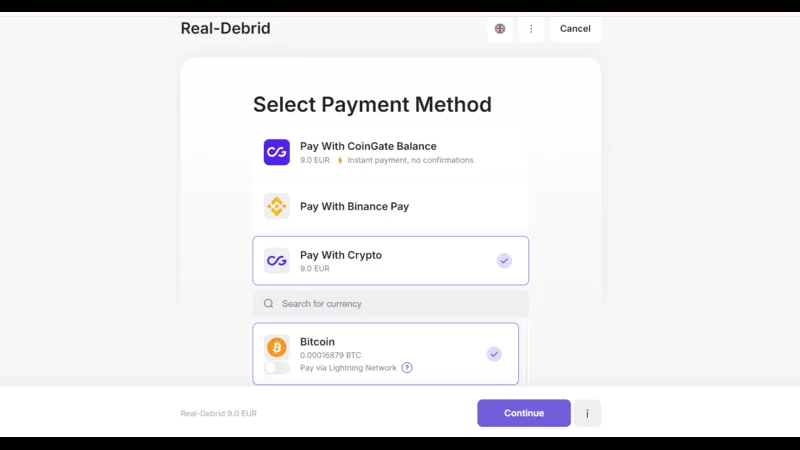
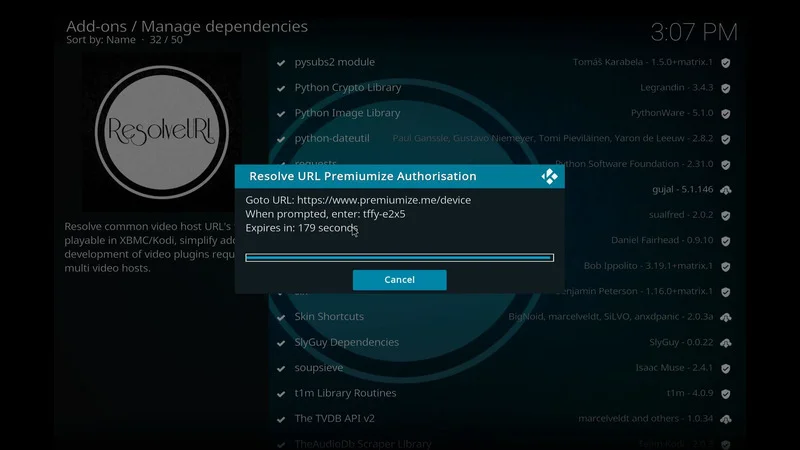
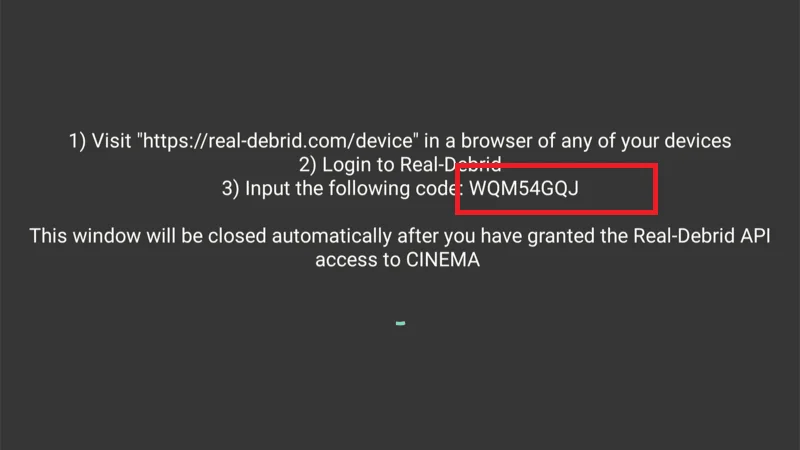
A pop-up window with an authorization code will appear. Keep this window open.

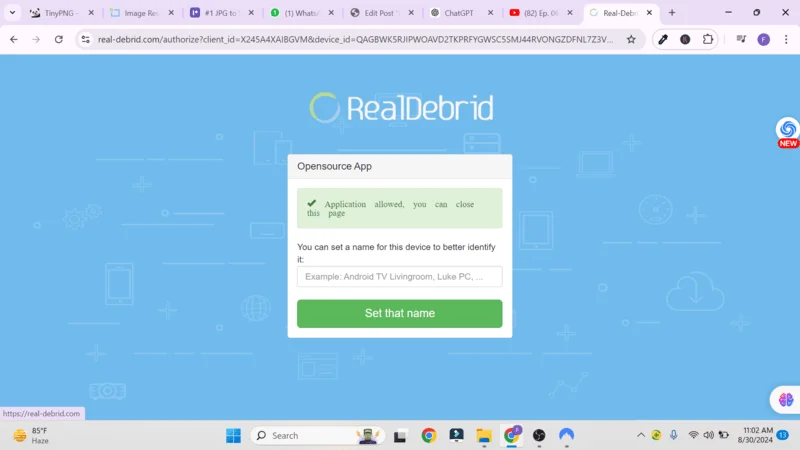
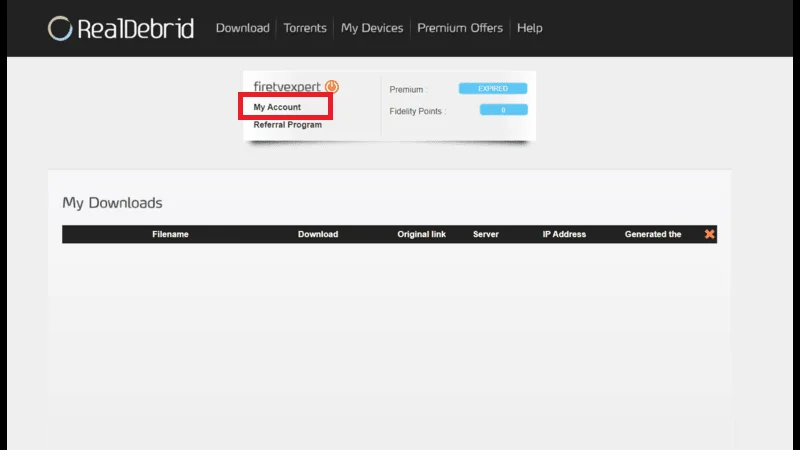
On a separate device (e.g., phone or computer), visit the URL https://real-debrid.com/device and enter the code.
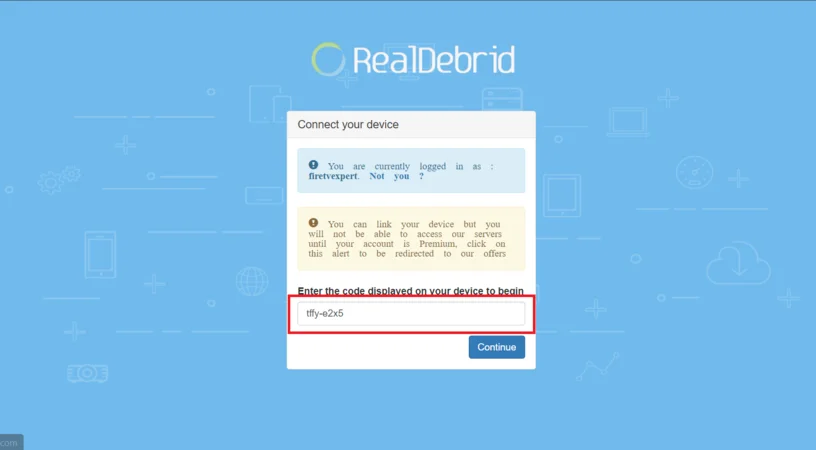
Once the code is entered and accepted, you’ll receive a confirmation message in Kodi.
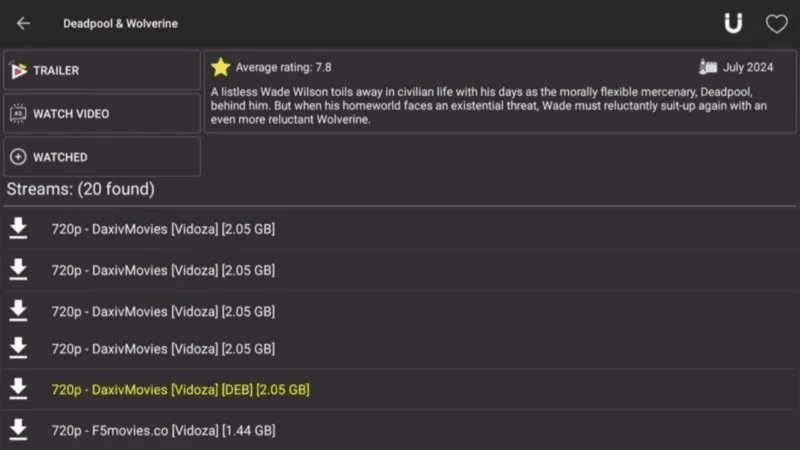
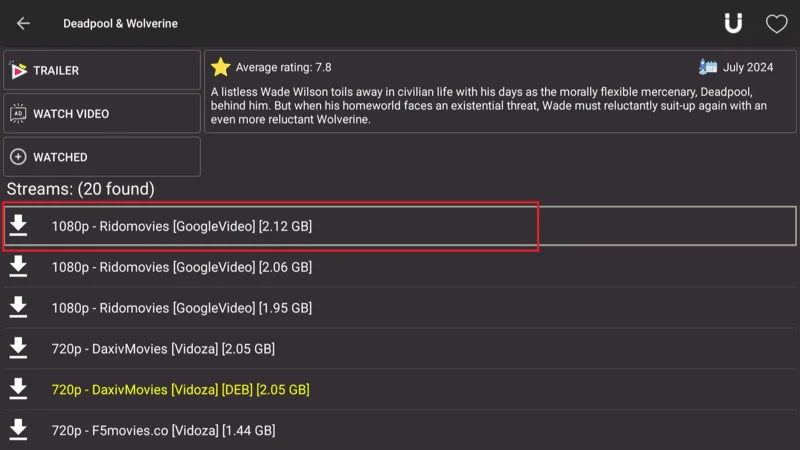
Now that Real Debrid is connected to your Kodi Fork, you can enjoy faster and higher-quality streaming links. When you search for content, Real Debrid sources will appear, offering improved performance.
That’s it! Your Kodi Fork is now linked with Real Debrid, giving you a smoother and more enjoyable streaming experience.
Frequently Asked Questions (FAQs)
Here are some common questions and answers about Chains Kodi Forks:
1. What is Chains Kodi Fork?
Chains Kodi Fork is a modified version of the Kodi media player that offers additional features, customization options, and often comes preinstalled with popular add-ons and Builds, making it a preferred choice for many Kodi users.
2. Is Chains Kodi Fork different from the original Kodi?
Yes, Chains Kodi Fork is based on the original Kodi but offers more features and customization. It allows users to run multiple versions of Kodi on one device without interference and often comes preloaded with useful Builds and add-ons.
3. How do I install Chains Kodi Fork on my device?
To install Chains Kodi Fork, you need to sideload the app onto your device, as it’s not available in official app stores. You can follow the step-by-step instructions provided in installation guides, which typically involve using a downloader app to install the Fork from an external source.
4. Can I use Chains Kodi Fork on any device?
Yes, Chains Kodi Fork can be installed on various devices, including FireStick, Android devices, macOS, Windows, and more. The process might slightly differ depending on the device you’re using, but it generally involves downloading the APK and installing it manually.
5. Is Chains Kodi Fork legal to use?
The Fork itself is legal to install and use. However, some add-ons or Builds that come preinstalled may access copyrighted content. Make sure you’re aware of the content you stream and consider using a VPN to protect your privacy.
6. Do I need a VPN when using Chains Kodi Fork?
Using a VPN is highly recommended, especially when dealing with third-party add-ons. A VPN will protect your identity and hide your streaming activities from your ISP and potential prying eyes, ensuring a safe and private experience.
7. Can I integrate Real Debrid with Chains Kodi Fork?
Yes, you can easily connect Real Debrid to Chains Kodi Fork, just as you would with the original Kodi. This will enhance your streaming experience by providing access to high-quality, fast-loading links.
8. What are the benefits of using Chains Kodi Fork?
The main benefits include enhanced customization options, preinstalled add-ons and Builds, and the ability to run multiple versions of Kodi on one device. It also supports integration with services like Real Debrid for improved streaming quality.
9. Will Chains Kodi Fork receive updates like the original Kodi?
Since Chains Kodi Fork is a modified version of Kodi, it may not receive the same updates as the original Kodi. However, some developers keep their Forks updated with the latest features. Always check with the source of your Fork for updates.
10. What should I do if Chains Kodi Fork crashes or isn’t working properly?
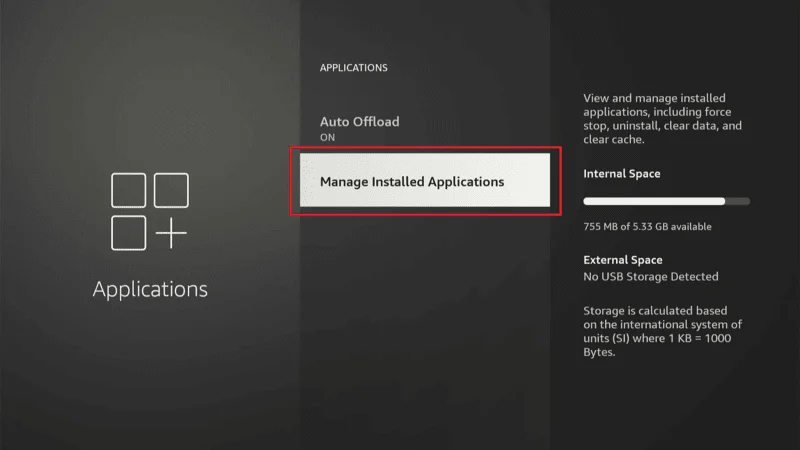
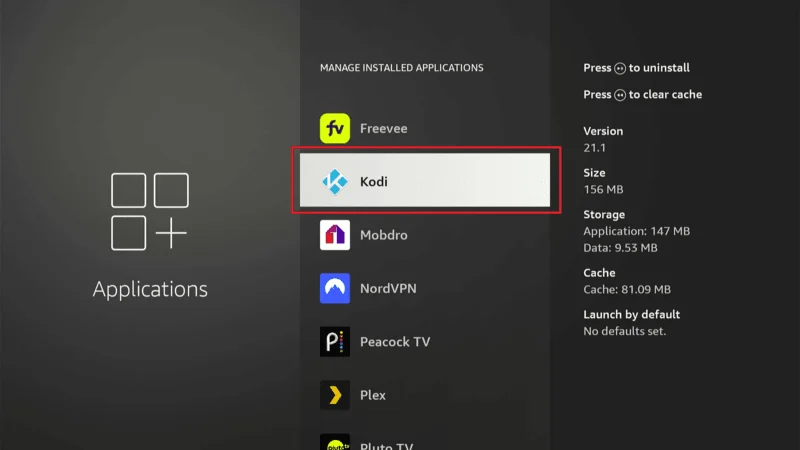
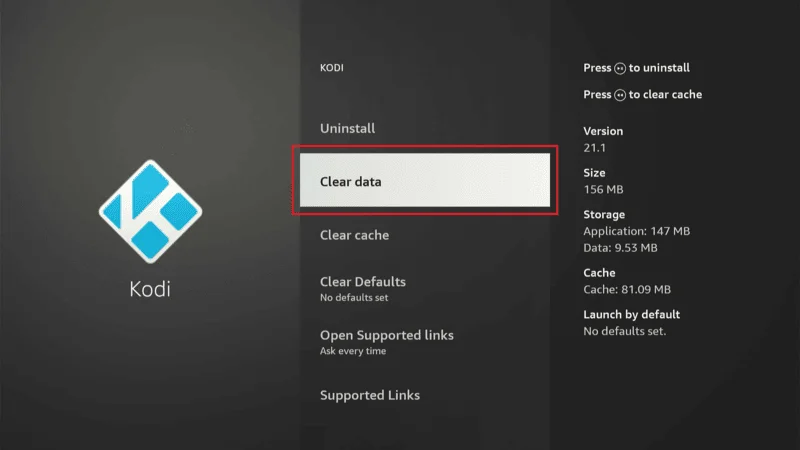
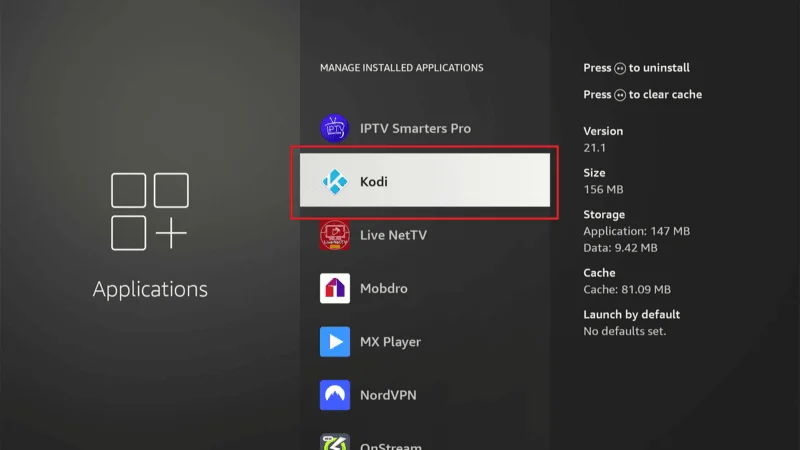
If your Chains Kodi Fork crashes or has performance issues, try clearing the cache, restarting the app, or reinstalling it. If the problem persists, check for updates or refer to troubleshooting guides for Kodi Forks.
Final Words
Chains Kodi Fork is an excellent option for those looking to expand their streaming experience with added customization, flexibility, and enhanced features. Whether you want to keep multiple versions of Kodi on your device, explore preinstalled Builds, or integrate with services like Real Debrid for better streaming quality, this Fork opens up a world of possibilities.
Just remember, while the Fork itself is legal, always be cautious when using third-party addons and ensure you’re not accessing unauthorized content. Using a reliable VPN like NordVPN can help protect your privacy and keep your streaming secure.