
Want to make your Macbook more fun? Try Kodi 19.4 It’s a cool media player that lets you watch movies, shows, and music all in one spot. Our guide helps you use Kodi 19.4 on Mac step by step, with tips to make it awesome.
Whether you know Kodi or not, our guide is easy to follow. We’ll help you set up Kodi, check out extra stuff, and make it fit your style. From start to finish, we cover it all, making sure your Macbook is a super fun place for endless shows. Get ready for a great time with Kodi 19.4 on Mac.
If you own one of these gadgets, just choose which one you have – Firestick, MacBook, Android TV, or Samsung TV. Then, check out the easy guide on how to put Kodi 19.4 on Mac.
Benefits Of Using Kodi 19.4 on Mac
Kodi is a free and awesome tool that helps you watch lots of different stuff like movies and TV shows all in one place. The newest version, Kodi 19.4, makes it super easy to find and enjoy all kinds of content without switching between different apps or devices.
The best part about Kodi is how easy it is to use. Whether you’re already familiar with it or just starting, the latest version is made to be simple and fun for everyone. So, try out Kodi 19.4 on Mac and make your movie and TV time even more enjoyable!
installing Kodi 19.4 on Mac
Setting up Kodi 19.4 is simple. Just make sure your device, like a computer, smartphone, or TV box, can handle it. Also, make sure your internet is working well. Once you’ve got these sorted out, you’re all set to start the installation process. Also if you want o install Normal version of kodi then visit the kodi tv website where you can find a letest verion of kodi
Here’s how to put Kodi 19.4 on Mac, step by step:
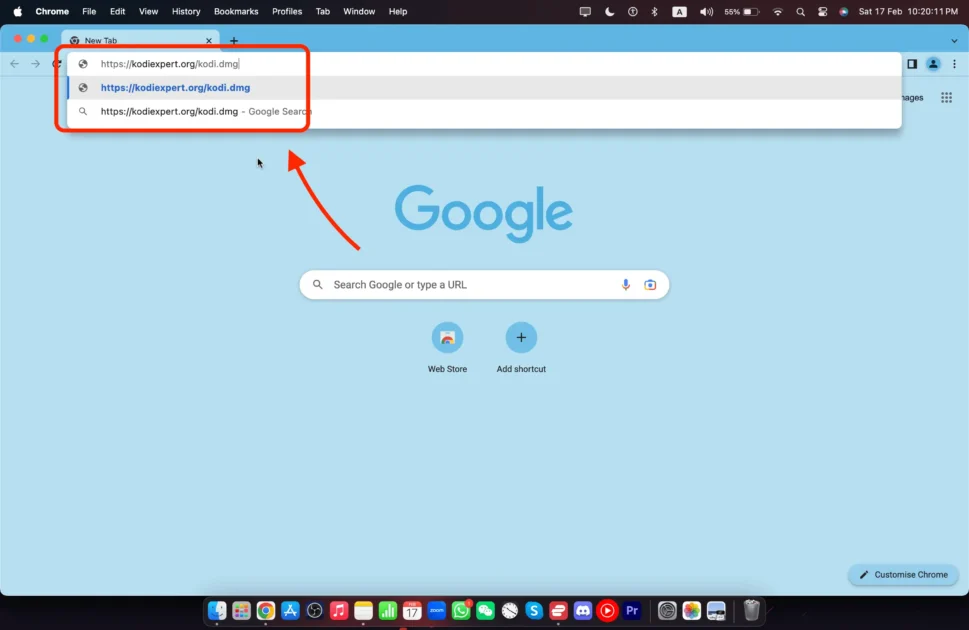
Open Browser on your Mac and type this URL on the search bar : kodiexpert.org/kodi.dmg
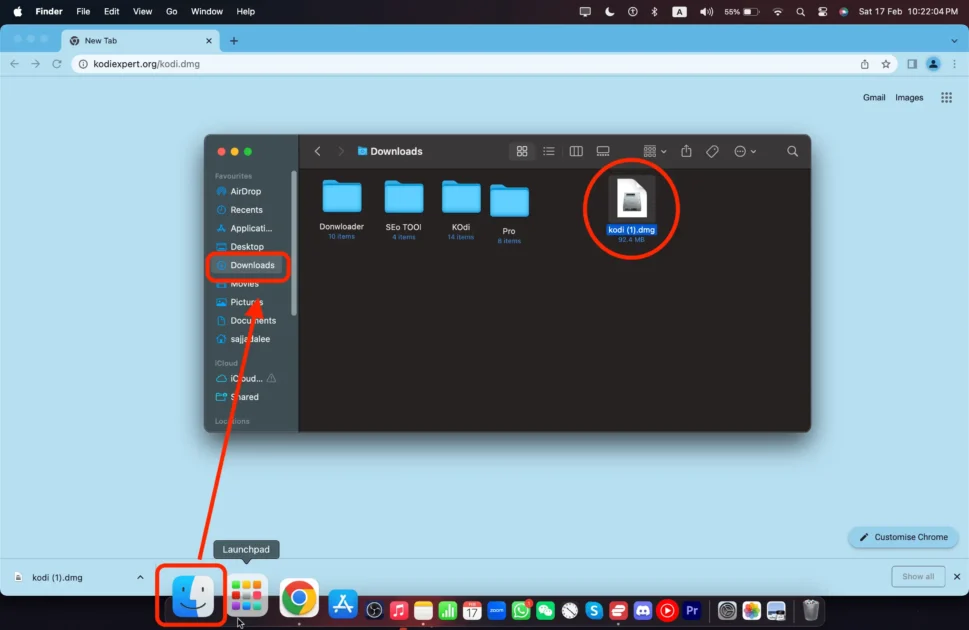
Once it finishes downloading, look for the installer file (it’s usually in your Downloads folder) and open it.
Follow the on-screen directions to install Kodi 19.4 on Mac.
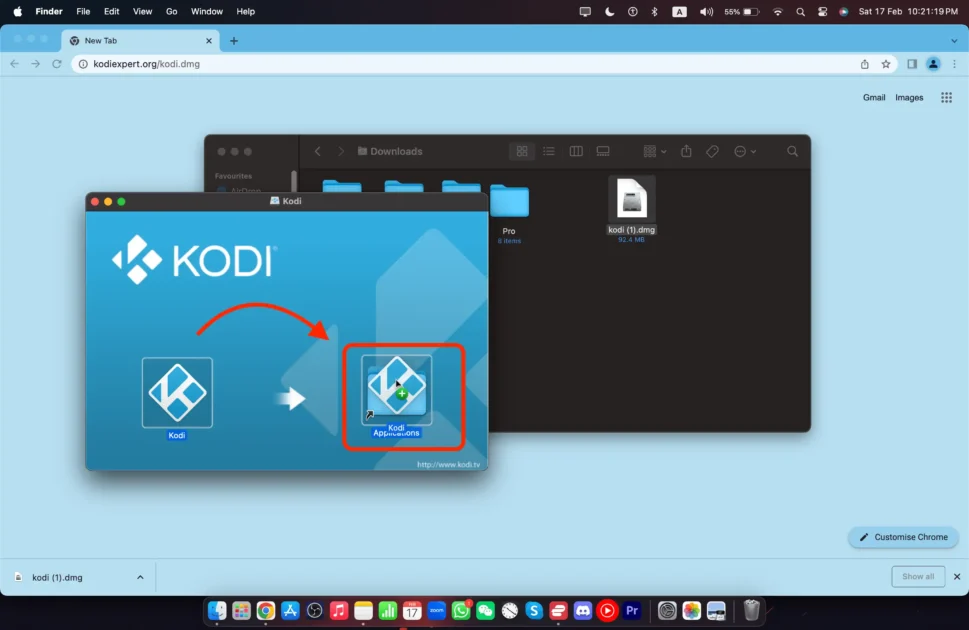 Start Kodi After the installation, find Kodi in your Applications folder and double-click it. Kodi will open up, showing you the main stuff.
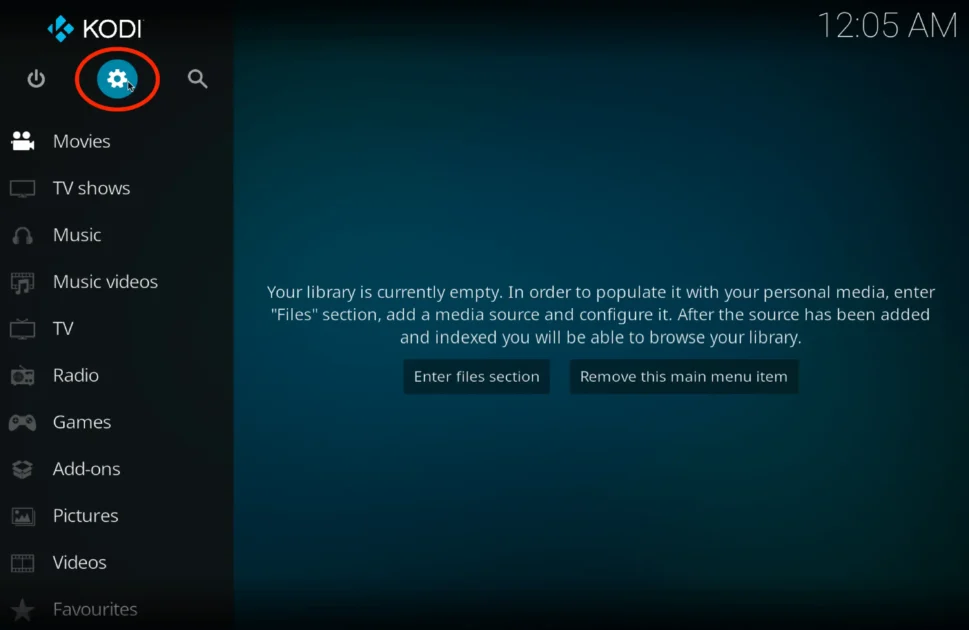
Setting up Kodi 19.4 for optimal performance
For a better streaming experience on Kodi, make sure to tweak its settings for smooth playback on your Macbook. Here’s what you can do:
Adjust video settings: Go to the Kodi 19.4 settings menu, find “Player Settings,” and click on “Videos.” From there, tweak settings like “Render Method” and “Display Mode” to get the best video playback.
Turn on hardware acceleration: If your Macbook supports it, activate hardware acceleration in Kodi settings. This lets your device’s GPU handle video decoding, making playback even smoother.
Clear the cache: Kodi stores temporary files that can pile up and slow things down. Head to “System Settings,” choose “File Manager,” and go to the “Profile Directory.” Delete the “Thumbnails” folder to free up space.
These steps ensure Kodi runs like a charm on your Macbook, offering a seamless streaming experience. Now, let’s explore the world of Kodi addons and repositories.
Understanding Kodi 19.4 addons and repositories
Kodi addons are like extra tools that make your streaming better. They bring in more stuff, like movies, TV shows, live TV, sports, and more. To get addons, you use repositories, which are kinda like app stores for Kodi. Click here to get ultimate Kodi addons, or you can find Kodi addons in the website menu section.
With numerous addons to choose from for your Kodi on Macbook, picking the best ones can feel overwhelming. Here are some top-notch addons recommended for Macbook users:
- Exodus Redux: Stream movies and TV shows seamlessly with this popular addon. It boasts a user-friendly interface and an extensive content library.
- The Crew: Access a variety of streaming sources, covering movies, TV shows, sports, and IPTV. The Crew provides a comprehensive collection to fulfill all your entertainment needs.
- Seren: Known for its high-quality streaming and advanced features, Seren uses real-debrid and premiumize services for smooth playback. It offers a broad range of content to enhance your viewing experience.
[su_button url=”https://kodiexpert.org/category/kodi-add-ons/” size=”10″]Best Addons for Kodi[/su_button]
These are just a few examples of the many addons available for Kodi on your Macbook. Explore different addons, check out user reviews, and find the ones that suit your streaming preferences. To get started, click here to discover the ultimate Kodi addons, or explore the website menu section for additional options.
Configuring Kodi 19.4 settings for a personalized experience
Tailor your Kodi streaming experience on your Macbook by exploring these customization options:
- Interface Makeover: Head to the Kodi settings menu, find “Interface,” and click on “Skin.” Choose from a variety of skins to give Kodi a look that suits your style.
- Audio Tweaks: If you like playing with audio outputs or need some adjustments, visit “System Settings,” click on “Audio,” and make the changes you prefer.
- Subtitle Setup: Love subtitles? Kodi supports them for movies and TV shows. Navigate to “Player Settings,” click on “Language,” and tweak the subtitle settings as needed.
By tinkering with these settings, you can craft a unique streaming setup on your Macbook. Play around with the options to discover the perfect configuration that matches your preferences.