

Want more entertainment on your Windows device? Try Kodi 19.4 on windows! It’s a super cool media center that brings all your favorite stuff to one spot. We’ll show you, step by step, how to install it. Doesn’t matter if you’re new or a pro at Kodi – our guide has you covered. We’ll help you download and install Kodi 19.4 on Windows device easily. We’ll guide you through everything, from setting up your system to adding cool features.
And it’s not just about installing Kodi; we’ll also show you how to make it work super smooth. Kodi has a neat interface and lots of extras, so you can watch movies, TV shows, and more, all in one place. Ready to make the most of Kodi 19.4 on Windows? Let’s do it! Follow our guide and start enjoying Kodi today.
Use Before Going to install Kodi on Any Device
Before you start setting up your devices, consider using a VPN for extra security and benefits. A VPN protects your online activities by encrypting them and routing them through a remote server, making it tough for your internet service provider or advertisers to track what you do online.
What’s more, a VPN can help you get around location-based restrictions. For example, if you want to access content from a streaming service available only in a specific country, a VPN can connect you to a server there, letting you unlock the content.
For a VPN service, I recommend IPVanish. It works well with various devices like Windows, Mac, iOS, Android, Linux, and routers, not just Firestick. IPVanish has over 3000 servers in 94 countries, providing fast and reliable connections globally.
IPVanish keeps your data secure with strong encryption and follows a strict no-logs policy, meaning it doesn’t store any records of your online activities. Apart from boosting online security and privacy, IPVanish also allows you to access geo-restricted content, including various streaming services that may not be available in your area.
System requirements for Kodi 19.4 on Windows
Kodi 19.4 works with different Windows versions like 7, 8, and 10. But before you start installing it, let’s check if your computer is good to go. Firstly, make sure your computer has at least 2GB of RAM. That helps Kodi run smoothly because it does some heavy tasks.
Also, make sure you have around 200MB of space on your computer for Kodi 19.4 and its files.
Having a good internet connection is important too. If you want to stream stuff and add more features, a fast internet connection is key. It makes sure you can watch things without any interruptions and have a smooth experience.
Downloading the Kodi installation file
To put Kodi 19.4 on Windows, follow these steps:
Go to the official Kodi website: kodi.tv
Look for “Download”

Next page and click on the Windows logo.
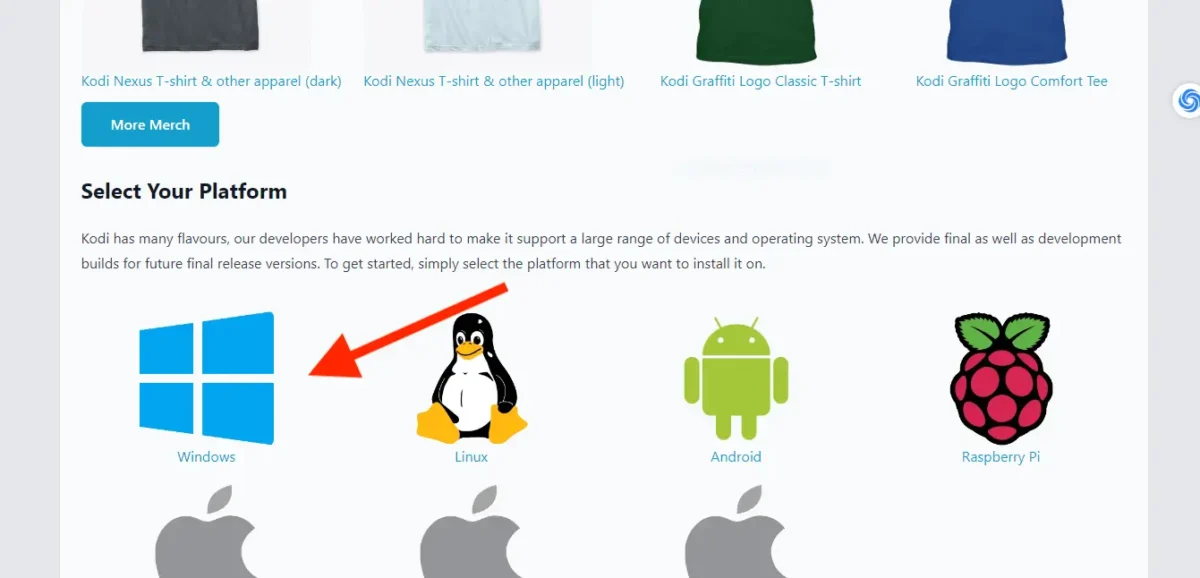
Pick the right version for your Windows (32-bit or 64-bit).
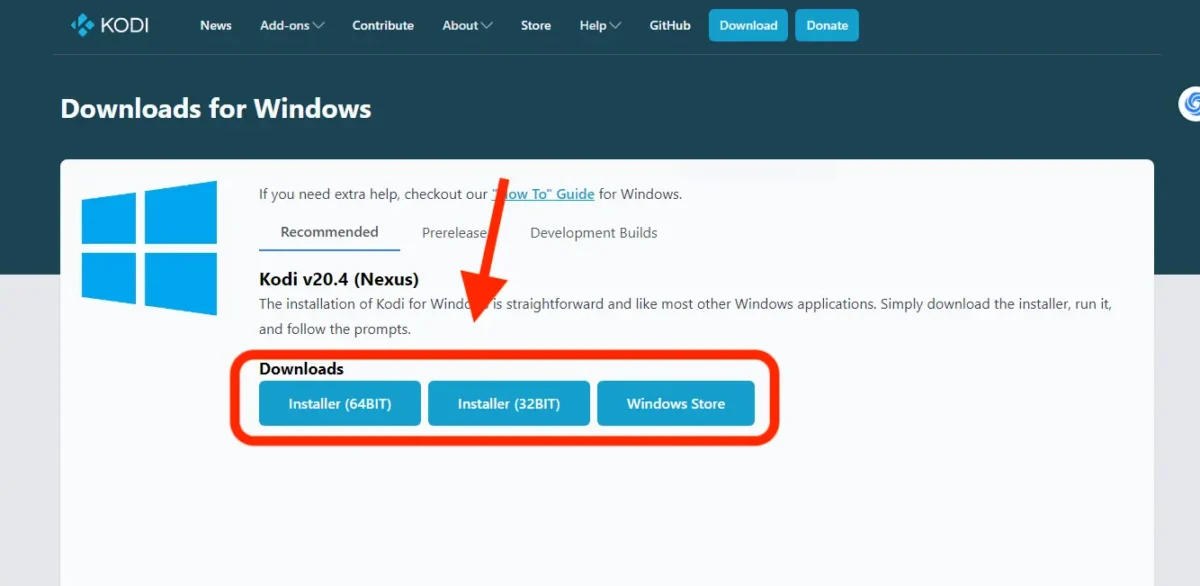
Save the file in a place on your computer where you can find it easily.
then click on start download
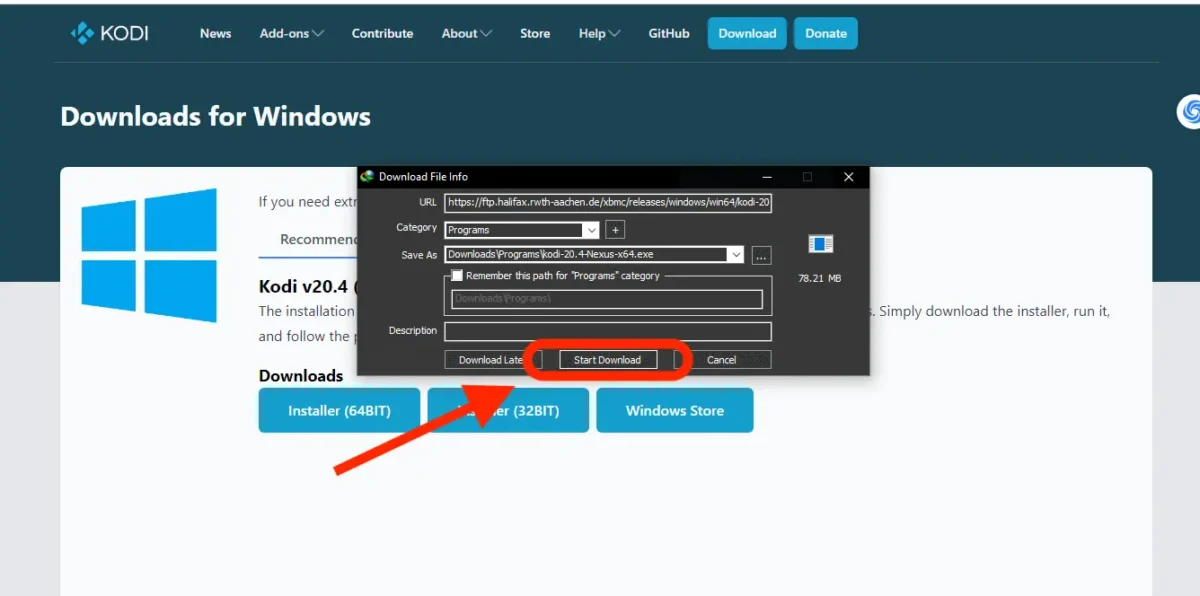
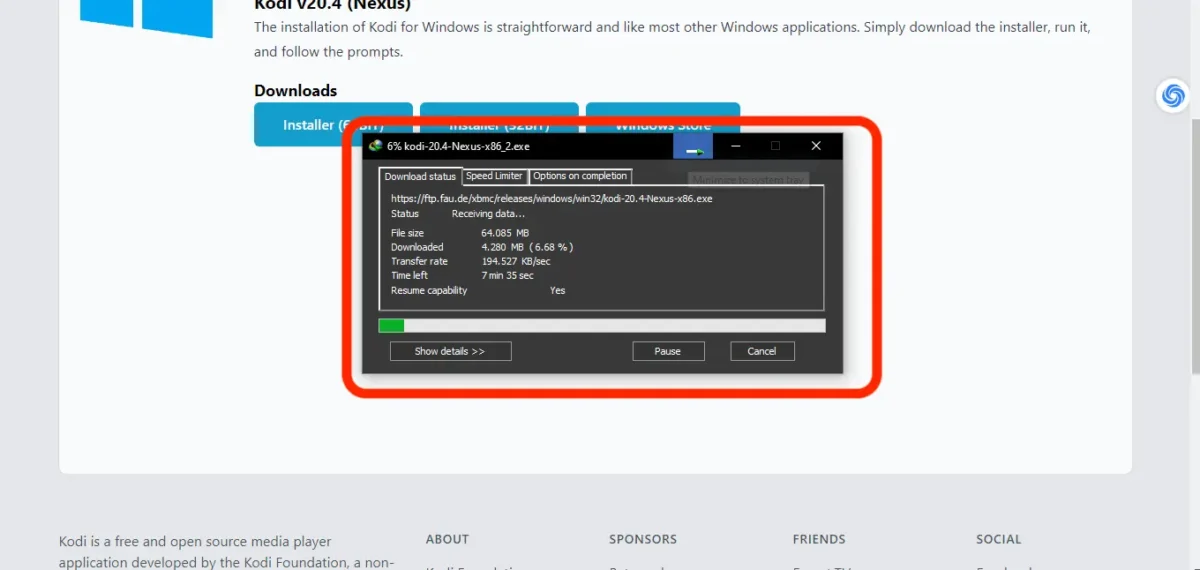
Now wait until the kodi 19.4 download on your windows laptop.
Step-by-step installation process for Kodi 19.4 on Windows
You’ve got the Kodi installation file. Now, let’s install it step by step on your Windows:
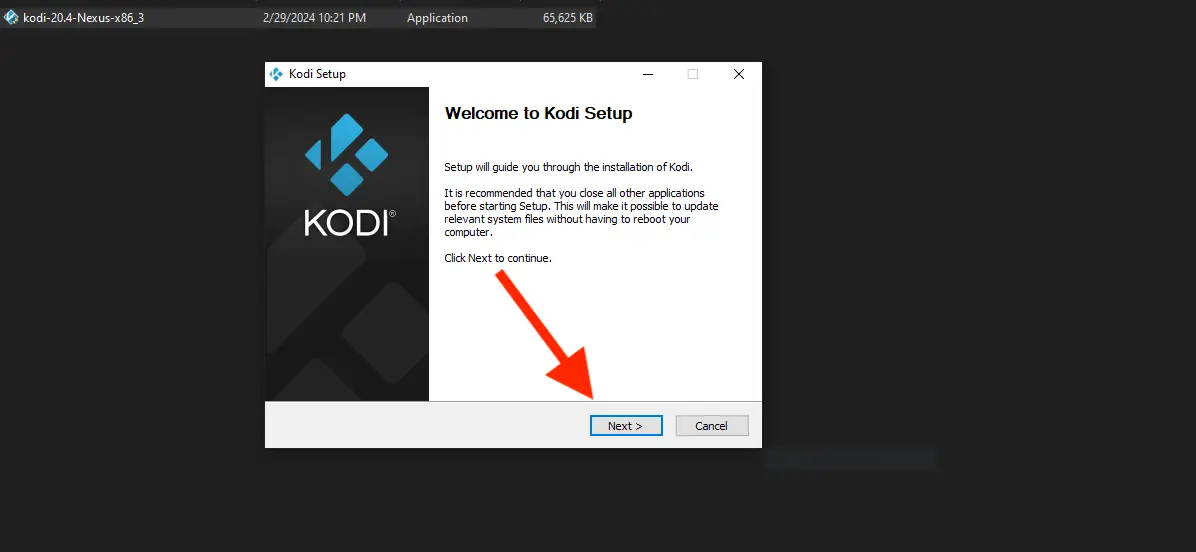
Find the downloaded Kodi file and double-click to start the installer.
The installer will guide you. Click “Next” to move on.
Read and accept the License Agreement. Check the box and click “Next.

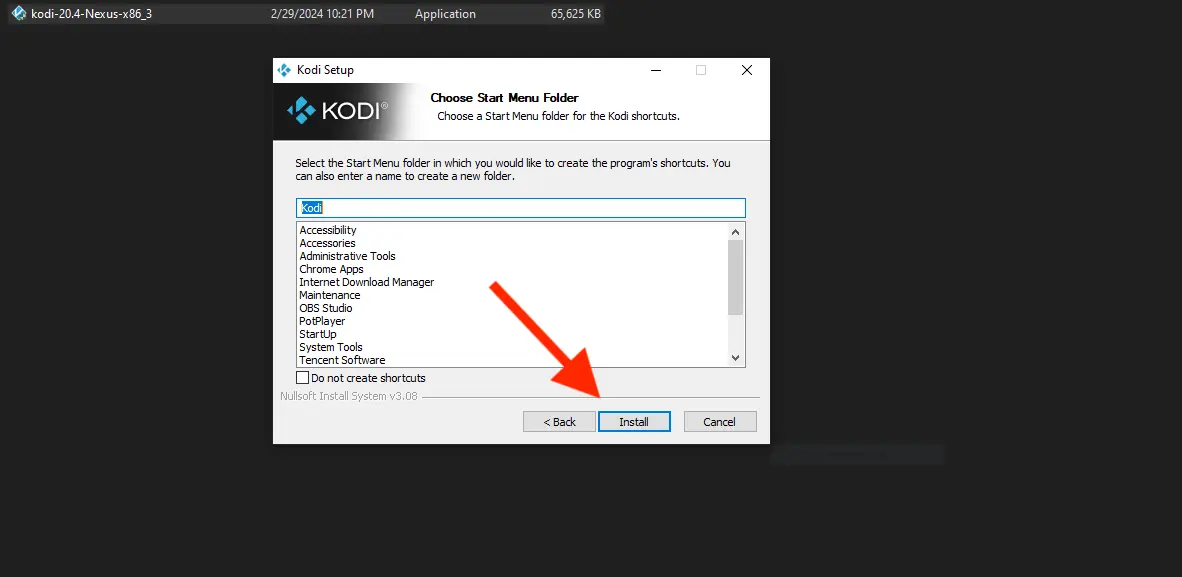
Review everything and click “Install” to start the installation kodi 19.4 on windows
Wait a few minutes for the installation to finish.

When it’s done, click “Finish” to exit the installer.
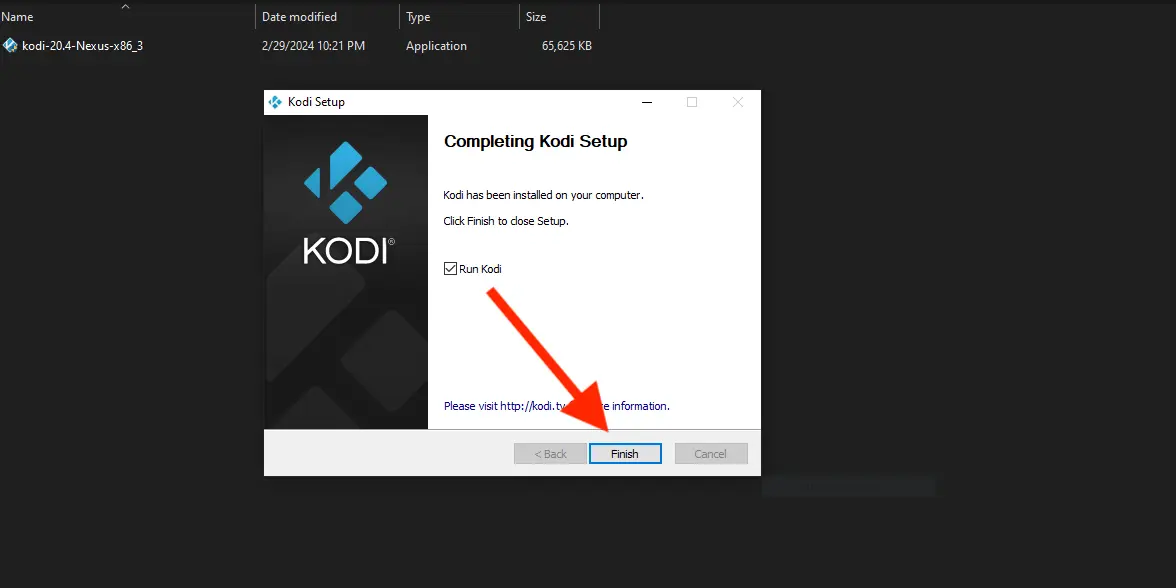
Congrats! you have installed Kodi 19.4 on Windows. Next up, let’s set up Kodi for the best performance.
Configuring Kodi settings for optimal performance
Once you’ve installed Kodi, it’s important to tweak the settings for the best performance and a smooth media experience. Here’s how you can personalize Kodi to suit your preferences:
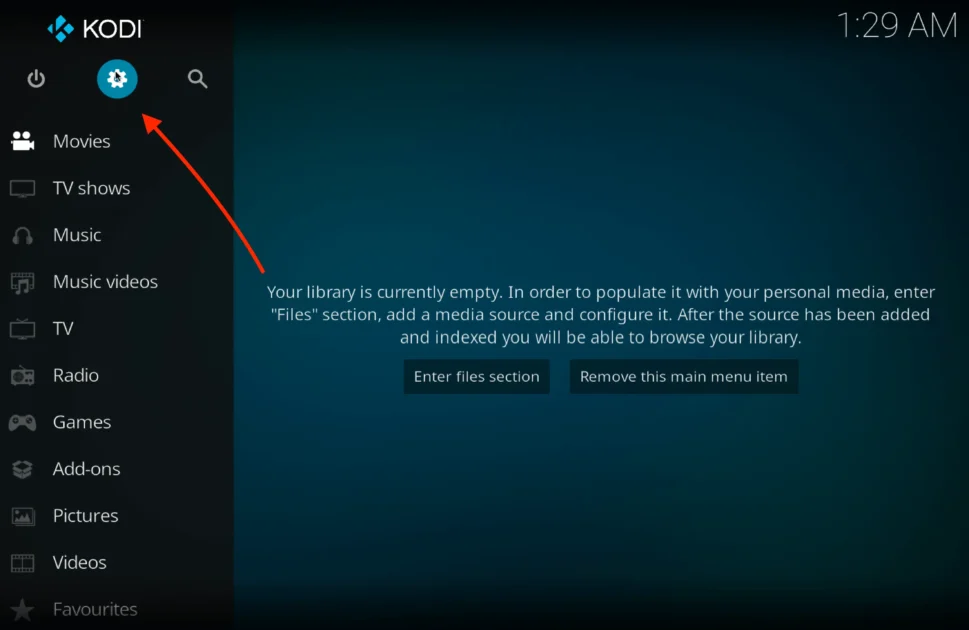
Double-click the desktop shortcut or find Kodi in the Start menu and open it.
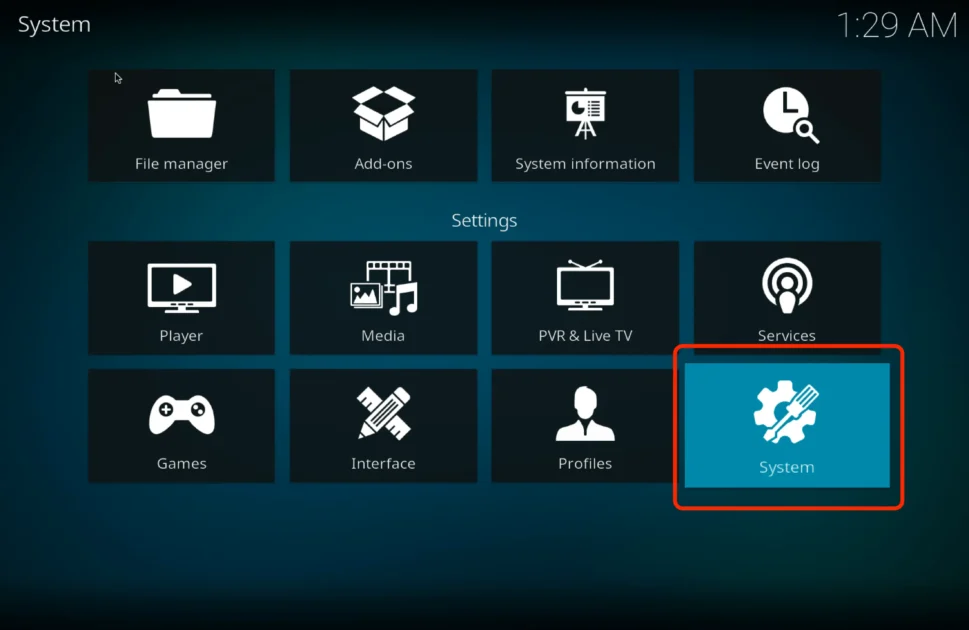
Click on the gear icon in the top-left corner on the main Kodi screen to open the Settings menu.
Inside Settings, go to the “System” tab and select “Settings” from the sidebar.
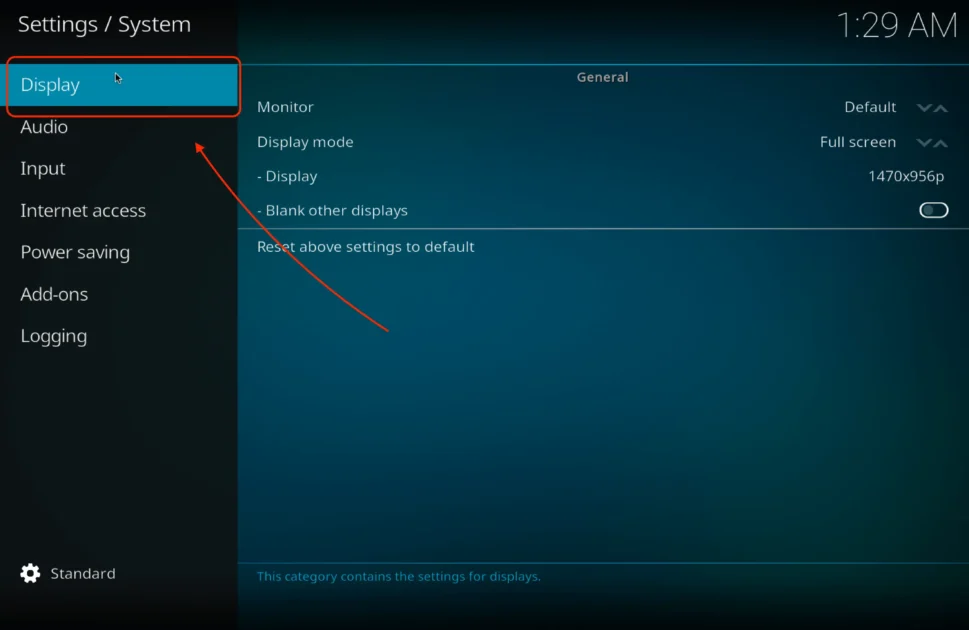
Under “System” settings, choose “Display” to adjust screen resolution and display mode according to your device.
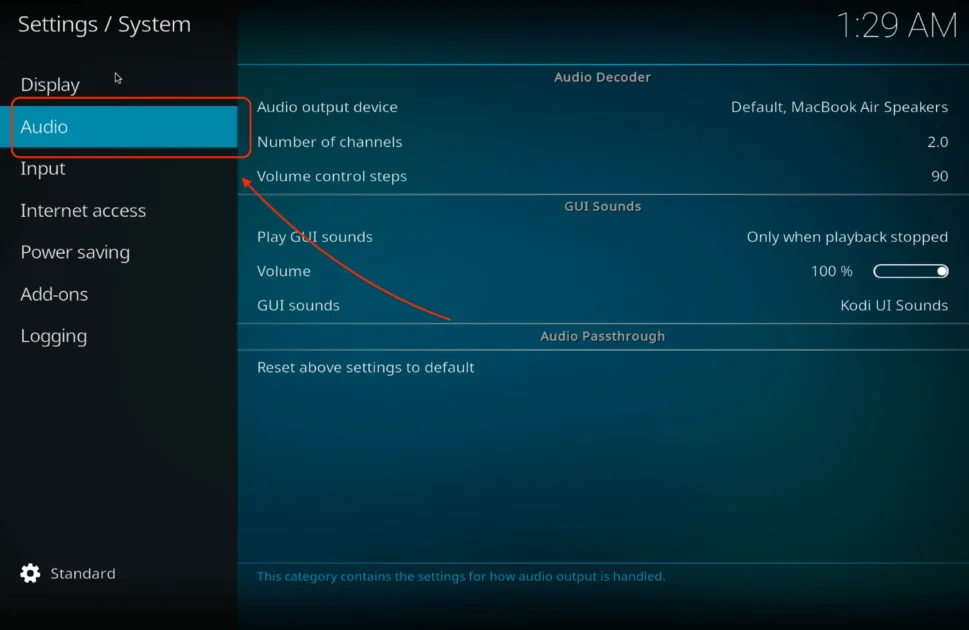
Move to the “Audio” settings to configure audio output options, including the device and channels.
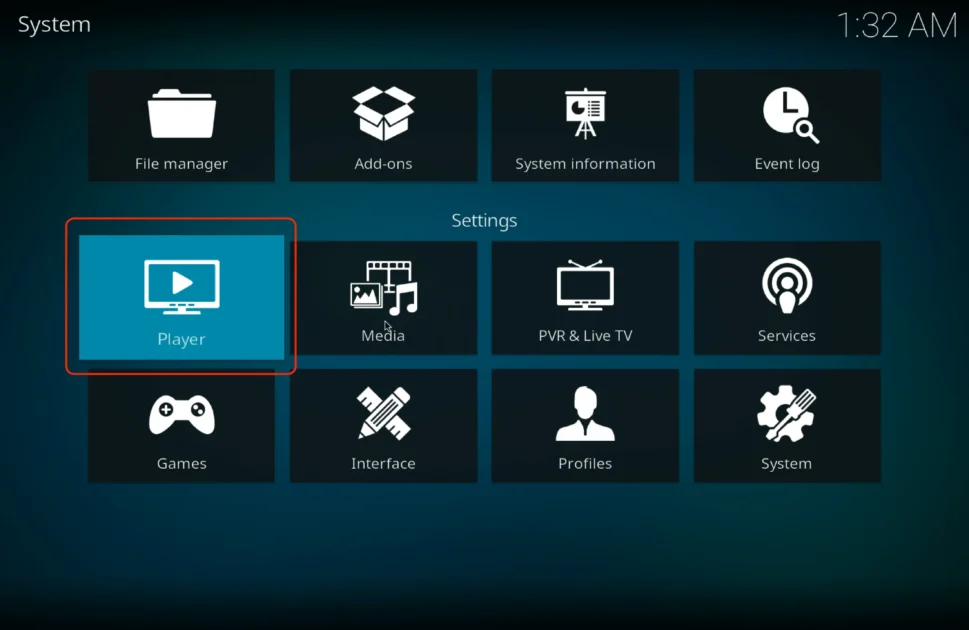
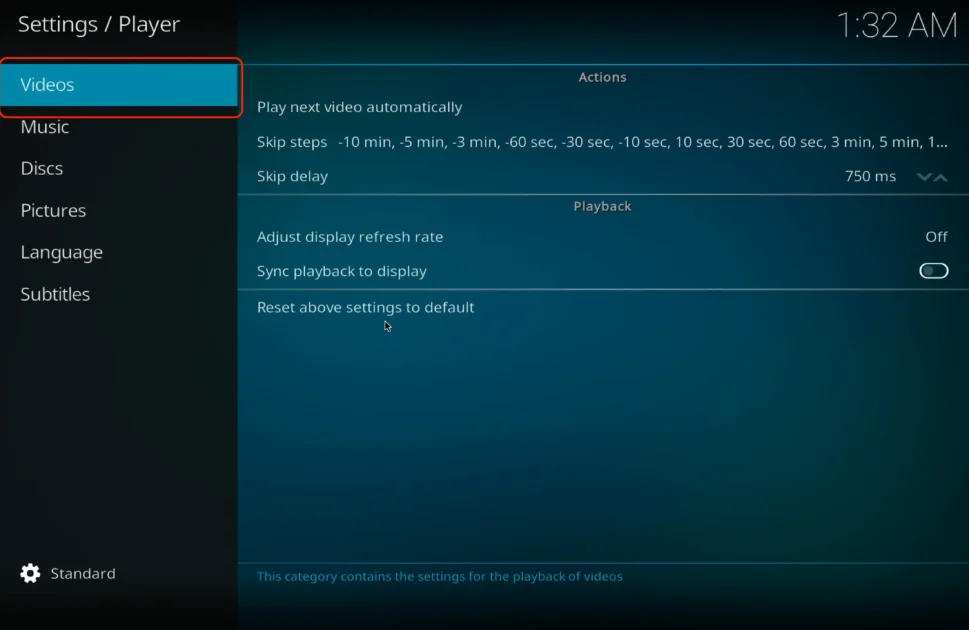
Return to “System” settings, select “Player” from the sidebar, and enable hardware acceleration for smoother video playback.
In “Player” settings, under the “Videos” tab, fine-tune settings like deinterlacing and scaling for better video playback.
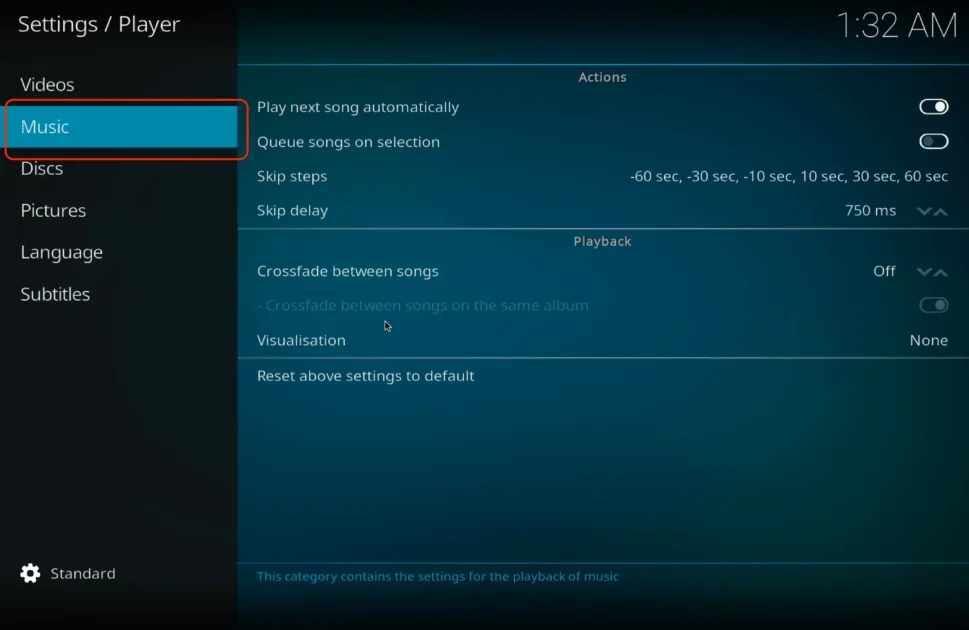
In the same “Player” settings, under the “Audio” tab, adjust options like passthrough and resampling for optimal audio playback
Go to the “setting” tab under “interface” settings to change the appearance and skin of Kodi.
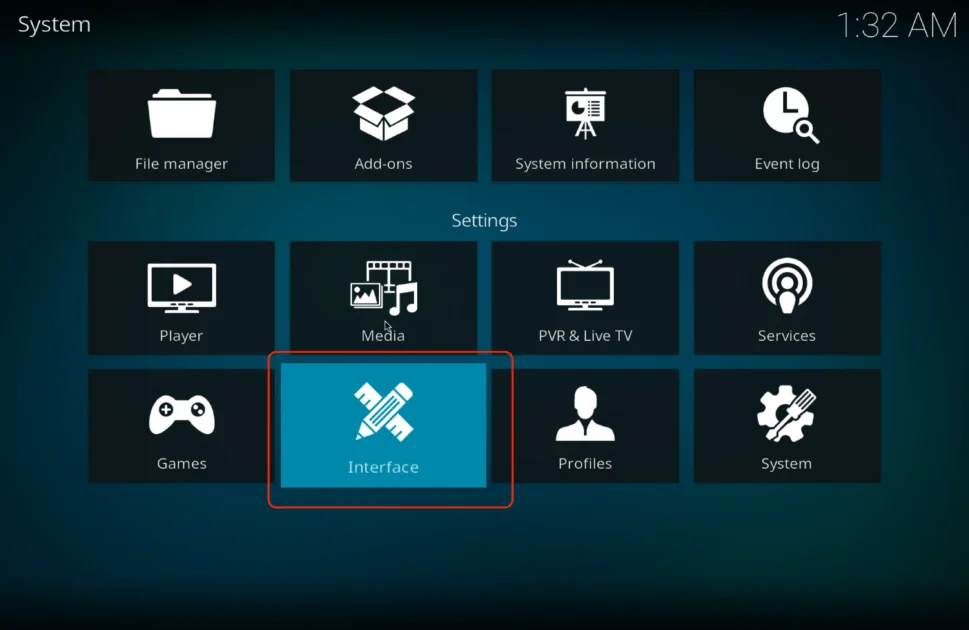
Change the appearance and skin of Kodi.

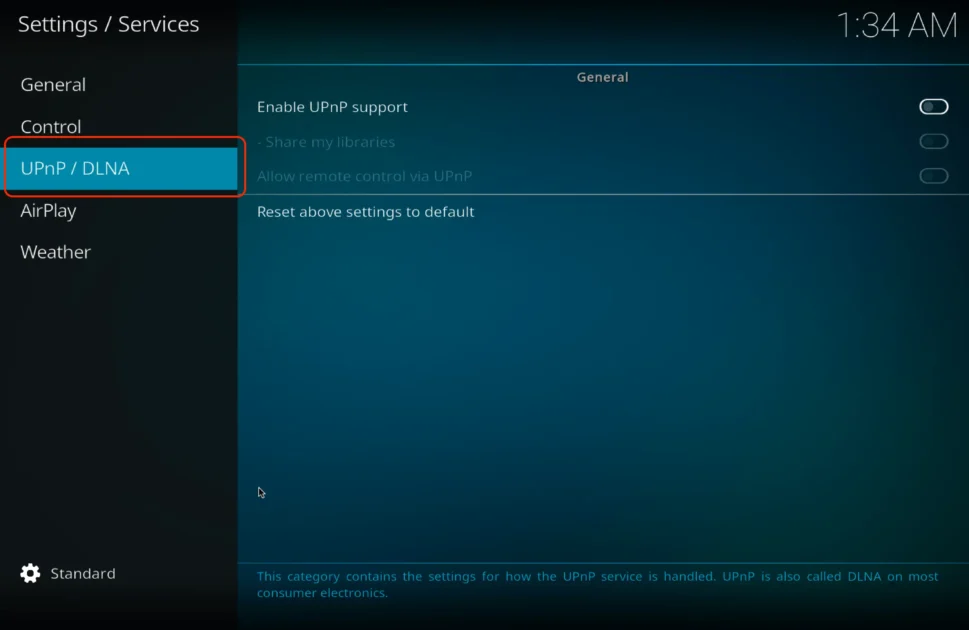
Visit the “Services” tab in “System” settings to configure features like UPnP/DLNA, AirPlay, and web server settings if you want.
These steps will help you fine-tune Kodi, ensuring it performs at its best and provides a seamless media experience on your Windows device.
Installing add-ons on Kodi 19.4
After successfully installing Kodi on your Windows system, if you’re looking to improve its appearance and add popular features for free movies, TV shows, and live TV channels, check out our Add-ons section. We’ve gathered some of the best addons for you. Simply click the button below to explore and enhance your Kodi experience!
[su_button url=”https://kodiexpert.org/category/kodi-add-ons/” size=”10″]Add-ONS For KODI[/su_button]
Troubleshooting common installation issues
Even though installing Kodi is usually simple, you might run into a few issues. Here are some tips to help you troubleshoot and overcome common problems: