
In this tutorial, you’ll learn how to set up the Crazy Canucks Kodi Addon on FireStick. However, the steps outlined here are also applicable to other devices that are compatible with Kodi, such as Windows PCs, Android devices, Mac systems and more. Whether you’re using Kodi 20 Nexus or 19 Matrix, Crazy Canucks is supported on both versions.
What Is Crazy Canucks
Crazy Canucks is a versatile Kodi addon found in the Canucks Repository. It offers a wide range of streaming options, including TV shows, movies, YouTube videos, and more. Whether you’re looking for the latest blockbuster films, classic series, or anime, this addon has something for everyone.
Plus, it comes with integrated access to the highly popular Odin addon, allowing you to explore even more content. You can also enjoy 4K streaming for free directly through the addon.
While Crazy Canucks Kodi Addon is free for all users, you can enhance your experience by linking a Real Debrid account, which unlocks higher-quality streams. Additionally, connecting your Trakt account enables you to synchronize your viewing history across devices.
⚠️ Attention, Kodi Users!
Kodi Addons and builds offer unlimited streaming content, but they could also get you into trouble if you’re caught streaming free movies, TV shows, or sports. Currently, your IP 2400:adc3:12c:e600:bcd3:880f:e0ab:5a62 is visible to everyone. Kodi users are strongly advised to always connect to a VPN while streaming online. Kodi VPN hides your identity plus bypasses government surveillance, geo-blocked content, and ISP throttling (which also helps in buffer-free streaming).
I personally use NordVPN, which is the fastest and most secure VPN. It is easy to install on Amazon FireStick and any other device. You get 3 months free and save 49% on its annual plans. Also, it comes with a 30-day money-back guarantee. If you are not satisfied, you can always ask for a refund.
Is Crazy Canucks Safe & Legal?
When it comes to safety and legality, Crazy Canucks is classified as a third-party addon, which naturally raises some concerns about both. Since it’s hosted in the Canucks Repository and not an official Kodi addon, questions about its trustworthiness and legal status often arise.

On the legal front, it’s difficult to say for sure. The addon provides access to a vast array of content, but we lack the resources to verify whether every stream originates from legitimate sources. This uncertainty means there’s always a possibility that some content may not be authorized for distribution.
For that reason, it’s highly advisable to use a Kodi VPN. A VPN can help protect your identity and keep you safe from potential legal complications, especially if you unknowingly access content that isn’t properly licensed.
Legal Disclaimer: This tutorial is intended solely for educational purposes. KodiExpert.org does not own, host, operate, resell, or distribute any streaming apps, addons, websites, IPTV services, or similar platforms. The content on this page may include some unverified services, and we cannot confirm whether they possess the necessary legal licenses to distribute the content they offer.
KodiExpert.org does not verify the legality of each app or service in every region. It is your responsibility to conduct your own due diligence if you choose to use any unverified apps or services. Please ensure that you only stream content that is legally available in the public domain. The end-user is solely responsible for any media accessed.
How to Set Up Crazy Canucks Kodi Addon
I’ve broken the installation into three simple steps so you can follow along with ease.
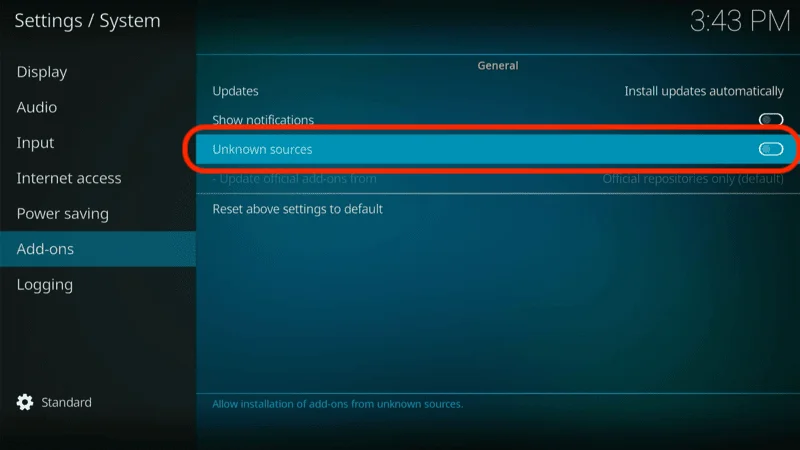
To begin, we need to enable the “Unknown Sources” option in Kodi. This is essential for adding third-party repositories or addons like Crazy Canucks, as Kodi has this setting disabled by default. Here’s how to enable it:
From Kodi’s home screen, click the Settings Gear icon located at the top-left corner (below the Kodi logo).

On the next screen, select System from the bottom-right.

In the System settings, find the Add-ons tab on the left, then enable Unknown Sources from the right.
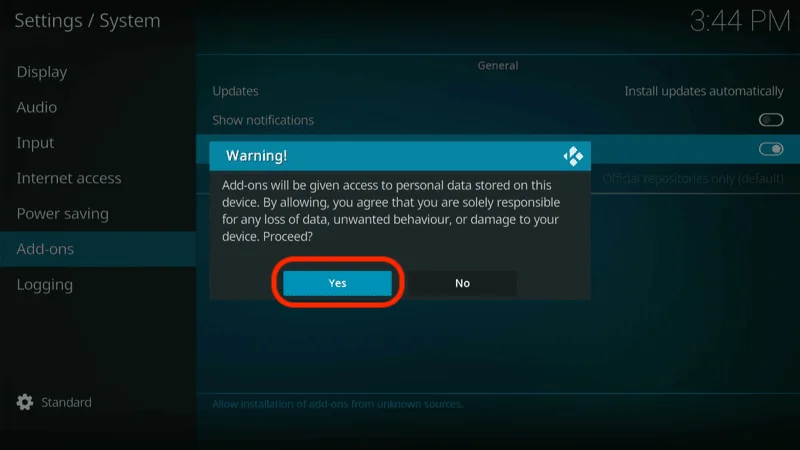
A warning message will appear—simply click Yes to proceed.
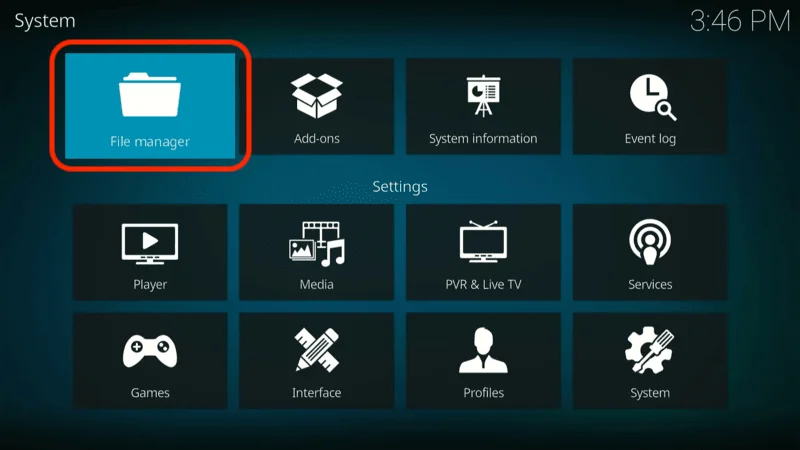
Once again, go to the Settings Gear icon from the Kodi home screen.

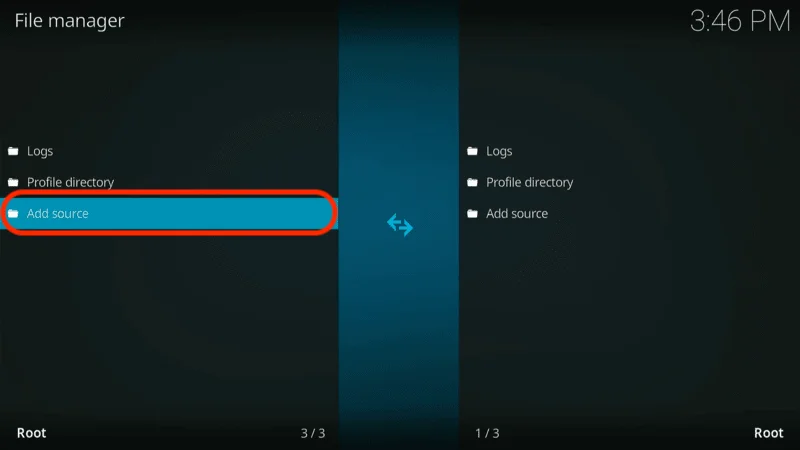
From there, select File Manager.
Click on Add Source from the options available.
A window will appear with the option <None>—click on it.
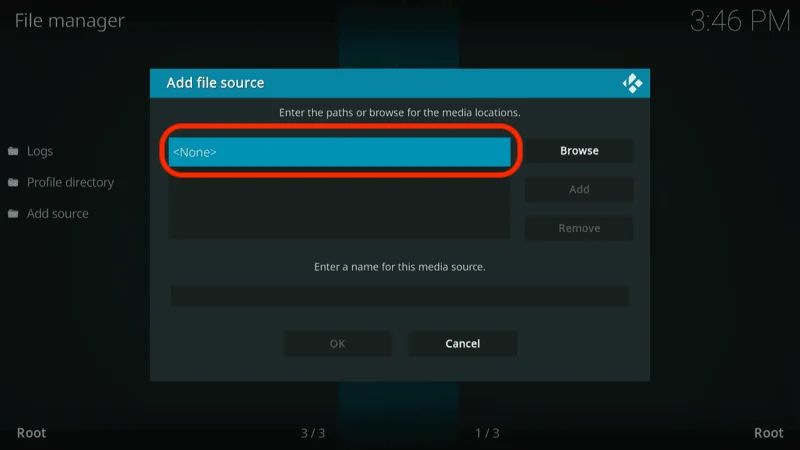
Enter the following URL into the box: http://twiglet.esy.es/canuck/ and click OK.
Note: This is the official link to the Canuck Repository. If it stops working, we’ll update the source when needed.

You’ll be prompted to give the media source a name. You can stick with the default name or choose a custom one—either works. Once you’ve decided, click OK.

You’ll now see the source added in the File Manager list.

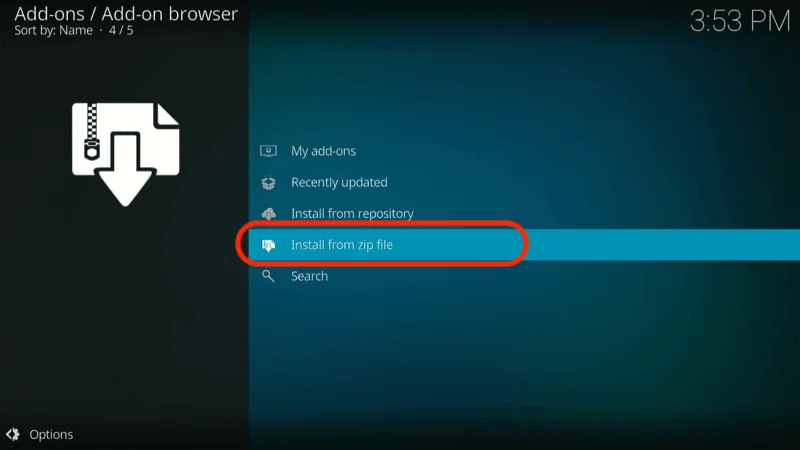
Head back to the Settings screen, then click on Add-ons.

In the Add-ons menu, select Install from zip file.
If you’re on Kodi 19 Matrix, a warning might pop up. Just click Yes to continue.
Select the name you chose for the Canuck repository from the list.

A file labeled repository.canuck-x.x.x.zip will appear. Click on it to start the installation.

Note: The version may change over time, which is why the “x.x.x” notation is used.
Wait a few moments for the repository to install. You’ll see a confirmation message in the top-right corner when it’s ready.

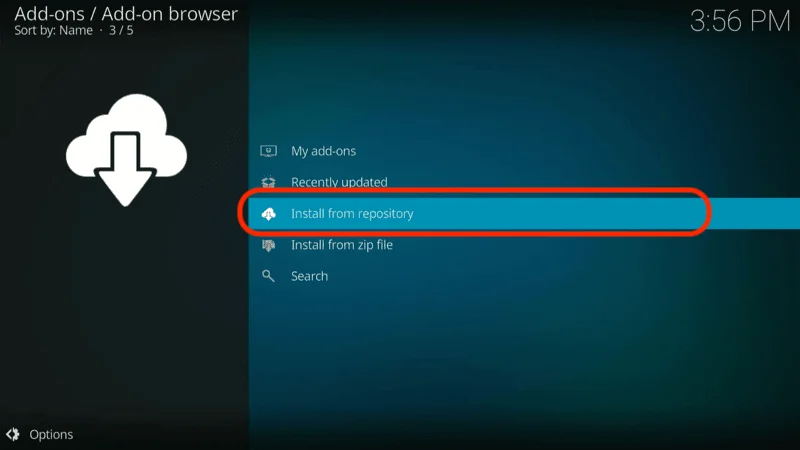
From the Add-ons page, choose Install from repository.
Select Canuck Repository from the list.

Scroll down and pick Video Add-ons.

Choose Crazy Canucks from the options.

Once the Crazy Canucks details page opens, click Install on the bottom right.

Give Kodi a few moments to complete the installation. You’ll receive a confirmation in the top-right corner when the addon has been successfully installed.

Before you start streaming on Kodi with your FireStick or Fire TV, it’s essential to take precautions. Everything you stream can be monitored by your internet service provider (ISP) and even government authorities. Accessing free content like movies, TV shows, or live sports on Kodi could potentially lead to legal issues.
To protect your privacy, using a VPN is the most effective solution. A VPN hides your real IP address, keeping your streaming activities private and secure. It also helps you bypass geo-restrictions and prevents your ISP from throttling your connection during streaming sessions.
For Kodi users on FireStick, I recommend NordVPN. It’s a top-tier VPN that works seamlessly with Kodi, ensuring fast, uninterrupted streaming.
While we don’t encourage illegal streaming, it’s not always clear if the content you’re watching on Kodi is from legitimate sources. That’s why using a VPN like NordVPN provides the necessary protection to keep your streaming safe.
Here’s how to install and use NordVPN with Kodi on FireStick:
Sign Up for NordVPN – They offer a 30-day money-back guarantee, allowing you to try it out without any risk.

Turn on Your FireStick – Navigate to the Find menu and select the Search option.
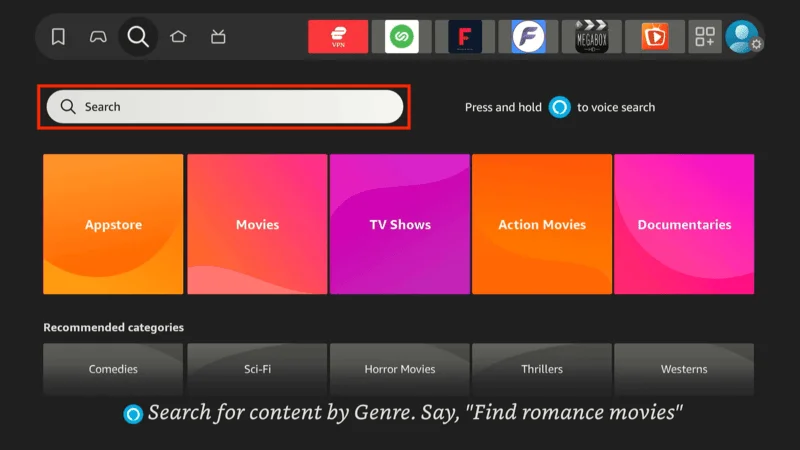
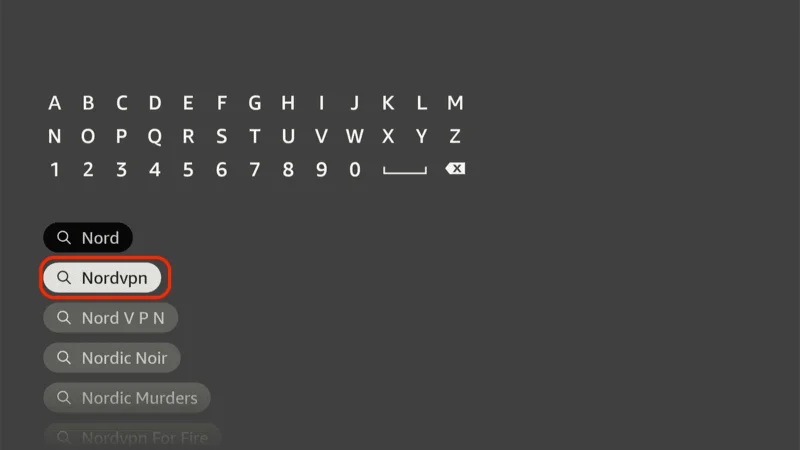
Search for NordVPN – Type “NordVPN” in the search bar and choose it from the results.
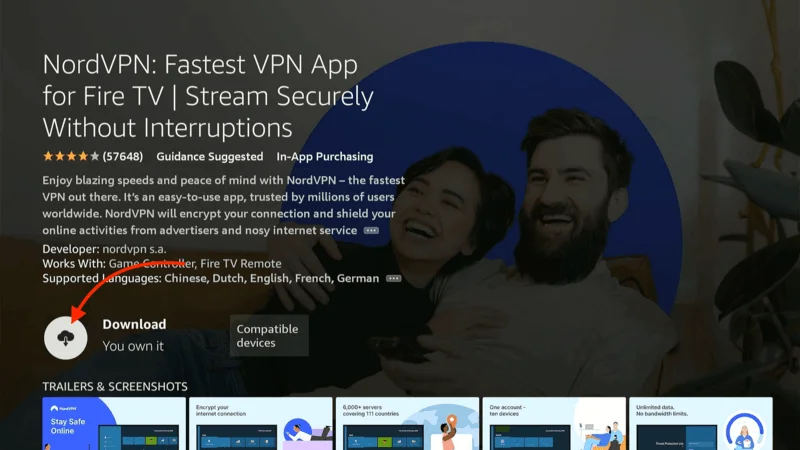
Download the App – Click Download to install the NordVPN app.
Log In – Open the app and sign in using your NordVPN account details.
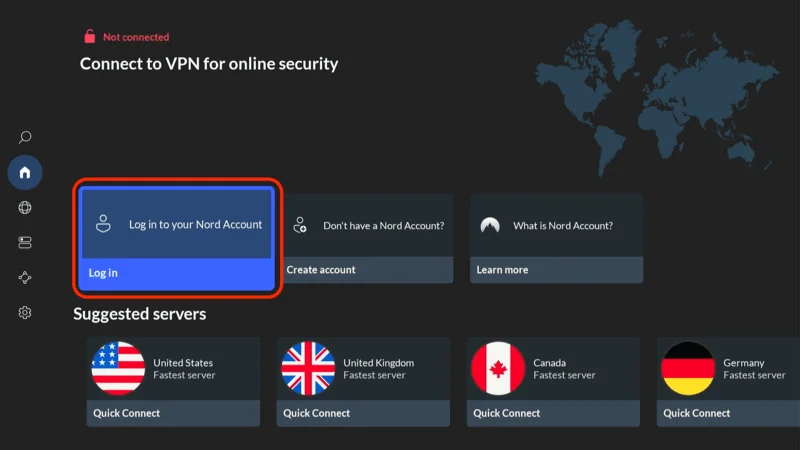
Connect – Tap Quick Connect to connect to the best server available, ensuring your Kodi streaming is private and secure.
For more detailed instructions on setting up NordVPN with Kodi on FireStick, check out additional resources. Stay safe and enjoy secure, unrestricted streaming!
How to Use Crazy Canucks on Kodi
Now that you’ve successfully installed Crazy Canucks Kodi Addon, it’s time to explore how to use it. Let’s dive in and guide you through the steps!
To get started, navigate to the Kodi home screen, scroll down, and select the Add-ons tab.
Within Add-ons, head to Video Add-ons and find Crazy Canucks in the list.

When you open Crazy Canucks, you’ll land on its main menu with multiple categories like “The Crazy Canuck,” “Movies,” “TV Shows,” and more.
Here’s a breakdown of the 12 folders you’ll see on the home screen:
- The Crazy Canuck
- Movies
- TV Shows
- Trakt
- Last Link Played
- Resume Watching
- My RD History
- RD Torrents
- Search
- Search History
- Settings
- Odin
Exploring the Movies Section
To start streaming, let’s explore The Crazy Canuck section.
Open The Crazy Canuck, and you’ll find three sub-sections: Movies, TV Shows, and YouTube. Click on Movies.

Once inside the Movies section, you’ll find multiple categories such as “Search,” “Movies by Year,” “Trending Movies,” “Popular Movies,” “IMDB 100 Best Thriller Movies,” and more.
Feel free to browse these sections for your favorite films.
Searching for Content
If you’re looking for something specific, Crazy Canucks makes it easy with its search feature.
From the Crazy Canucks home screen, scroll down and select Search.

Enter your search keywords and click OK. After a brief moment, you’ll see a list of content that matches your query.
Disabling Debrid to Avoid Errors
Sometimes, you may encounter issues if Real Debrid is enabled but you don’t have an active account. Here’s how to turn it off:
Go to the Crazy Canucks home screen and open Settings.

On the Settings page, navigate to the Debrid tab.

Toggle off the Enable debrid service option.

Finally, click OK to save the changes.
Setting Up Real Debrid
To unlock higher-quality streams and ensure buffer-free viewing, you can set up Real Debrid if you have an account.
Head to the Settings page from Crazy Canucks’ home screen.

Open the Debrid tab and ensure Enable debrid service is turned on.

Select Re-auth Real-Debrid.

Now, on a different device, go to www.real-debrid.com/device and enter the code displayed on your Kodi screen. Make sure you’re logged into your Real Debrid account.

This will activate Real Debrid, enhancing your streaming experience with premium links.
Syncing Trakt with Crazy Canucks
Trakt is a powerful tool that helps you keep track of the shows and movies you watch. With Crazy Canucks Kodi Addon, you can sync your Trakt account to monitor your watch history across devices.
Open the Settings page from the Crazy Canucks home screen.

Navigate to the Trakt tab.

Select Sync Trakt to DB.

You’ll be prompted to override the local database—click Yes.

A Trakt authentication window will pop up; click Yes to proceed.
Now, go to www.trakt.tv/activate on another device and enter the code displayed on your screen to complete the setup.
Frequently Asked Questions (FAQs)
Here are five frequently asked questions (FAQs) that people often search for when using the Crazy Canucks Kodi Addon, along with brief explanations for each:
1. Is Crazy Canucks Free to Use?
Answer: Yes, Crazy Canucks is completely free to use. You can stream a wide variety of content without any cost. However, for premium features like buffer-free 4K streaming, you can integrate a paid Real Debrid account to enhance your experience.
2. Can I Install Crazy Canucks on Devices Other Than FireStick?
Answer: Absolutely! Crazy Canucks is not limited to FireStick; it works on any device that supports Kodi. This includes Windows, Android, macOS, Nvidia Shield, and even Raspberry Pi.
3. Do I Need a VPN for Crazy Canucks?
Answer: While Crazy Canucks is free to use, it’s highly recommended to use a VPN with Kodi, especially for third-party addons. A VPN helps protect your privacy and ensures you can avoid any legal issues if you accidentally access copyrighted content.
4. How Do I Fix Buffering Issues on Crazy Canucks?
Answer: Buffering can happen due to slow internet speeds or server issues. To resolve this, you can use a Real Debrid account to unlock premium streams, which usually provide smoother, buffer-free streaming. Also, clearing the cache in Kodi can help improve performance.
5. Is Crazy Canucks Legal to Use?
Answer: Crazy Canucks is a third-party addon, and its legality depends on the content you’re streaming. While the addon itself is not illegal, streaming copyrighted content without permission may be against the law in some regions. It’s recommended to use a VPN to safeguard your privacy.
Final Thoughts
In this guide, we walked you through the process of installing the Crazy Canucks Kodi addon. Crazy Canucks is an excellent choice for Kodi users who want access to a vast library of free TV shows, movies, YouTube content, and much more.
What makes it even more impressive is its built-in integration with the popular Odin addon, providing an even greater variety of streaming options.